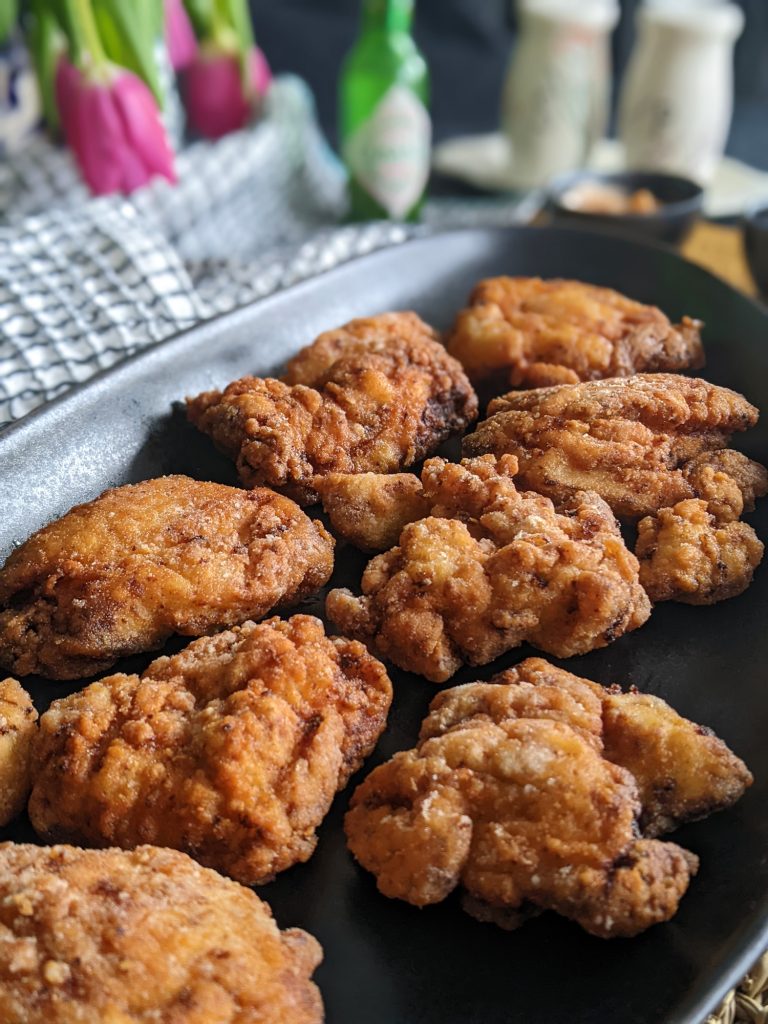
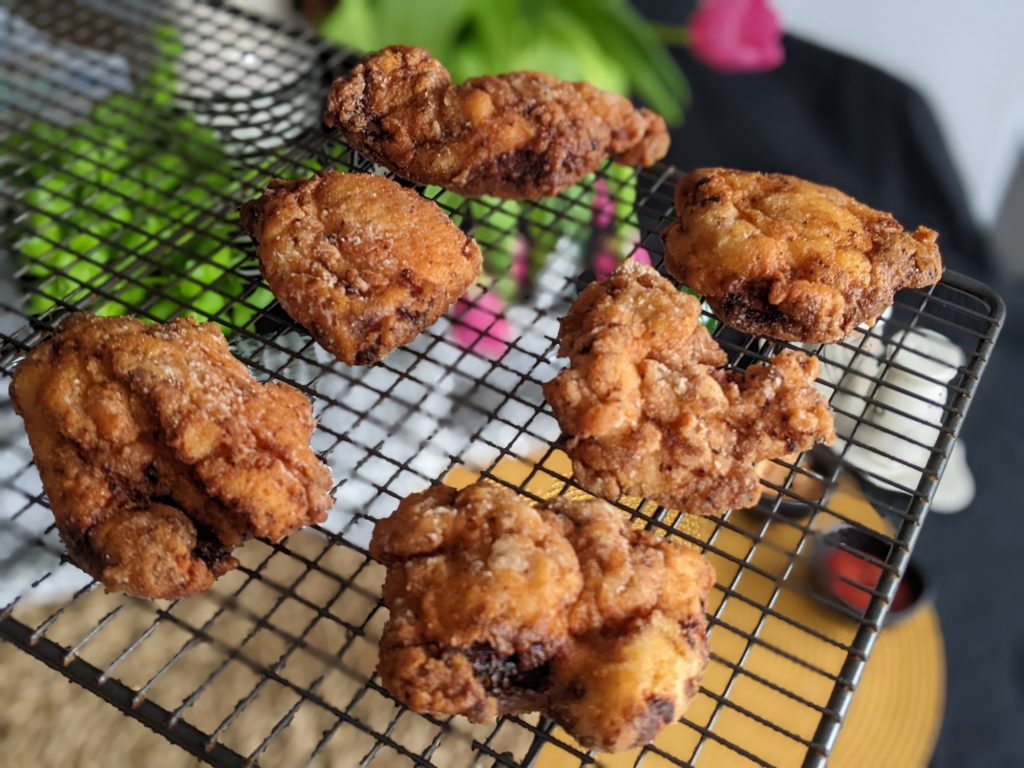
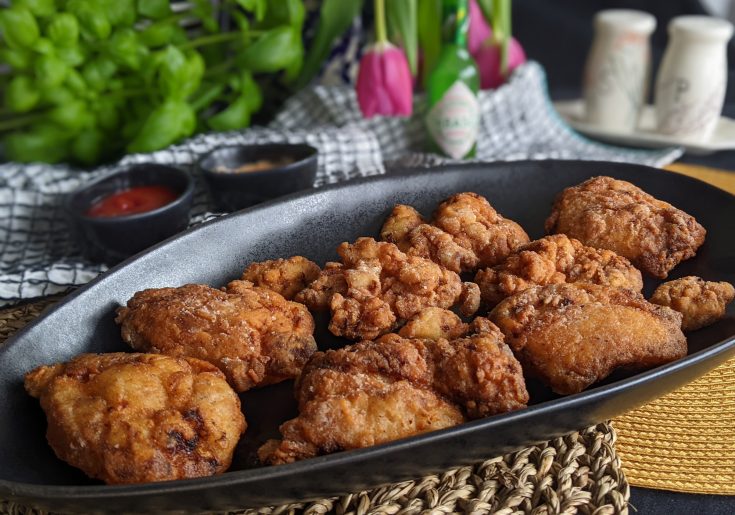
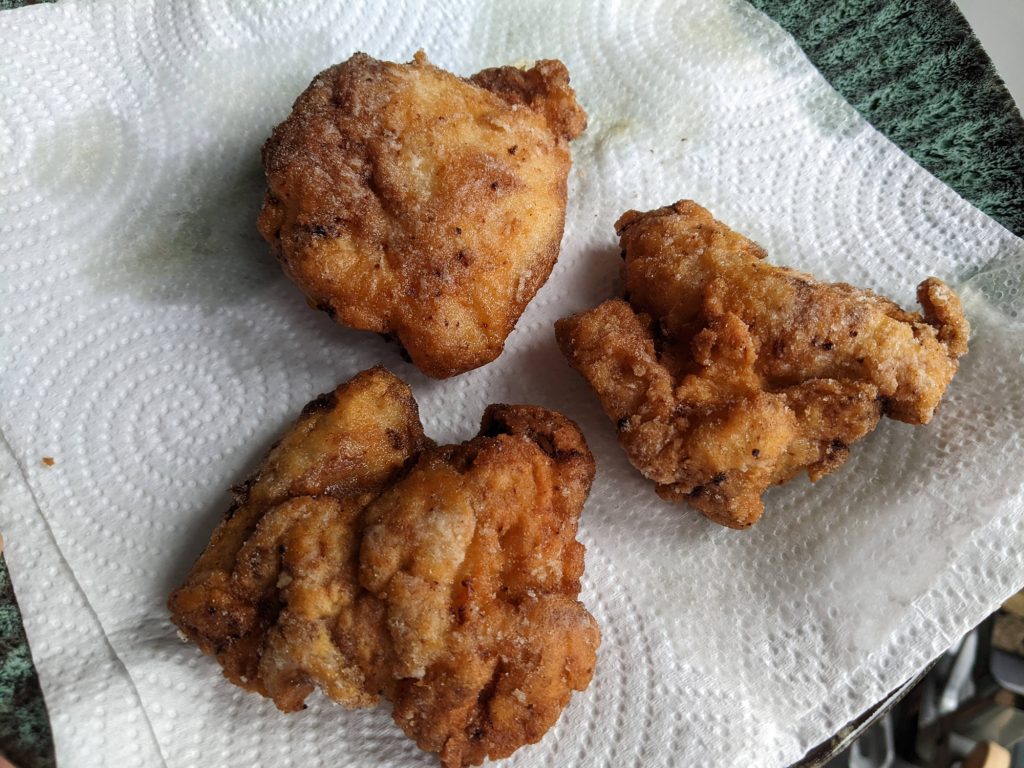
Oooo you are in for a TREAT with my new gluten free fried chicken recipe! Golden, crispy batter and juicy chicken inside, using easy-to-find ingredients. My fried chicken loving husband gave this a big thumbs up, so I knew I was onto a winner!
Gluten free flour works REALLY well as a coating for deep fried items. Professional chefs often say gluten free flours produce better flour than wheat flour, and I have to say I fully agree. The final batter is crispy, golden and moreish.
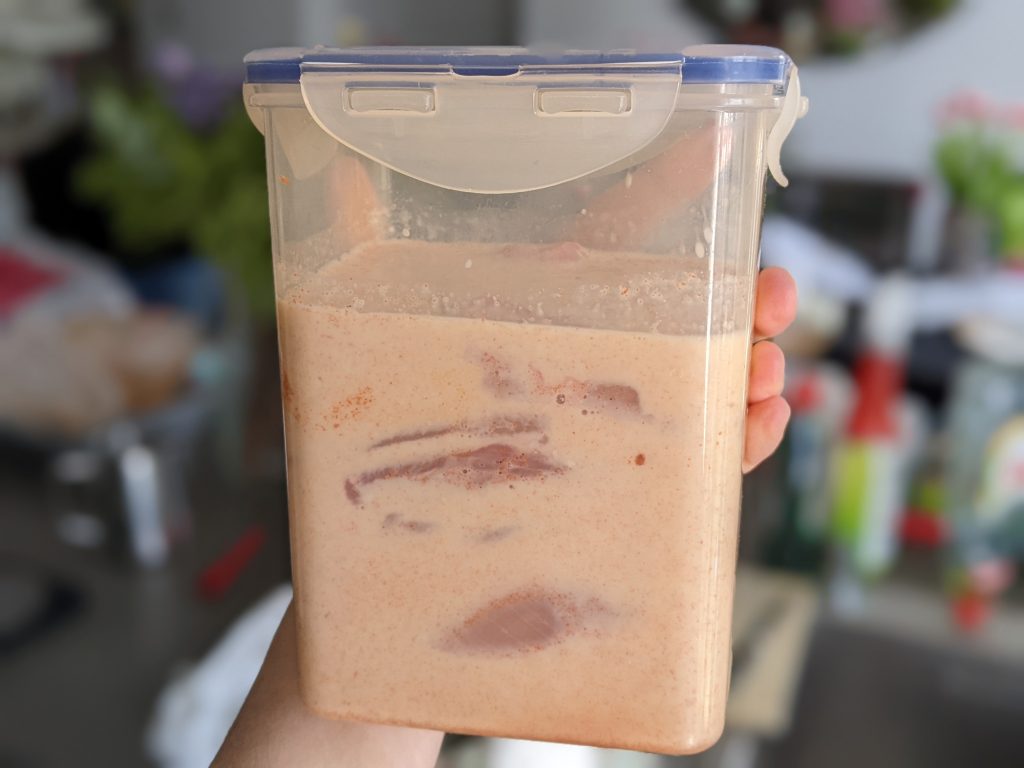
I’ve gone for a classic buttermilk fried chicken recipe, although have also included the option for a buttermilk alternative. Sometimes it’s not readily available in the shops, or you might want to try a dairy free version.
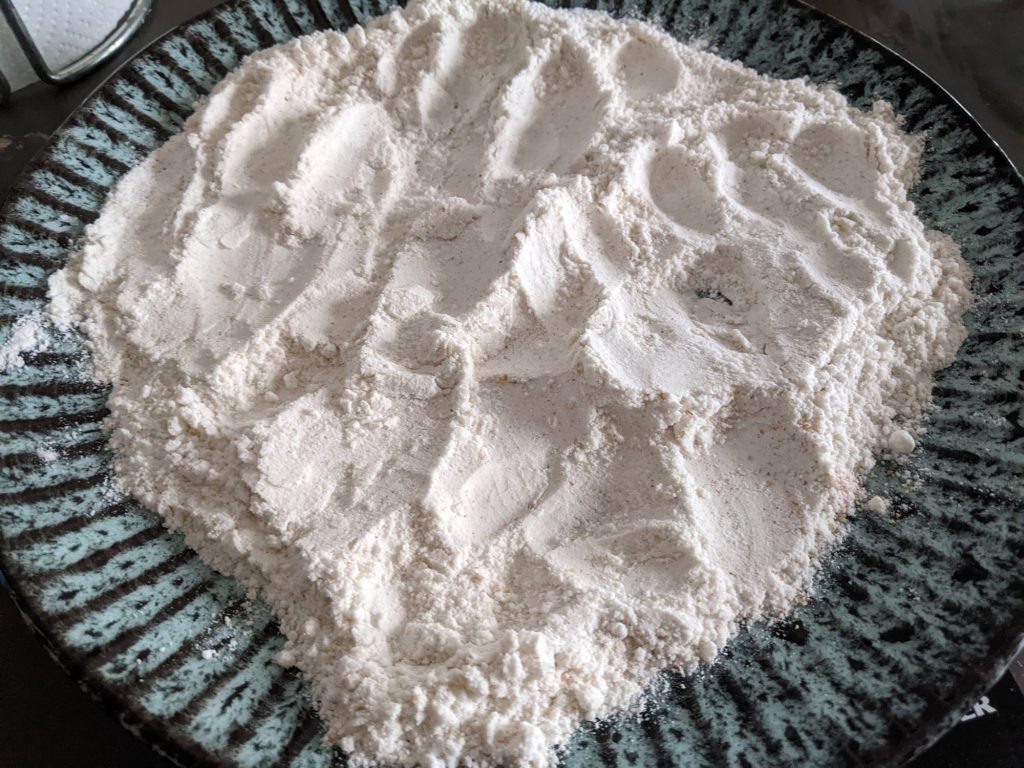
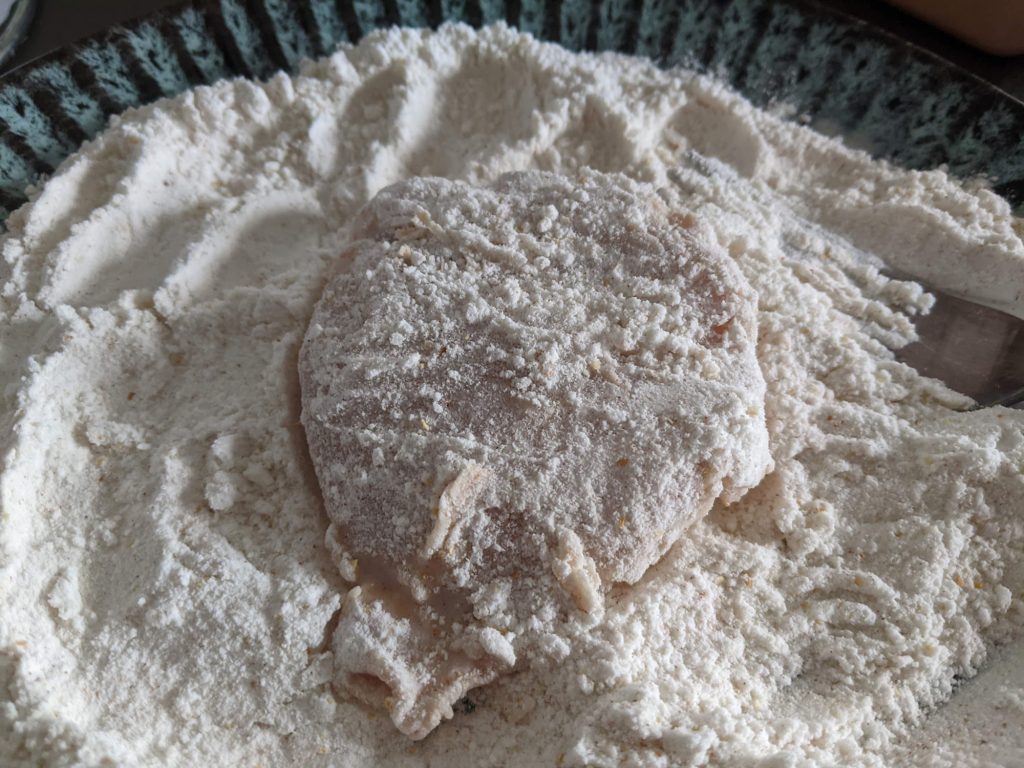
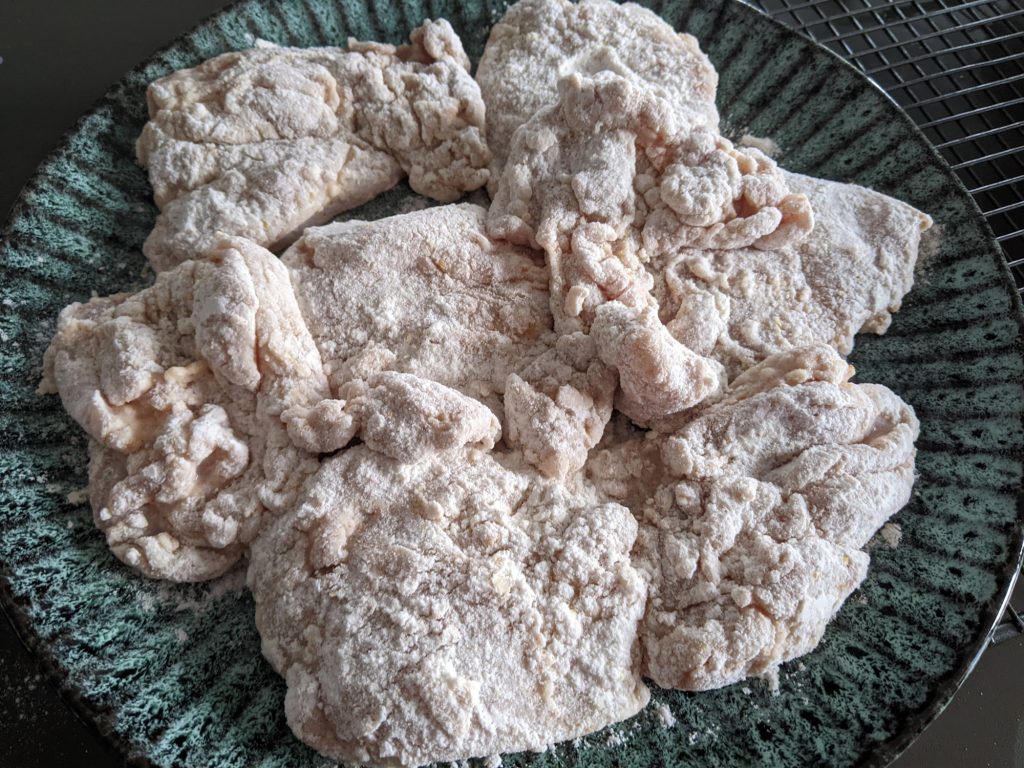
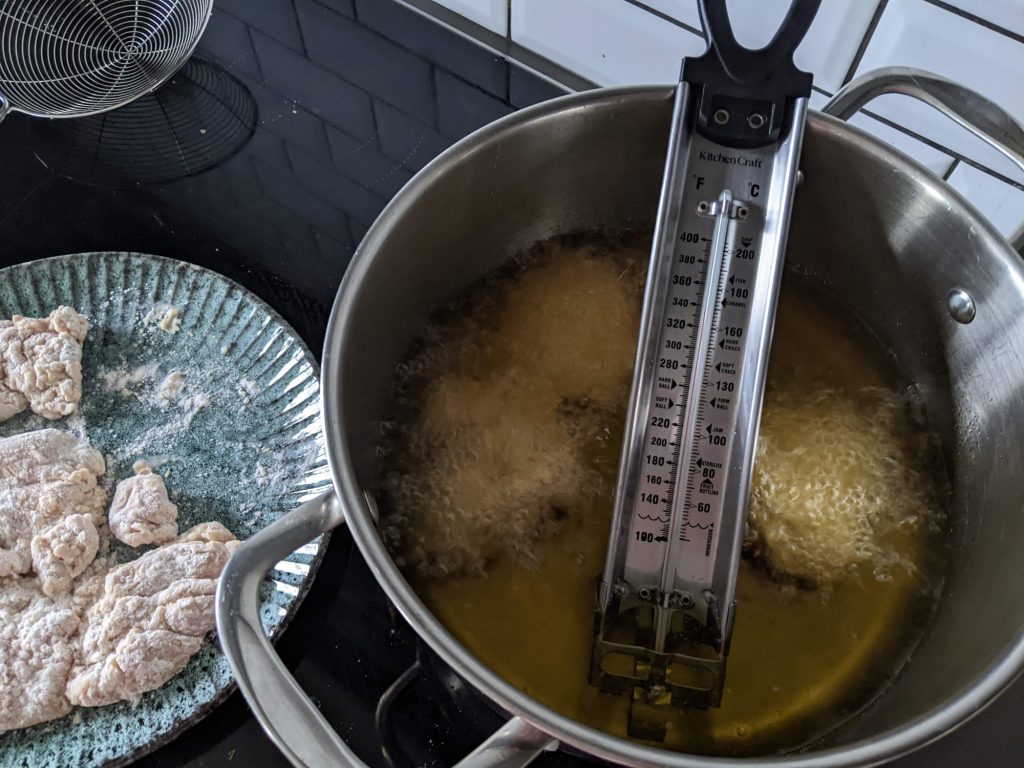
So you marinate the chicken in the buttermilk and spices for a couple of hours (or overnight if easier for you), then dredge in seasoned flour before frying. Then it’s super quick to cook, only needing a couple of minutes on each side. Mmmm mmmm!
Which Flour Do I Need for Gluten Free Fried Chicken?
I used a shop-bought gluten free plain flour blend, but also had great results with corn flour. So you can use either for this recipe. Potato starch works really well too, it’s just less readily available in the shops.
My favourite flour blend to use was actually the super cheap Asda Gluten Free Plain flour (currently 80p a kg), as it contains lots of potato starch and that’s perfect for frying. The FREEE flour works well too, it’s just more expensive and the Asda one made slightly better batter.
Which Cut of Chicken Is Best?
As for the chicken, I use chicken thigh fillets, as they are super succulent and work really well for fried chicken. You can use chicken breast if you prefer, cut into smaller fillets. However, it may cook a little quicker so adjust the cooking time if your first batch is on the dry side.
Fried Chicken Serving Suggestions
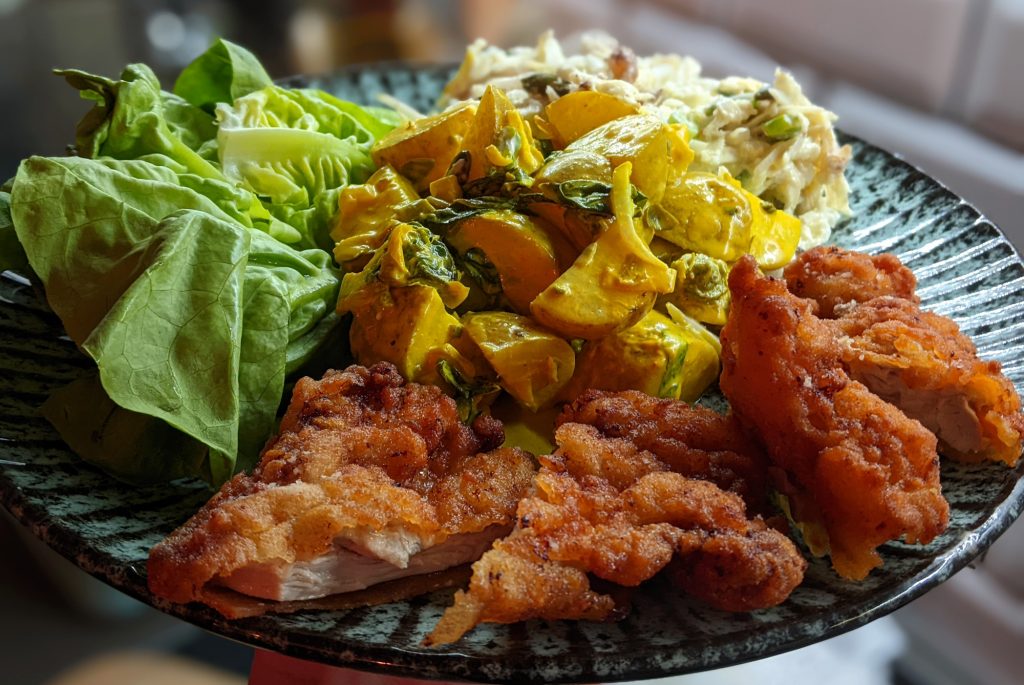
Eat this gluten free fried chicken anyway you like! In a bucket if you want to make your own KFC at home. Or with my homemade oven chips, for a great pairing, with some corn on the cob.
It’s be great for fried chicken burgers. Or serve with homemade potato salad, ‘slaw and lettuce for a more balanced meal. I’ve got a fantastic potato salad recipe coming soon that works beautifully with gluten free fried chicken.
Gluten Free Fried Chicken Recipe
This fried chicken recipe serves 4 as part of a meal (with sides or as burgers), or 2 as a mega fried chicken feast!
You will find some handy pictures below, underneath the recipe. For any help along the way or if you have questions, please do message me on social media (@myglutenfreeguide) or email me at laura@mygfguide.com.
If you do enjoy this gluten free fried chicken recipe, please leave a review on the recipe card below. It makes a world of difference to me :). And you can also share photos of your home creations in my Cooking Club on Facebook.
Happy frying!
Laura xxx
Gluten Free Fried Chicken
Golden, crispy fried chicken that you'd never guess was gluten free! Enjoy solo as a fried feast, serve with side dishes or enjoy as fried chicken burgers.
Ingredients
- 500g chicken thigh fillets
- 280ml buttermilk OR 280ml milk and 1 tbsp white wine vinegar
- 80ml pickle juice/jalepeno juice (if you don't have any, use white wine vinegar or cider vinegar)
- 1.5 tsp garlic powder
- 1.5 tsp smoked paprika
- 0.5 tsp fine salt
- 150g gluten free plain flour (I use Asda) or cornflour
- Approx 750ml frying oil (I use vegetable or sunflower oil)
Instructions
Notes
Leftover oil: allow to cool fully, then you can filter it and reuse. To filter, I place a fine metal sieve, lined with 3 sheets of kitchen towel, over a bowl. Tip the oil in and leave to run through. The filtered oil in the bowl can then be stored in the oil bottle and used again next time you want to deep fry.

For more finger-licking meal ideas, why not try some of my other gluten free recipes while you are here:
Enjoy! xxx