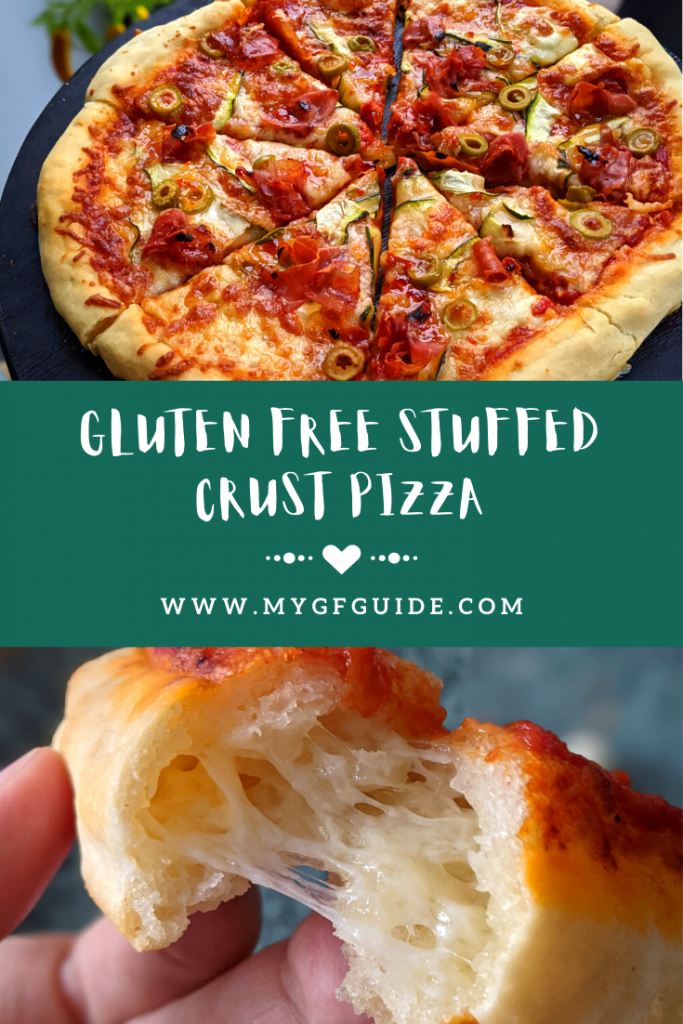
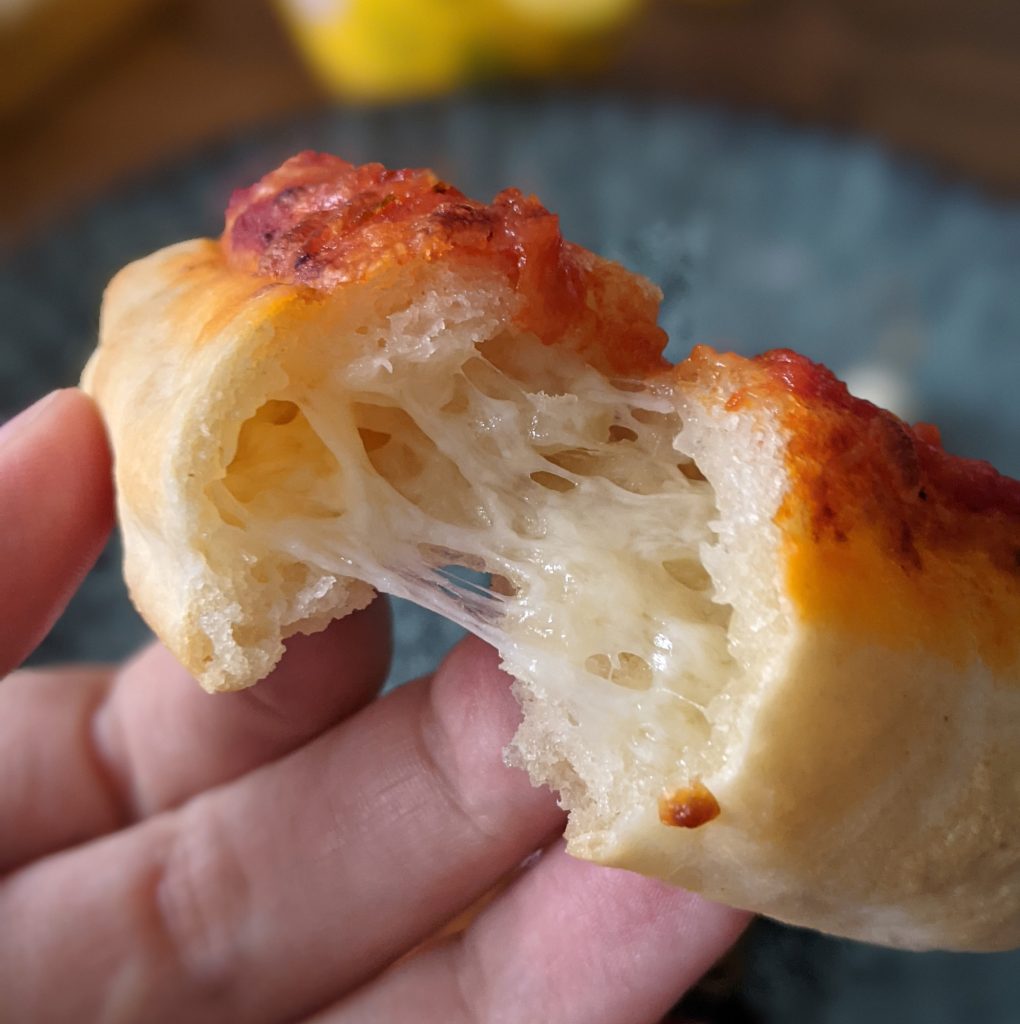
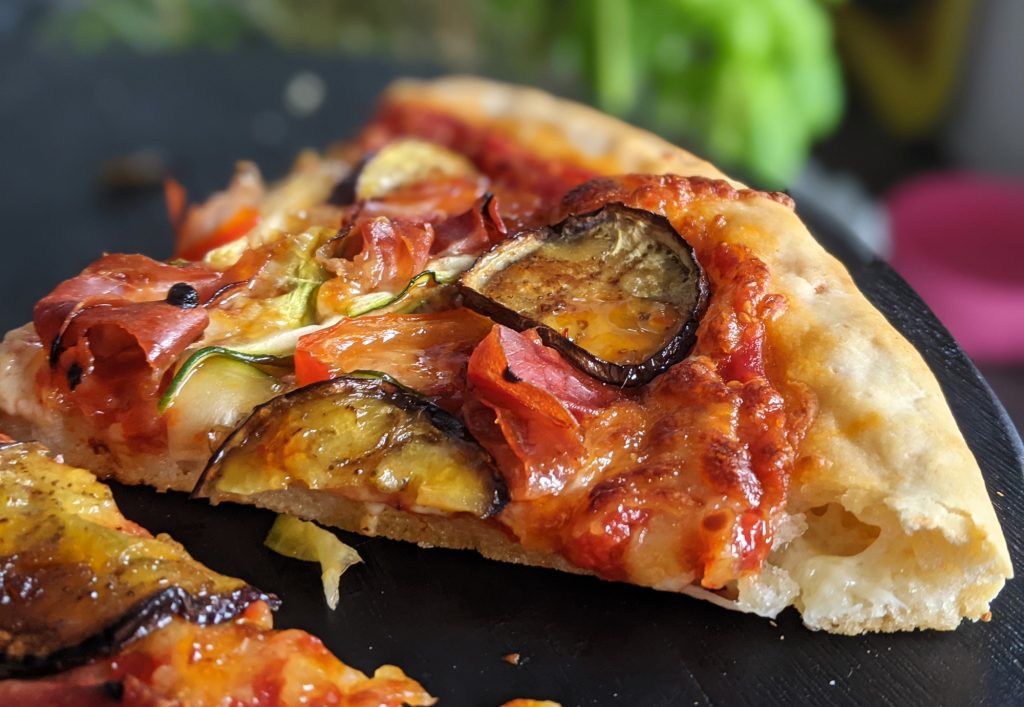
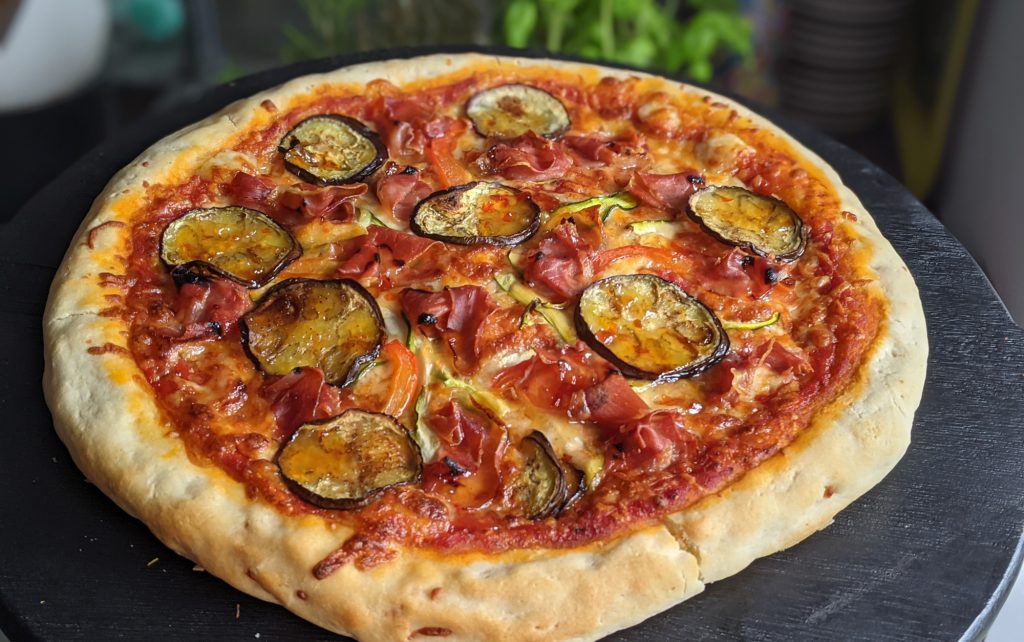
I tried making gluten free stuffed crust pizza for fun recently, adapting my super popular gluten free pizza dough. A few tweaks later and I was eating the MOST INCREDIBLE stuffed crust pizza, with a soft, pliable fluffy base and crispy, cheese-filled crusts. Absolute heaven.
Lots of you have been asking for this recipe, so I did a rerun to check everything and am now happy to share. Hopefully you’ll all be living the stuffed crust dream before too long!
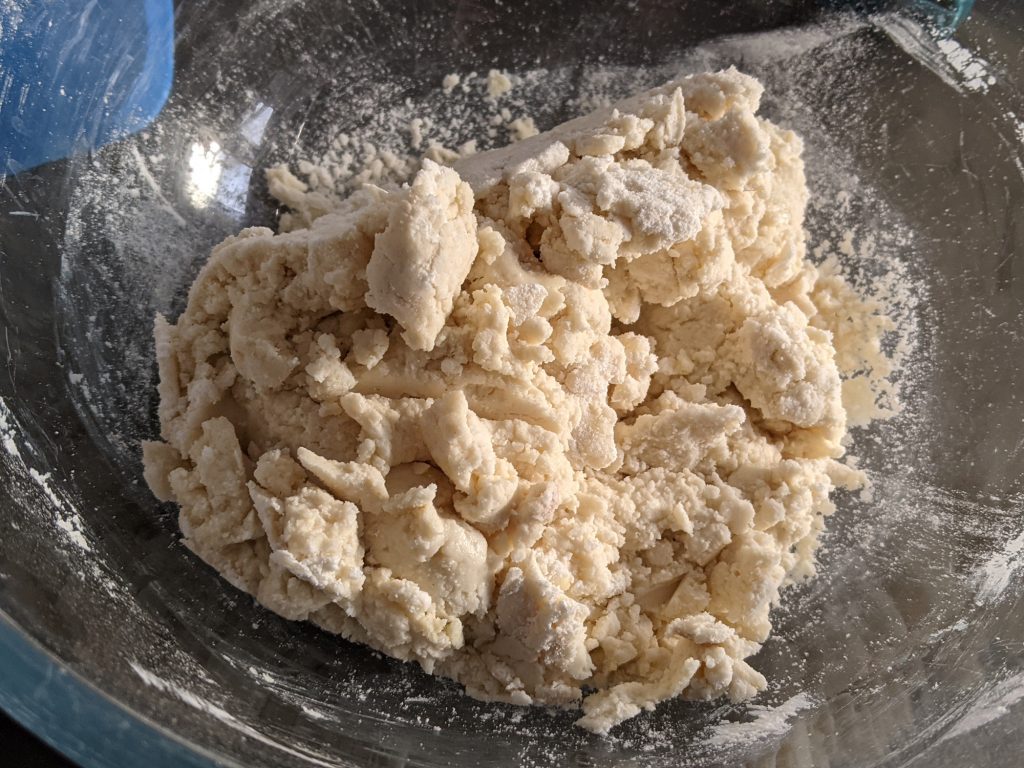
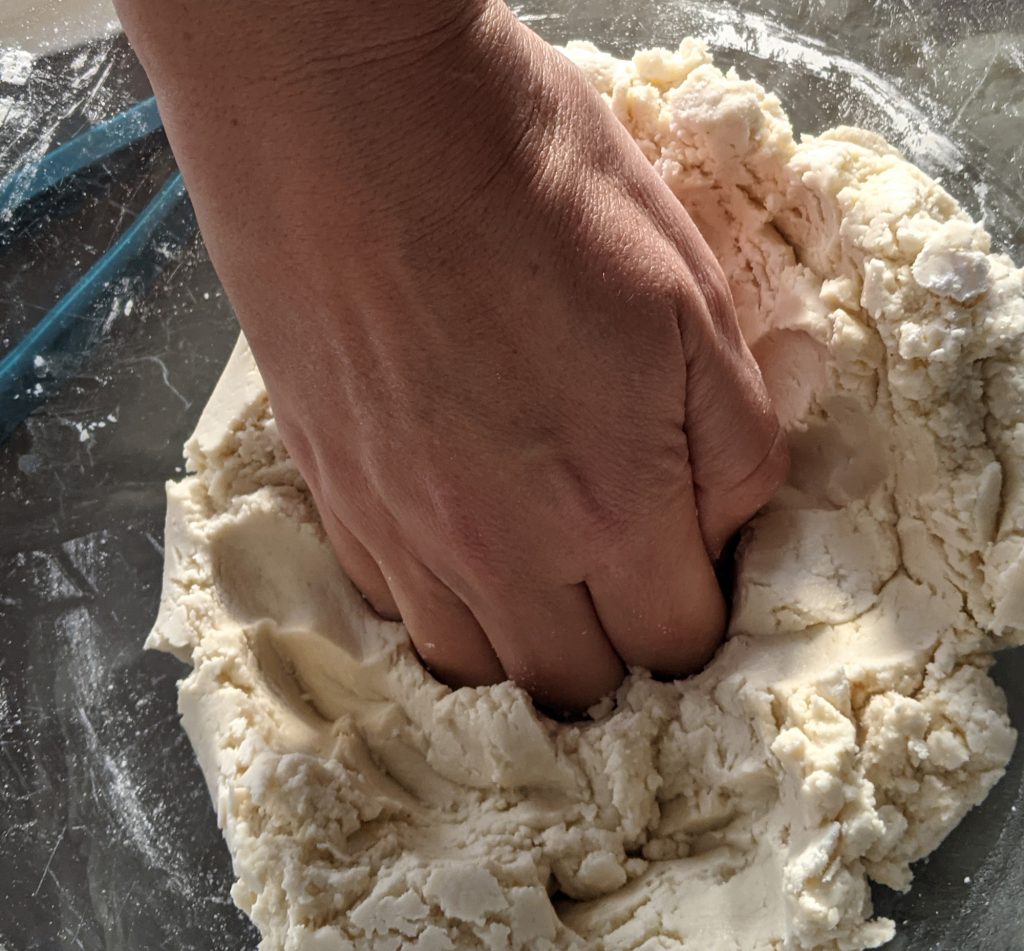
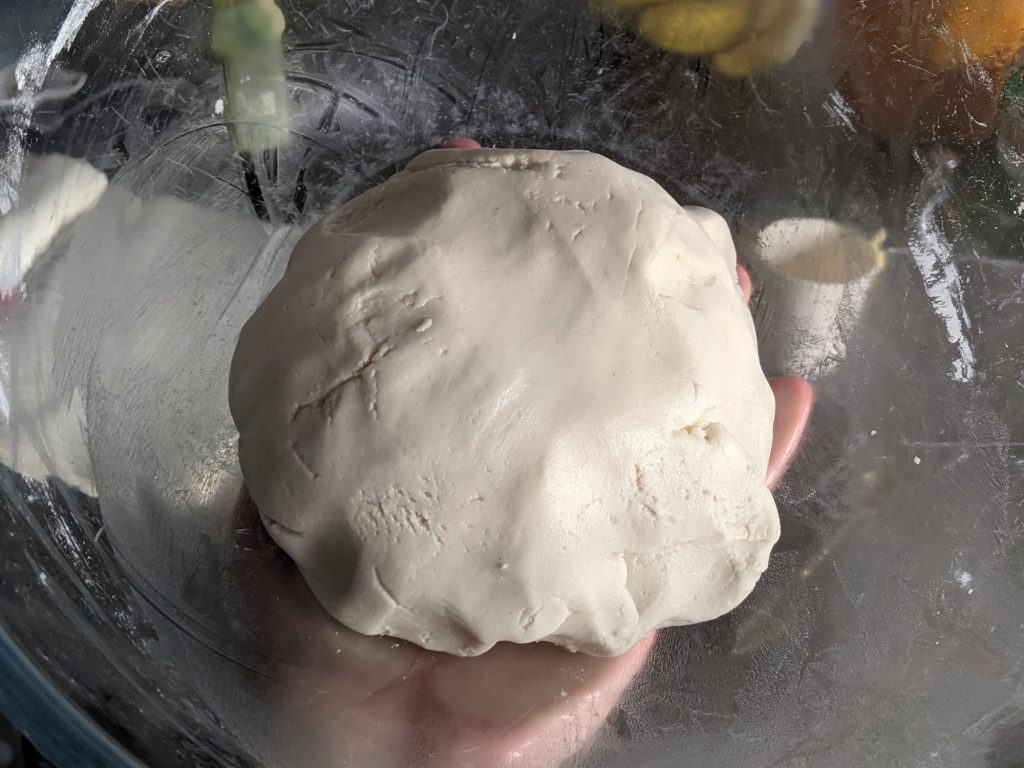
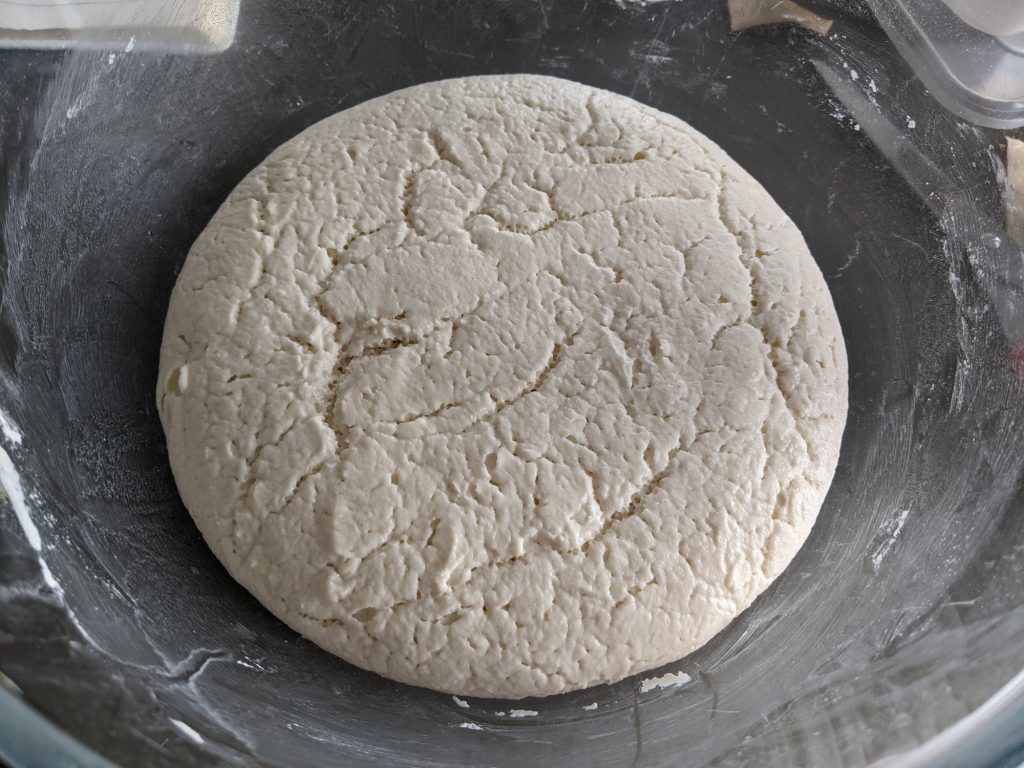
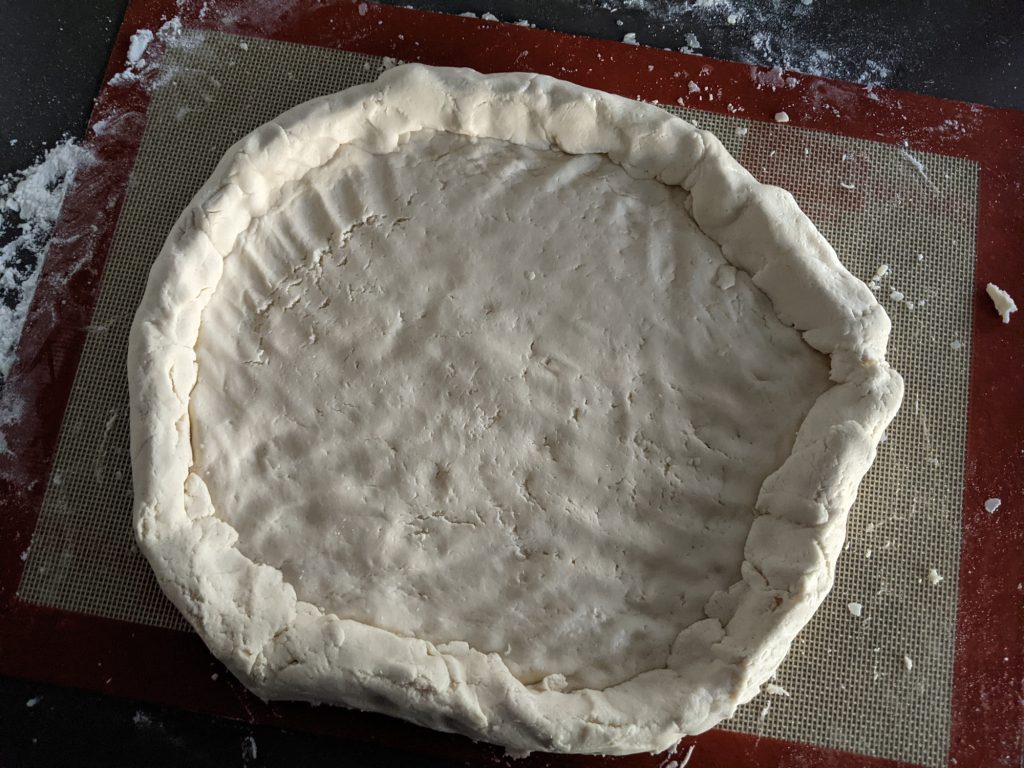
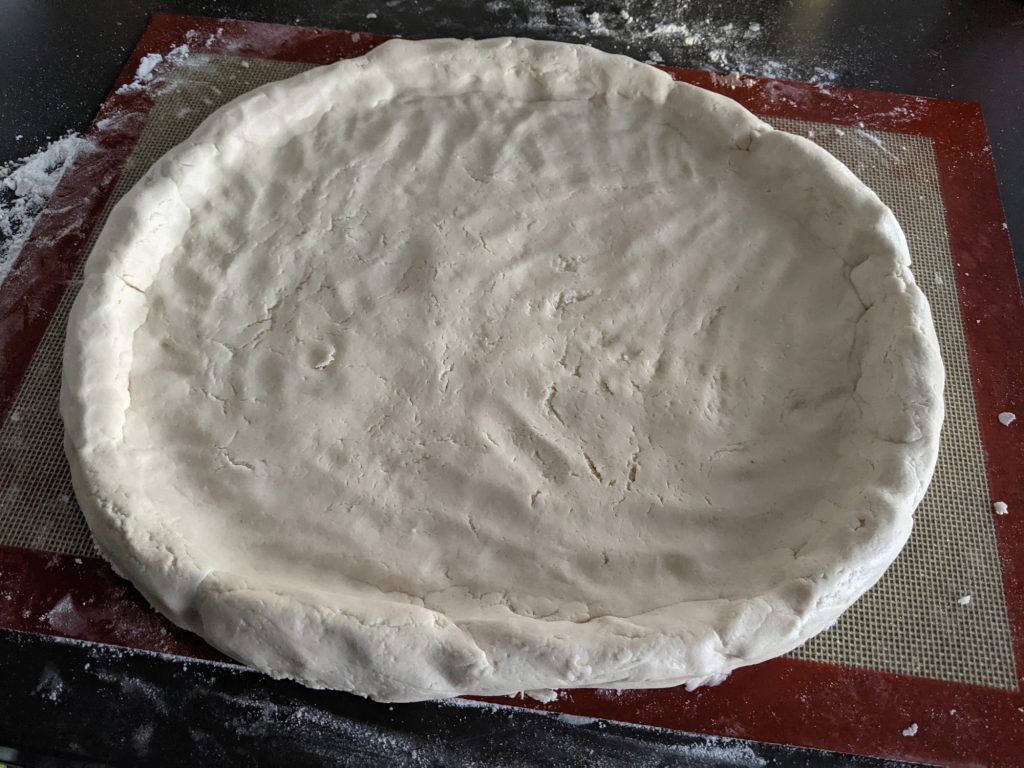
If you usually make my gluten free pizza recipe at home, you’ll find this dough is much less wet and sticky, as I needed to toughen it up to make it easy to work with. The end result is still a lovely crust, almost fluffy and filled with teeny bubbles to keep it soft. No horrible cardboard pizza base here, no no no, just a proper pizza flop!
How to Make Gluten Free Pizza
Okay, normally I try to avoid too much spiel before a recipe (because, let’s face it, you guys want to get to the good stuff asap). However, for this one I want to have a bit of a chat about it before you crack on with the making.
Firstly – gluten free pizza dough does not behave like regular pizza dough. Don’t expect to be spinning this dough round your head pizza chef style (because if you try it you’ll just ended up covered in sticky dough)! Without gluten it doesn’t have as much stretch and you’ll need to work with it slightly differently. So if you’ve made gluten pizza before, forget everything and approach this recipe with a blank mind.
Measure Ingredients Carefully
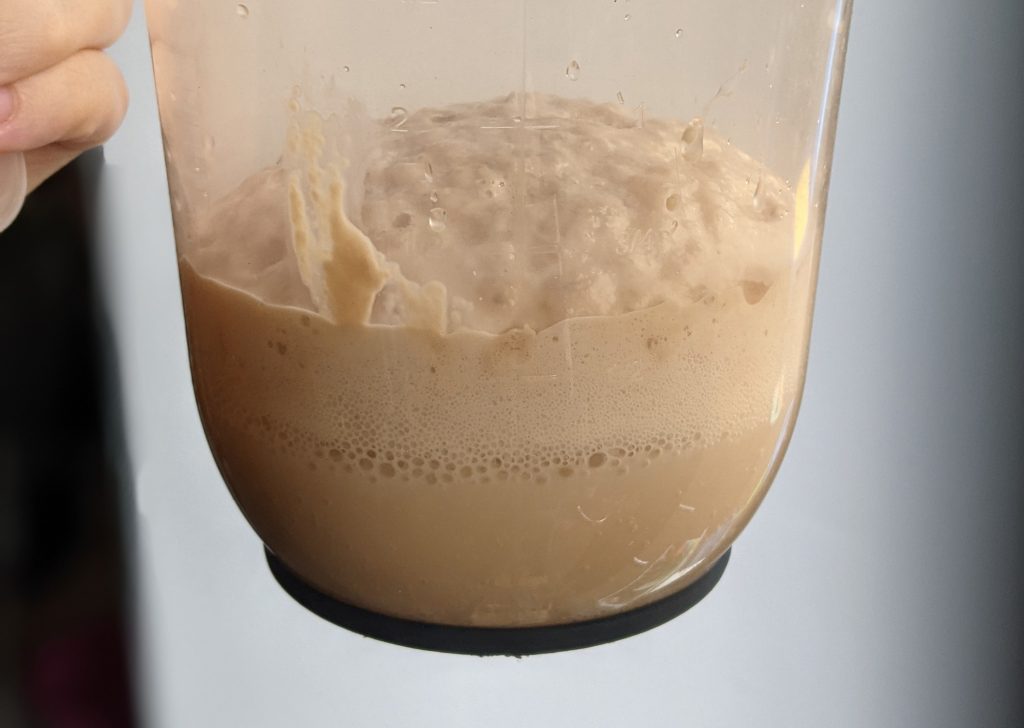
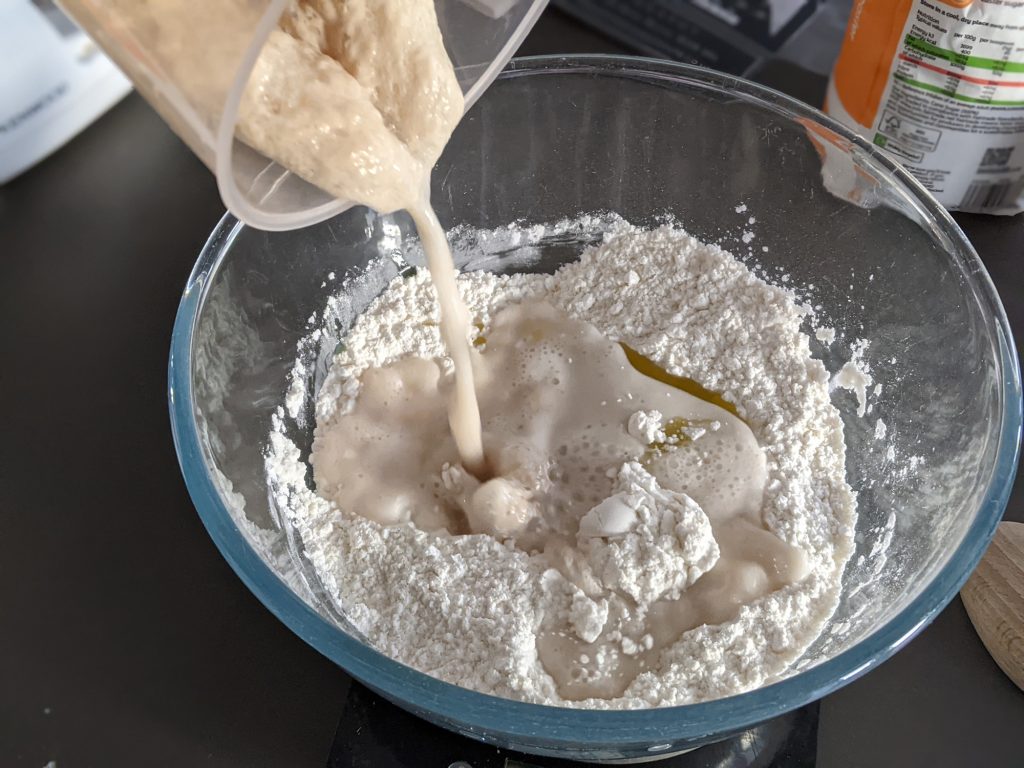
Accuracy is key for gluten free bread and pizza base recipes. Please try to ensure your measurements are as exact as possible, as an extra 10ml water or 10g flour will change the final consistency.
The base will still work, it just will either be harder to handle (if you end up with a very sticky dough with too much water), or not be as nice and pliable (if you use too much flour).
Can I Use Any Tapioca Starch and Plain GF Flour?
Tapioca starch is my magic ingredient for this pizza base. It gives the resulting gluten free pizza base its wonderful pliability and some stretch. You can buy tapioca starch in lots of shops (it is sometimes sold as tapioca flour), or even buy online via Amazon and similar retailers.
Aside from the tapioca, you’ll likely have the other ingredients knocking around in your kitchen already. Plain gluten free flour (I use the FREEE by Doves Farm blend – if you use a different flour blend you might have to adjust the hydration levels slightly), salt, olive oil, dry active yeast and sugar.

No Xanthan Gum?
You’ll notice that, unusually for gluten free recipes, I have not included any xanthan gum in this recipe. I discovered that tapioca starch eliminates the needs for it, as the tapioca helps with the binding. I don’t mind using xanthan in small quantities, but didn’t want to use a massive amount for this pizza base (I’ve seen some recipes using it by the tablespoon) so was happy that tapioca cancels it out.
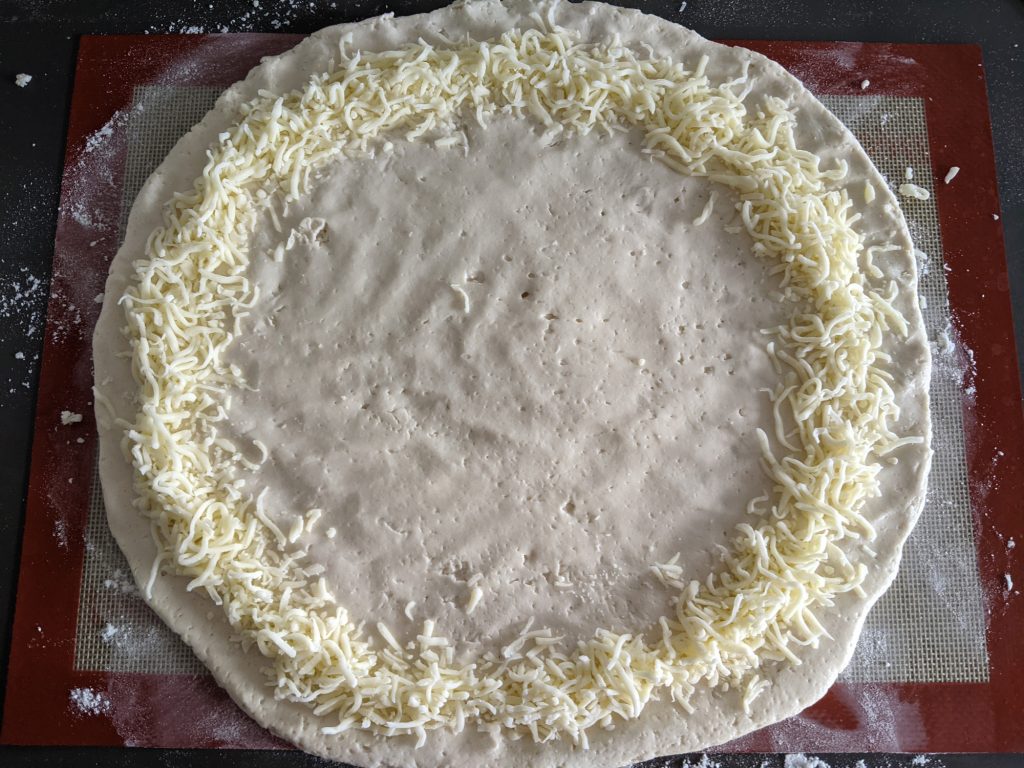
What Type of Mozzarella Do I Need?
I’ve actually tried this recipe with both block mozzarella and grated mozzarella – it works with either. Personally I prefer grated mozzarella as it was more enjoyable to eat, but for a really effective stretchy cheese pull give block mozzarella a go.
Can I Reheat the Leftovers?
You have leftovers?! Teehee, just teasing – the leftovers can be stored in the fridge them simply microwave them to reheat, for 30 secs-1 minute until soft. My leftovers were still perfect on day 3 after cooking, this pizza is just the bomb!
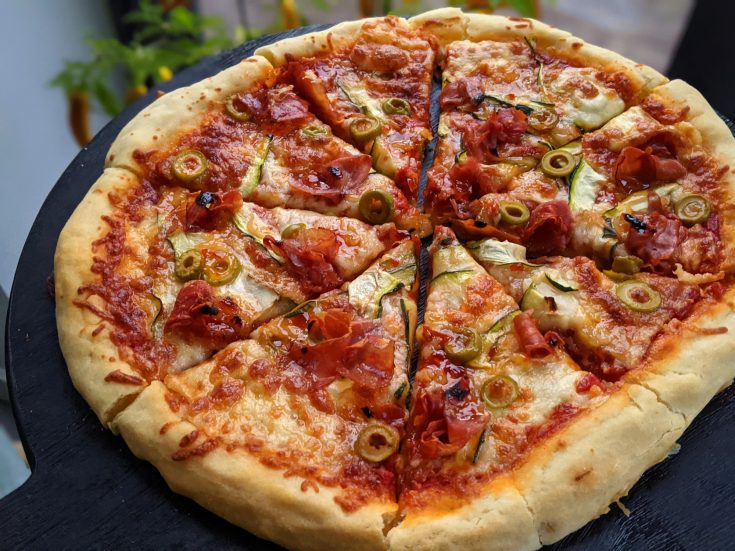
Gluten Free Stuffed Crust Pizza Recipe
This recipe makes 1 gluten free stuffed crust pizza. Dave and I have very good appetites, but find one of these between us fills us up, as with the thick crust it’s quite filling. But, leftovers from the pizza do keep nicely (see storage and reheating instructions above), so you can always double the recipe to be on the safe side :D.
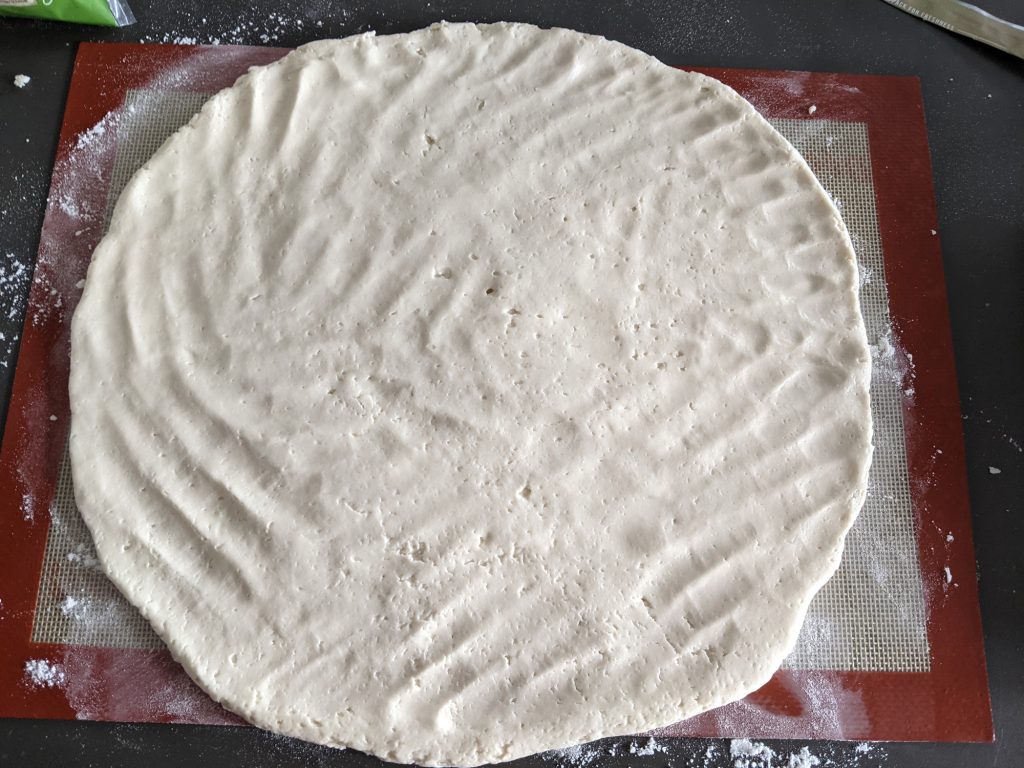
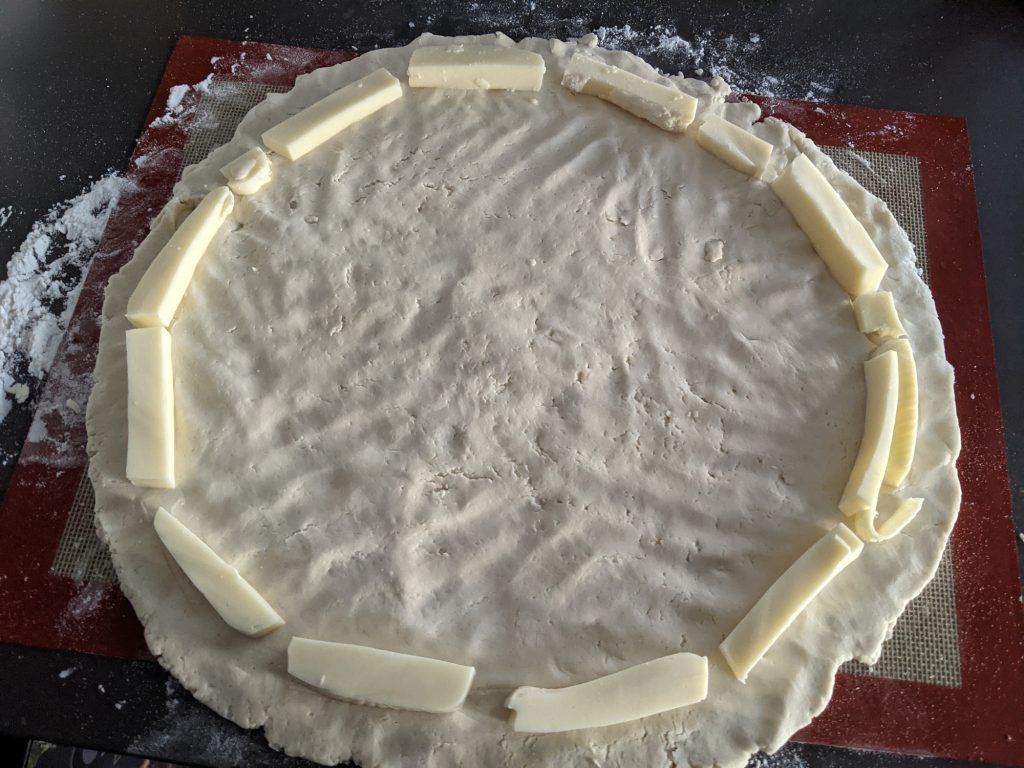
You’ll find a detailed method below, with tonnes of pictures to guide you through the recipe. If you have any questions feel free to get in touch. You can contact me at laura@mygfguide.com or message me on Instagram/Facebook @myglutenfreeguide.
One piece of simple kit I would recommend, is a silicone baking mat. You can use non-stick baking paper to assemble your pizza, but the baking mats are much sturdier and are reusable too.
Lastly, if you enjoy this stuffed crust pizza, I would be really grateful if you could leave a star rating or review on the recipe card below. Thank you!
Laura xxx
Gluten Free Stuffed Crust Pizza
A delicious gluten free pizza with crispy cheese-stuffed crusts and a soft, pliable base. Once you've tried this recipe you'll not be able to go back!
Ingredients
- 1.5 tsp caster sugar
- 8g dried active yeast (I use Allinsons Easy Bake Yeast)
- 190ml warm water
- 230g plain gluten free flour (I use FREEE)
- 70g tapioca starch
- 1 tsp fine salt
- 2 tbsp olive oil
- 125g grated mozzarella cheese OR pizza mozzarella (block)
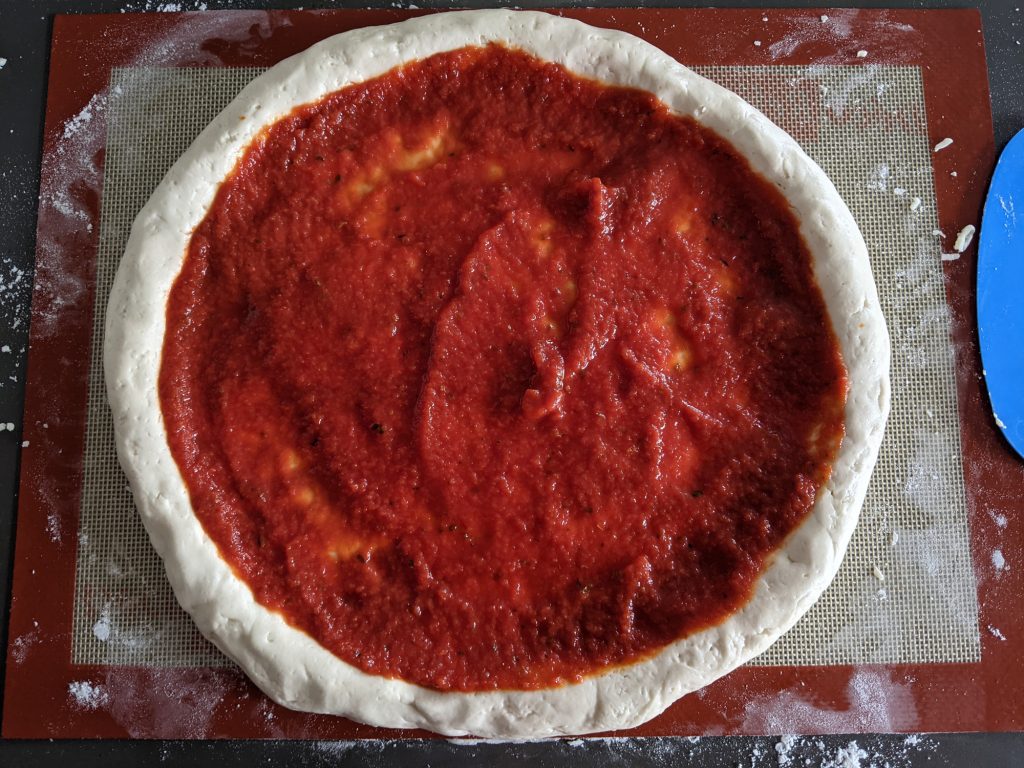
For the tomato sauce:
- 200g tomato passata
- 0.5 tsp oregano
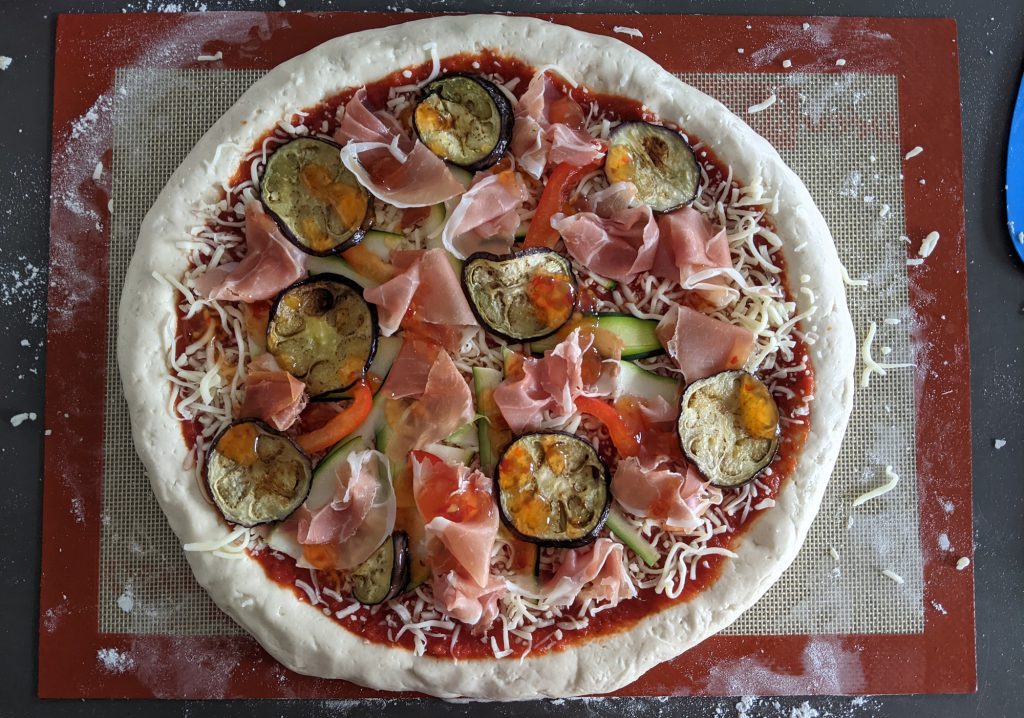
For the topping:
- 125g grated mozzarella
- Anything else you like! Some ideas: sliced peppers, mushrooms, olives, prosciutto, pepperoni, chicken, capers or anchovies.
Instructions
Step By Step Recipe Pictures
I hope you find these pictures helpful – sometimes a photo is much more helpful when navigating a new recipe! Most of my recipes have lots of pictures with them, to make them easy to follow. If you’d like to try some others why not check these out:
Enjoy! Laura xxx