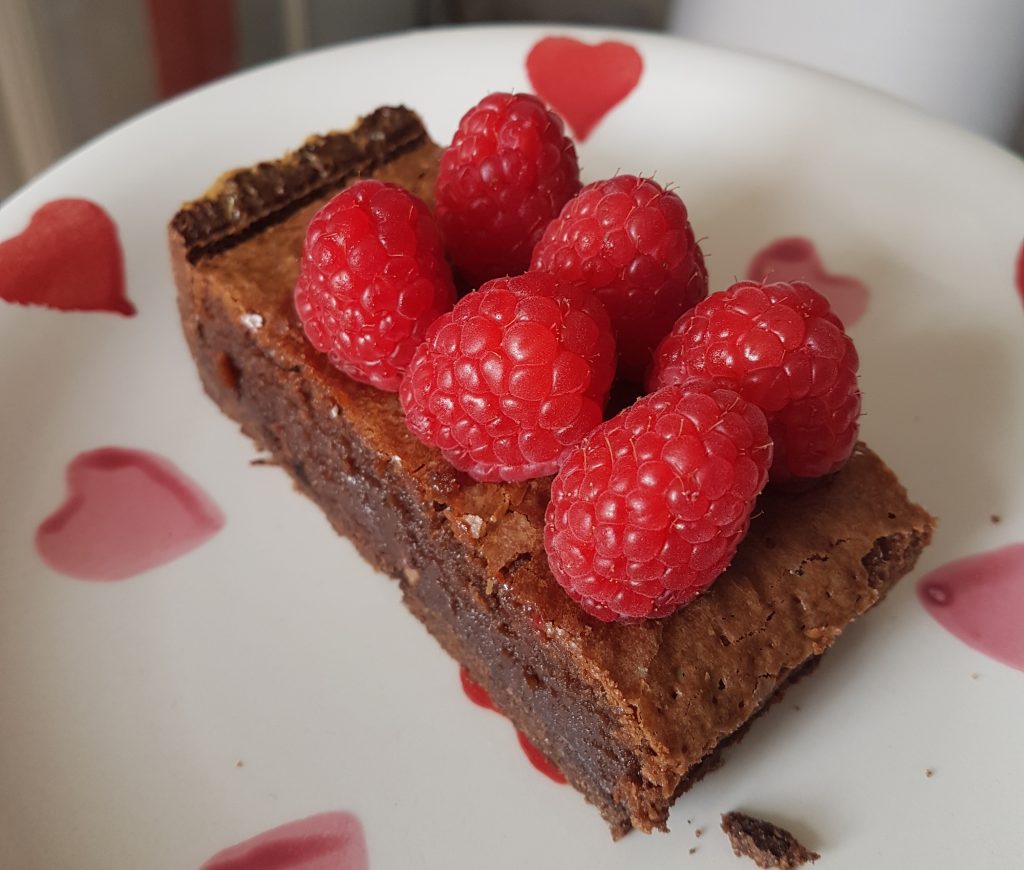
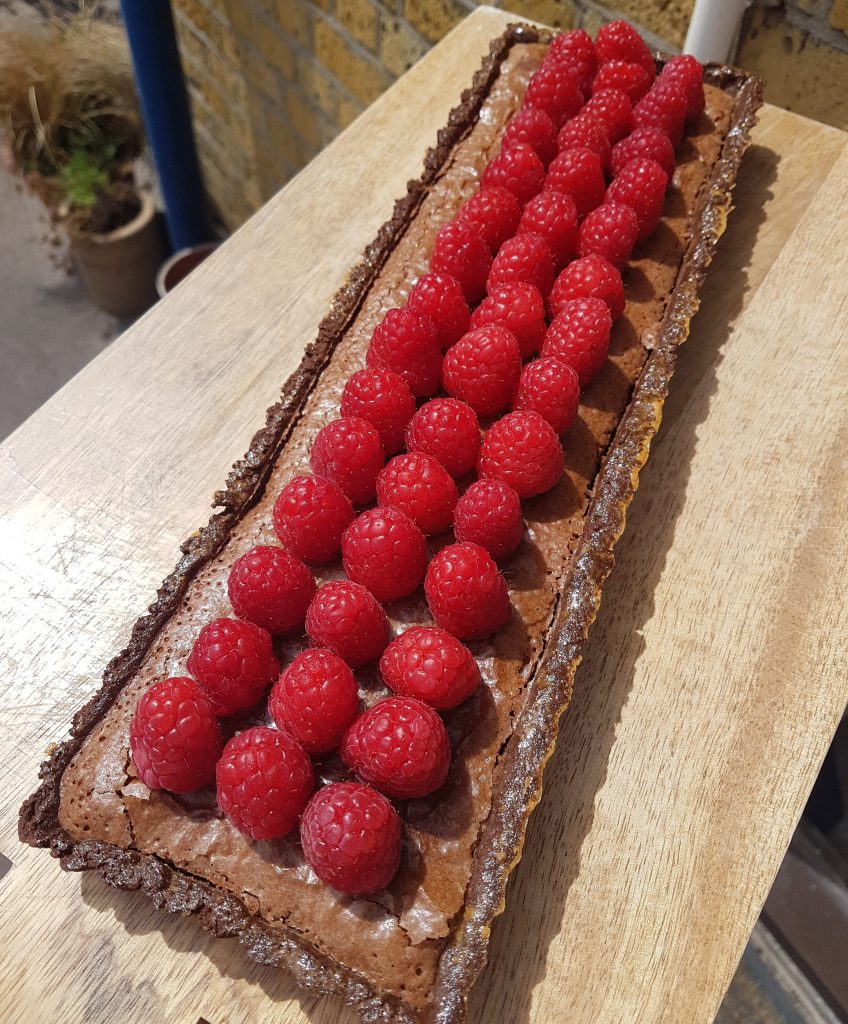
What’s better than a rich, soft gluten free brownie? A gluten free brownie tart topped with fresh raspberries, of course! This decadent dessert can be made in advance then topped with raspberries just before you serve, saving you the stress and hassle of last minute baking. Eat with a nice hot cuppa in the afternoon or serve for dessert with a dollop of clotted cream or scoop of your favourite ice cream.
The pastry in this gluten free brownie tart recipe is a slightly adapted version of Naomi Devlin‘s excellent gluten free shortcrust. I omitted a couple of ingredients and added cocoa powder for a rich, chocolately flavour. I baked my gluten free brownie tart in a long tin, but you can use any shape you like. A round tart tin would work equally well.
Gluten Free Brownie Tart (Serves 6)
Ingredients
For the brownie filling:
- 65g dark chocolate
- 60g milk chocolate
- 125g salted butter
- 2 medium eggs
- 115g golden caster sugar
- 75g plain gluten free flour
- 1/2 tsp vanilla bean paste (or vanilla extract)
For the pastry:
- 40g rice flour (find it in Holland & Barrett)
- 40g sorghum or buckwheat flour (Shipton Mill have great value gluten free flours for blending)
- 25g tapioca starch (Holland & Barrett)
- 35g ground almonds
- 25g cocoa powder
- 1 tsp ground flaxseed/linseed (Holland & Barrett)
- 50g salted butter, softened
- 1 medium egg
- 2-3 tbsp cold water
- 25g light muscovado sugar
Method
Prepare the pastry first, as this will need to chill in the fridge:
- Mix the rice flour, sorghum/buckwheat flour, tapioca starch, ground almonds, cocoa powder, flaxseed, sugar and salt together in a bowl. Using your hands, gently rub the butter into the flour mixture, until it is well combined and is the consistency of breadcrumbs.
- Now add the egg and 2 tbsp of water and stir together with a fork. You will then need to get your hands back in there and add the final tbsp of water – mix everything together well until you have a slightly sticky dough. The water will be absorbed during chilling as the flours will soak it up. If it is still a bit dry looking, add a further tbsp of water.
- Form the dough into a ball in some cling film, flatten slightly and then place in the fridge to chill for at least 1 hour (overnight is also fine).
While that is chilling, we can make the gluten free brownie tart filling:
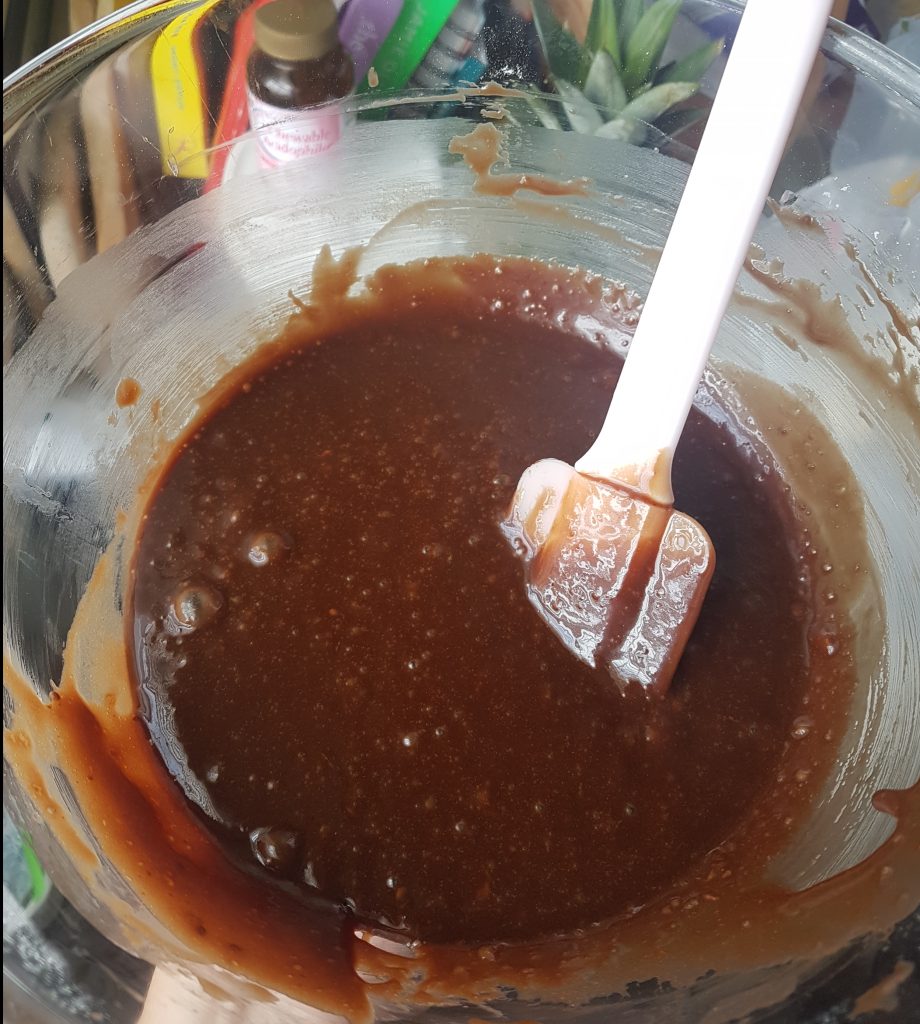
- Melt the butter and the chocolate together in a non-stick saucepan over a low heat. Keep the heat nice and low and stir occasionally until you have a lovely glossy pan of molten chocolate in front of you. Set aside and allow to cool slightly.
- Take a large bowl and add the eggs, sugar and vanilla bean paste. Beat until they are well combined.
- Once the chocolate mix has cooled a little (it should still be warm, but you should be able to put your little finger in the chocolate mix without it burning you), pour the chocolate and butter into the egg and sugar bowl, stirring the mix quite vigorously as you pour. It is important that the chocolate mix is not hot (just warm) when you pour it, otherwise you risk cooking the eggs. Both mixes should be totally combined now.
- Sift the gluten free plain flour on top of the chocolate mix and fold it in as you go. Stir well until all the flour is fully combined and there are no little flour lumps remaining.
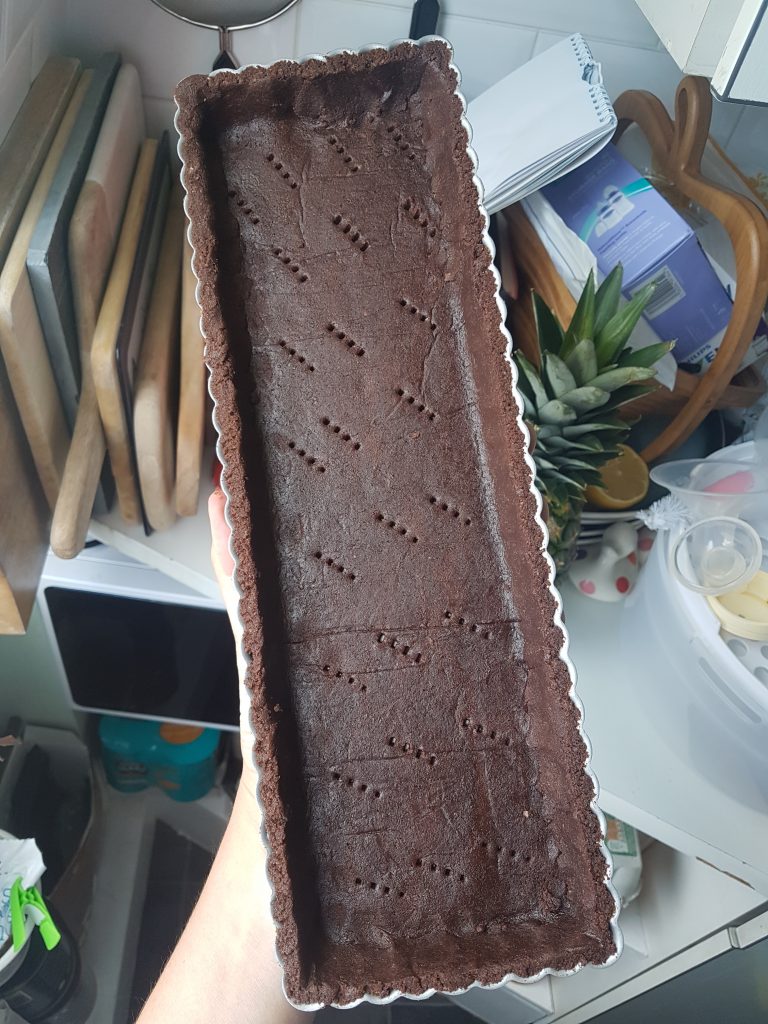
Time to prepare the pastry case for the gluten free brownie tart:
- After chilling, remove the dough from the fridge and briefly knead until it is pliable again. You may need to add a little water if it is crumbly. You want a normal pastry consistency here (i.e. not too sticky and not so dry that cracks appear when kneaded).
- Preheat the oven to 180C.
- Roll the pastry out (to about half a centimeter thick) on a floured surface to the shape required for your baking tin – round, long, square, whatever you have.
- Line the base of your tart tin with baking paper and grease the sides well with butter. Then place the pastry into the tin and gently press into the sides and edges. You can use any loose bits of pastry to patch up holes and cracks. It is a forgiving dough. Trim off the excess pastry using a sharp knife.
- Prick the base with a fork, then blind bake with baking paper and baking beans for 15 minutes at 180C.
- Remove from the oven, and remove the baking beans and parchment paper. Egg or milk wash the edges for a nice crispy tart crust.
- Bake for a further 10 minutes, until the base is cooked through. Remove from the oven.
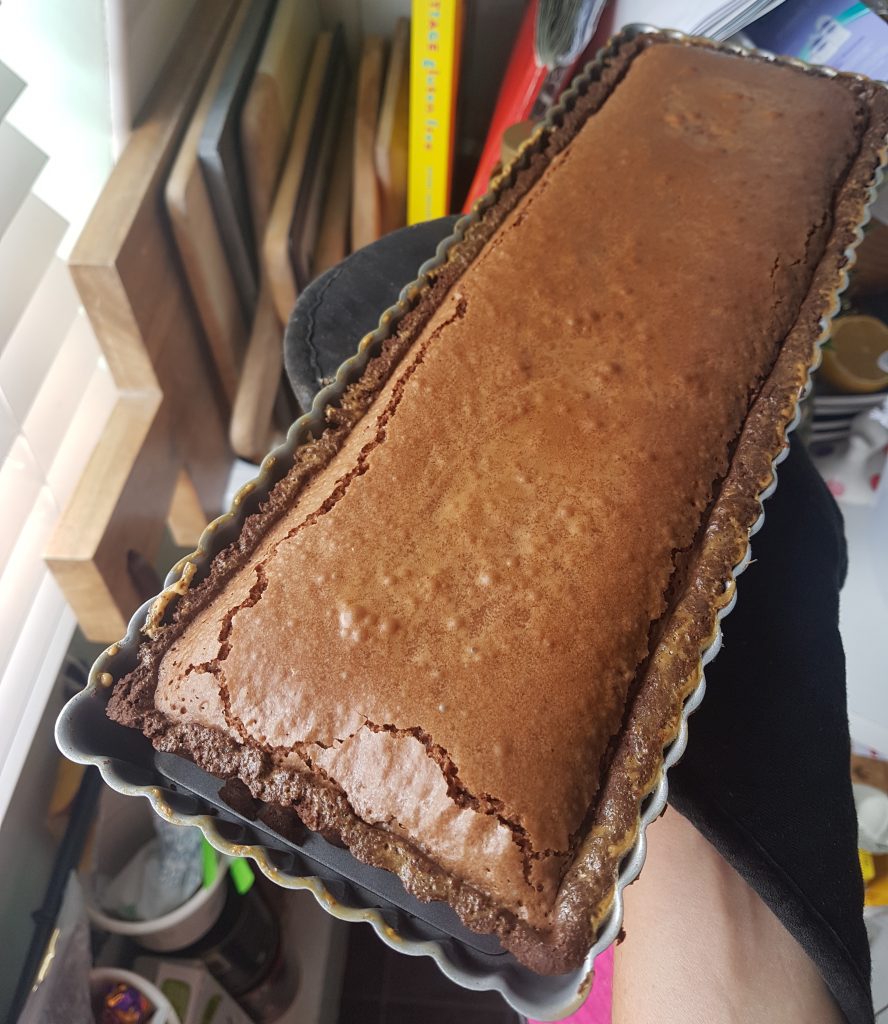
Let’s add that brownie filling!
- Turn the oven down to 160C.
- Pour the brownie mix into the gluten free pastry case – it should level itself out but give it a like shake to get it to the corners if needed.
- Bake at 160C for 10-15 minutes for a lovely squidgey brownie centre. The gluten free brownie will have a slight wobble to it still but you will see the top has begun to crack around the edges. If the mix is still quite sloppy, pop the gluten free brownie tart back in the oven for another 5 minutes. I like these brownies to be dense and fudgey and tend to leave them to cool and set for a couple of hours (or serve straight away for a molten lava cake type effect). If you prefer cakey brownies, you should cook for a further 10 minutes (but the fudgey centre is so much better).
Once the gluten free brownie tart has cooled and set, top with fresh raspberries and eat straight away! This will keep for a couple of days at room temparture in an airtight container.
In the mood for more brownies? Why not try one of my other gluten free brownie recipes:
- Peanut Butter Stuffed Brownies
- Salted Caramel Swirl Brownies
- The Ultimate Gluten Free Chocolate Brownies
Happy baking! x