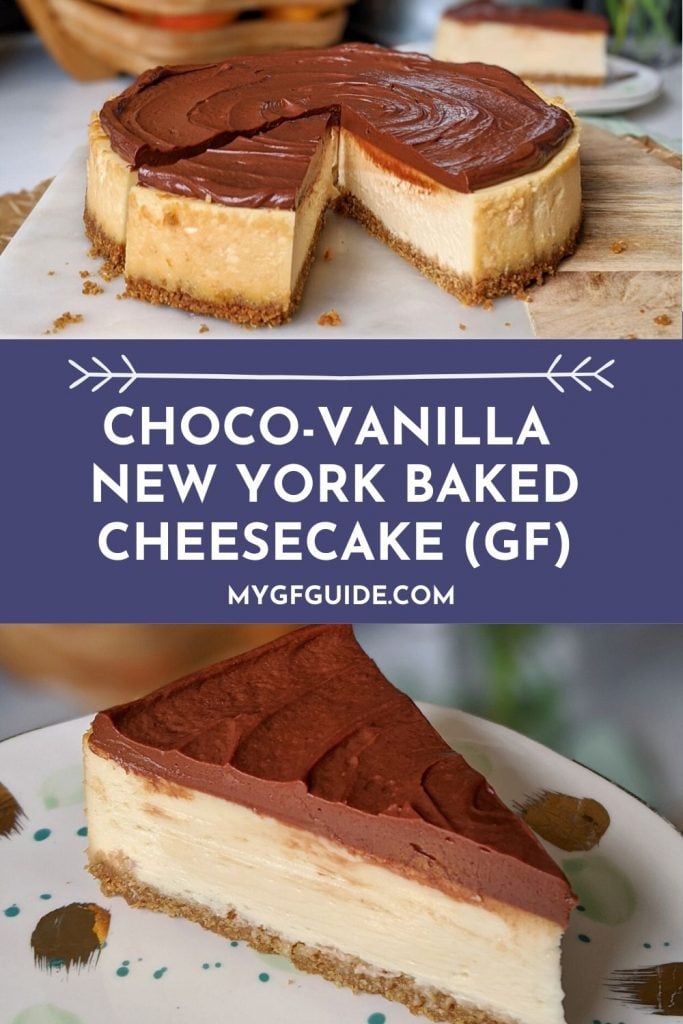
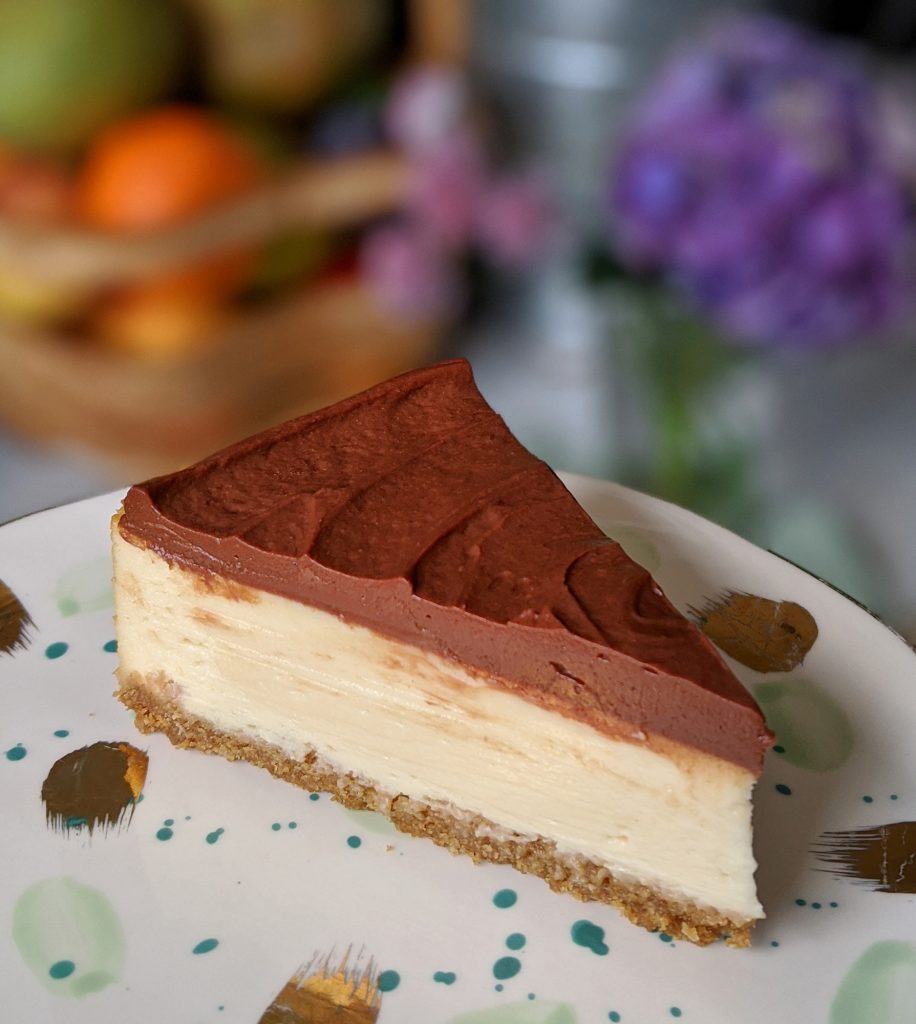
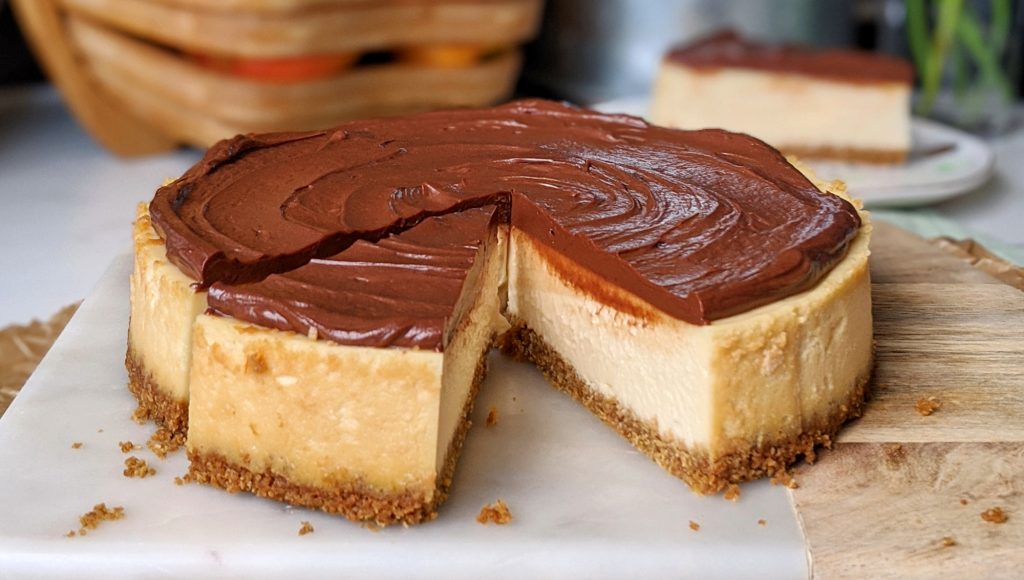
Cheescake fans, you HAVE to try my gluten free New York baked cheesecake! It’s the perfect creamy rich baked vanilla cheesecake, with buttery biscuit base and then topped with a sour cream chocolate ganache.
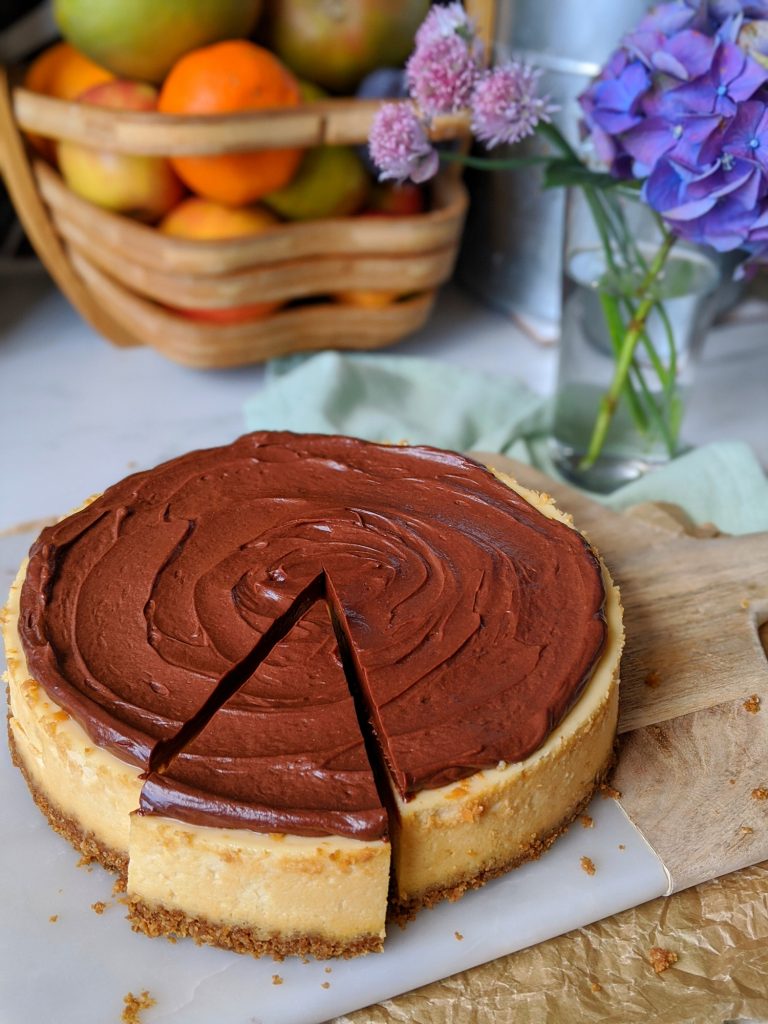
The finished cheesecake is absolutely delicious and you would never guess that it is gluten free. It’s a brilliant dessert to take to dinner parties or other gatherings as everyone will enjoy eating this pud.
You can skip the chocolate topping if you want a plain vanilla baked cheesecake. Serve with some berry compote and a dollop of sour cream for a fruit variation. I also have a dulche de leche cheesecake variety that you might want to try instead.
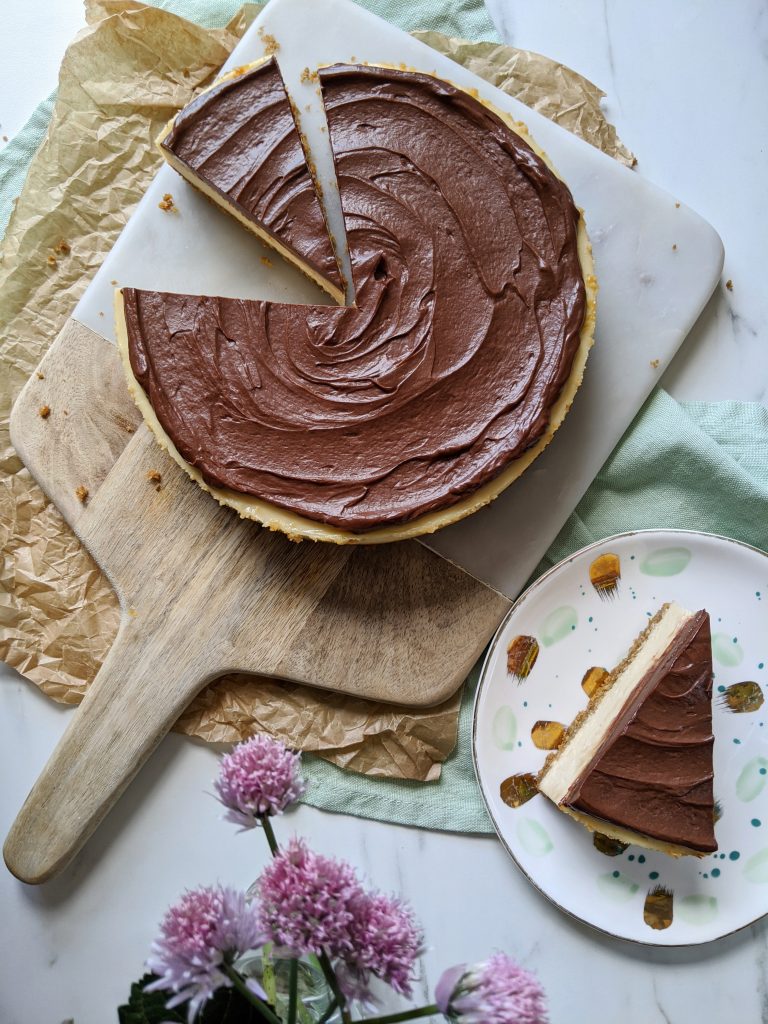
I, however, am in love with the thick chocolate topping on this gluten free baked cheesecake. Eating a slice as I type this, it’s a struggle to not dribble on my computer ;). It’s such a nice pairing and really adds an extra element to an already delicious dessert.
You can make this gluten free baked cheesecake a day in advance, as it will keep well in the fridge. Simply place on a board, carefully position the (unclipped) springform tin circle around it and then cover with clingfilm. This stops the cling film from clinging to the cheesecake itself and making a bit of a mess.
If you don’t manage to demolish the whole thing in one sitting, then you can store it in the fridge for a few days. Leftover cheesecake has to be one of life’s greatest pleasures, so go on, treat yourself to a slice of gluten free baked cheesecake with your afternoon coffee!
Choco-Vanilla New York Baked Cheesecake (Serves 10)

Choco-Vanilla New York Baked Cheesecake
Ingredients
For the cheesecake base:
- 160g (5.6oz) gluten free shortbread, digestive or Hob Nob-style biscuits
- 1 tbsp light brown sugar
- 80g (2.8oz) unsalted butter
For the cheesecake filling:
- 720g (25.4oz) full fat cream cheese
- 100g (3.5oz) light brown sugar
- 100g (3.5oz) caster sugar
- 3 tbsp plain gluten free flour
- 2 tsp vanilla essence
- 2 large eggs + 2 egg yolks
For the chocolate topping:
- 100g good quality chocolate (I use 50g dark and 50g milk)
- 100ml sour cream
Instructions
- Preheat your oven to 180C (fan). Line the base of a small, non-stick springform tin (20cm) with non-stick baking paper.
- Place the butter in a small bowl and melt it in the microwave (or use a pan over a low heat if you do not have a microwave). Meanwhile, blitz your gluten free biscuits in a small blender to turn them into fine crumbs.
- Add 1 tbsp of light brown sugar to the butter and then tip in the gluten free biscuit crumbs into the bowl with the butter and sugar. Stir everything well to ensure the ingredients are fully combined.
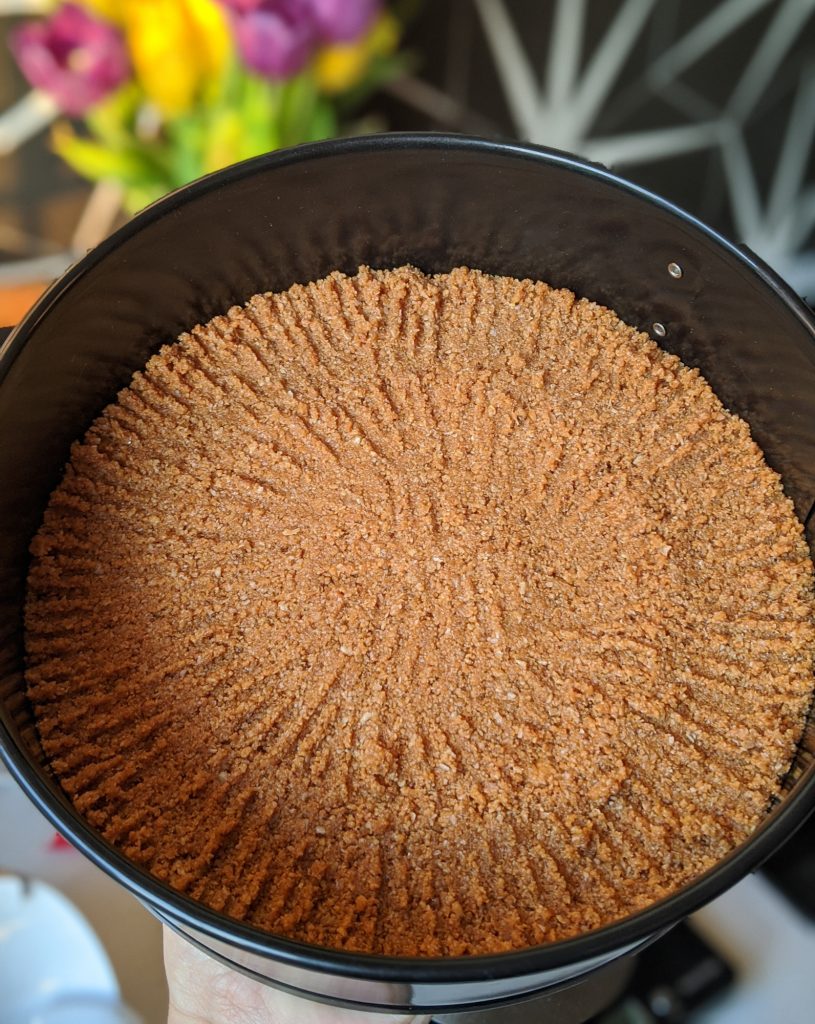
- Tip the biscuit mixture into the springform tin and press down with a fork until you have an even, well compacted biscuit base. Place the tin on a baking tray (to catch any escaping butter during cooking) and then this tray and tin go into the oven to bake for 10 minutes. After the 10 minutes, remove the tin from the oven and set aside to cool slightly while you make the filling.
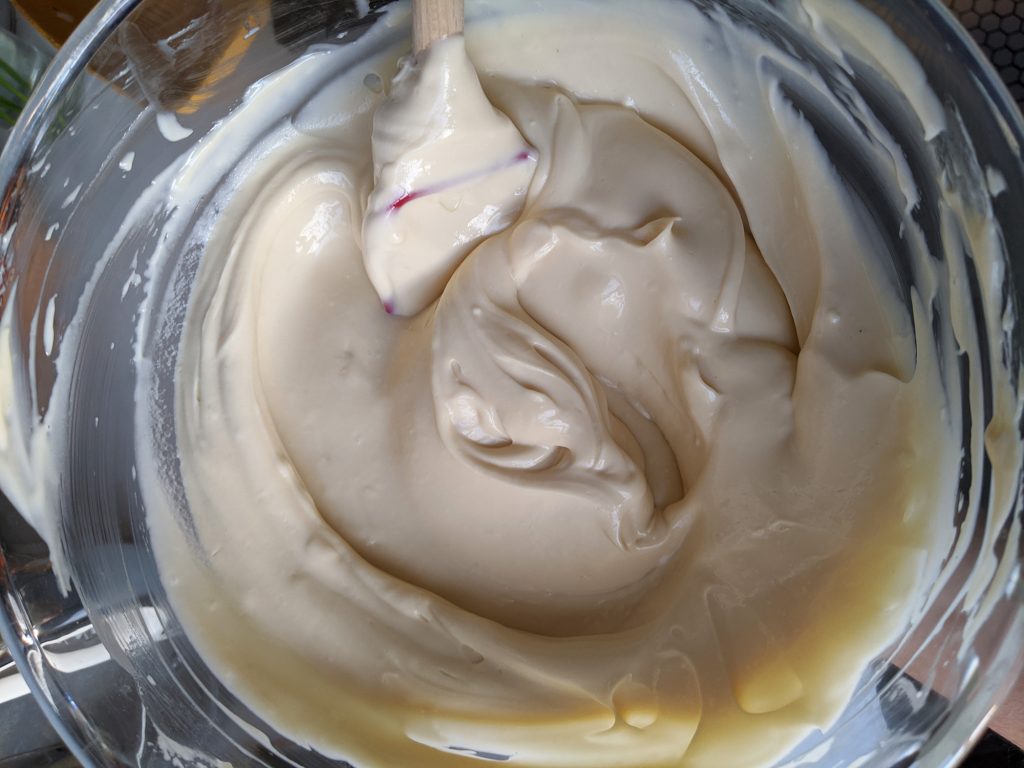
- In a large bowl, stir the cream cheese with a spatula to remove any lumps and make it completely smooth in texture. Add the vanilla, light brown sugar, caster sugar and gluten free flour to the cream cheese, then stir well to combine.
- Finally, add the two eggs and the two egg yolks, one at a time, to the bowl. Stirring the mixture as you add each one to ensure it stays smooth and lump-free. If any lumps remain in the mix, just give it a really good stir for a couple of minutes to smooth everything out.
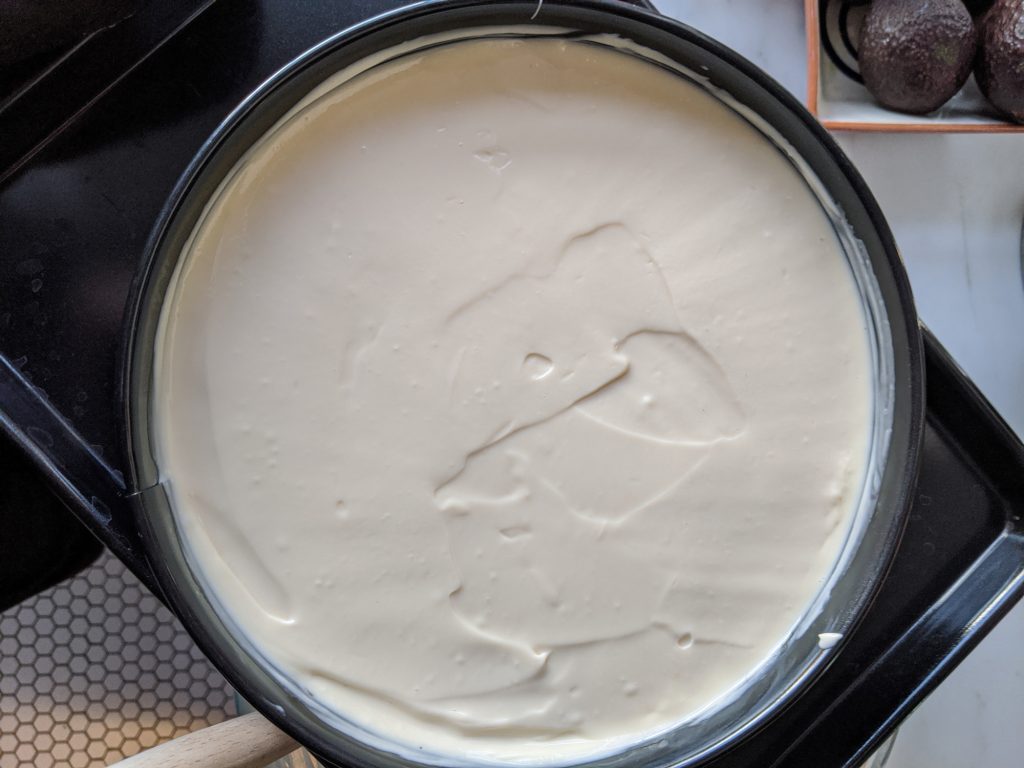
- Pour the cream cheese filling onto the biscuit base, then use a spatula to level it out and spread to the edges.
- The filled tin then goes back into the oven to bake. Bake at 180C (fan) for 10 minutes, then (keep the oven door closed) turn the temperature down to 110C (fan) and allow to bake for a further 40 minutes. After this time, turn the oven off completely but leave the cheesecake inside. Wedge the oven door open ever-so-slightly with a folded tea towel and leave the cheesecake inside to cool gradually for 2 hours (longer is fine too).
- Take the cheesecake out after the cooling time and you will see it is nicely set. Use a small palette knife to gently loosen the edges of the cheesecake from the springform tin, then ease the tin open and slide your cheesecake onto a serving board. Remember to remove the baking paper from under the base – I use a spatula to gently ease my cheesecake off the paper and to slide it onto the board.
- To make the chocolate topping, break the chocolate into small pieces and melt in the microwave (30 second blast, then stir, repeat until just melted). Add the cold sour cream to the chocolate and stir until it has turned into a glossy ganache-style topping.
- Spread the chocolate ganache onto the cheesecake using a spoon or palette knife, then pop it into the fridge to chill for a final 30 minutes.
- Remove from the fridge when ready to serve, use a hot knife (i.e. warm the blade in hot water and then dry) to slice and you'll have lovely defined layers and cheesecake slices. Enjoy!
The images below should help guide you while making this recipe, showing you what the various stages should look like. If you have any other questions feel free to shoot me an email or DM me on Instagram.
If you enjoyed this cheesecake recipe, why not check out some of my other tasty desserts while you are here:
Enjoy! x