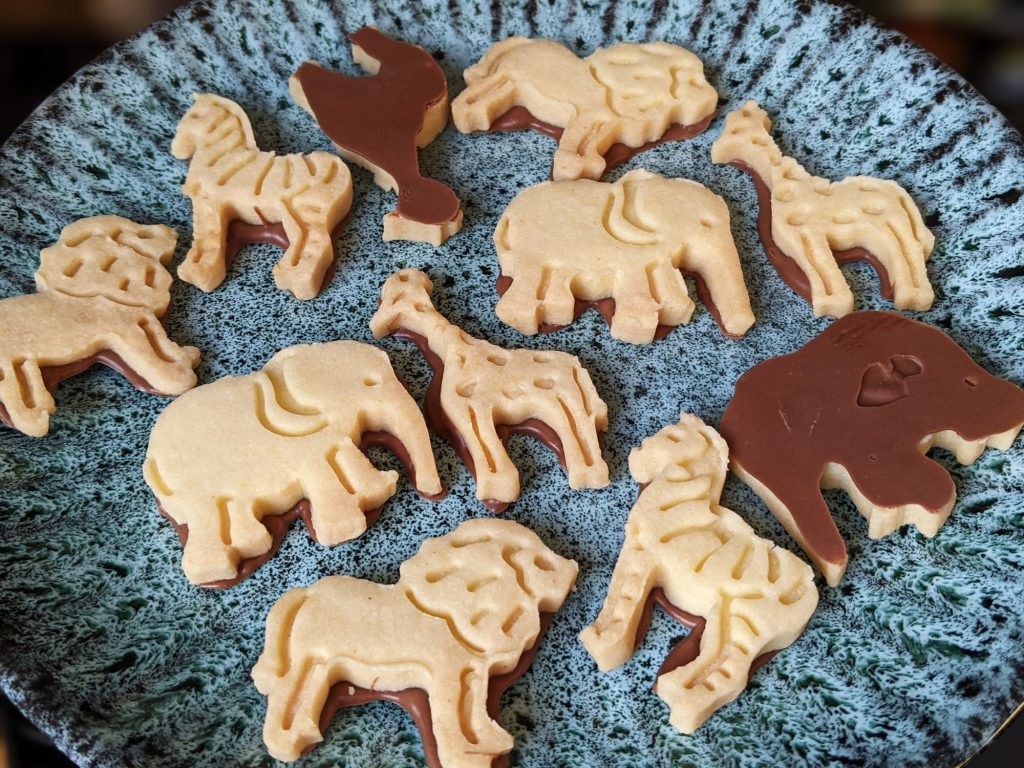
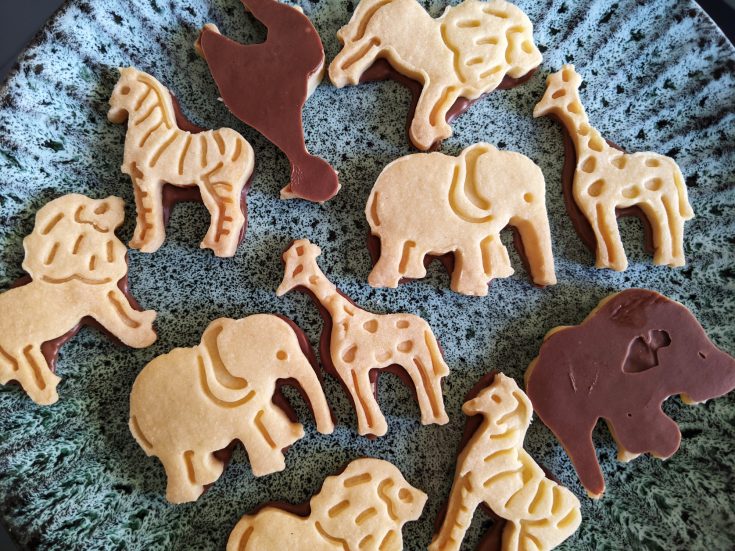
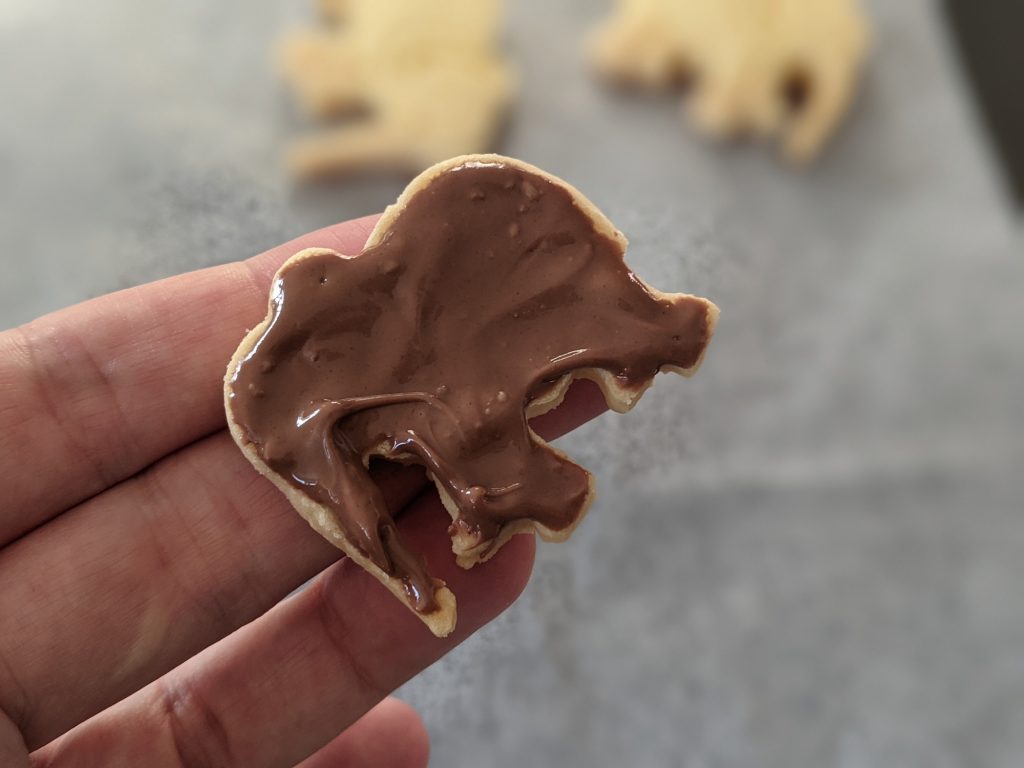
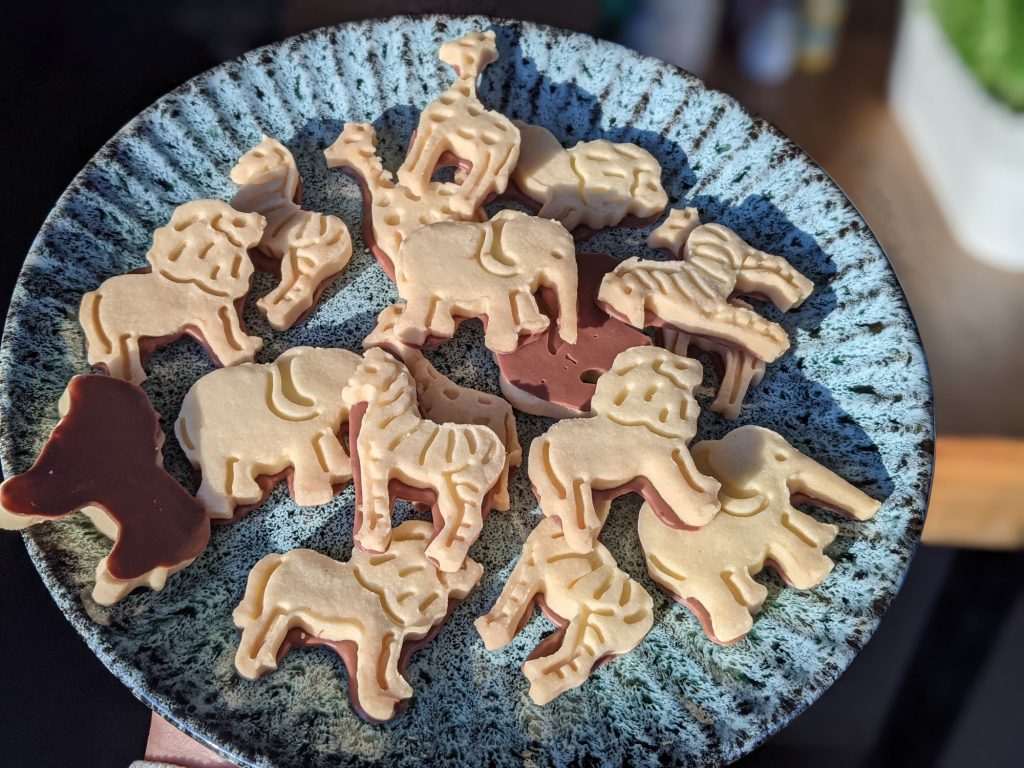
Memories of Cadbury Animal Biscuits had me reaching for the animal-shaped cutters in a bid to create my own gluten free chocolate animal biscuits recipe. And blimey, they turned out AWESOME! Cadbury chocolate paired with a scrunchy munchy gluten free biscuit animal…they are far too easy to eat.
Technically I made these for my daughter to have as a treat, but I’ll admit I ate A LOT of them. She loved them too and they were surprisingly easy to make, so I know I will be making these now on a regular basis.
I hadn’t even planned on sharing them as a blog recipe, but SO MANY of you asked for the recipe I decided to write it up asap. I hope you all have as much fun making these as I did, and enjoy the eating too :).
Where Can I Buy The Safari Animal Cutters?
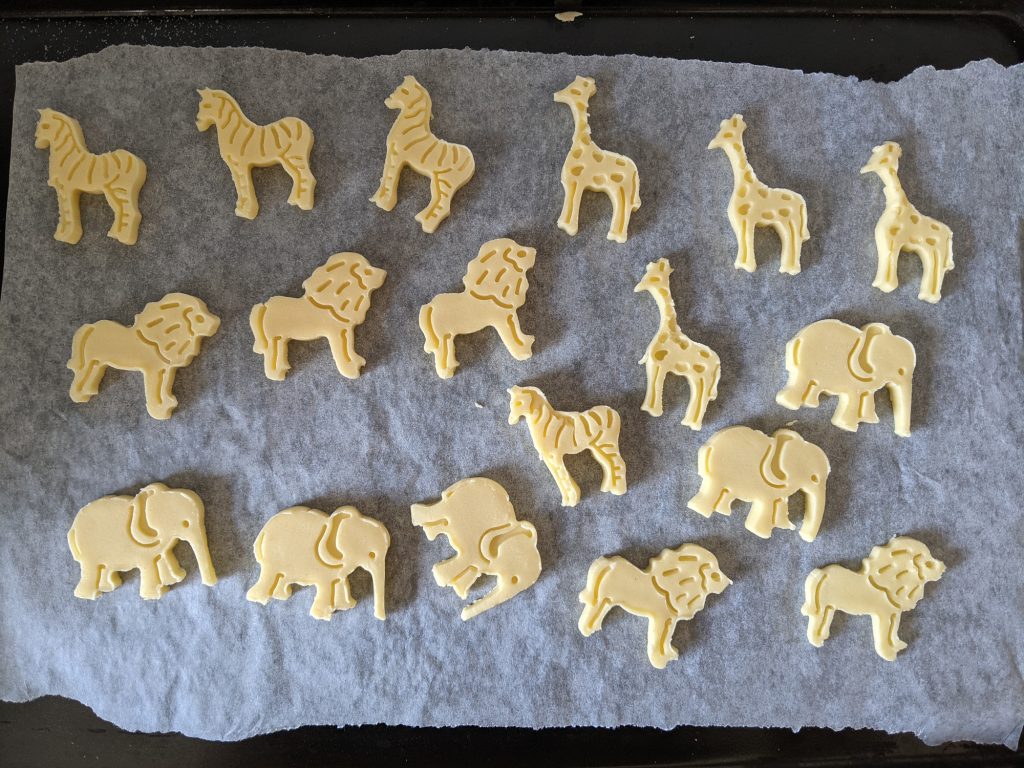
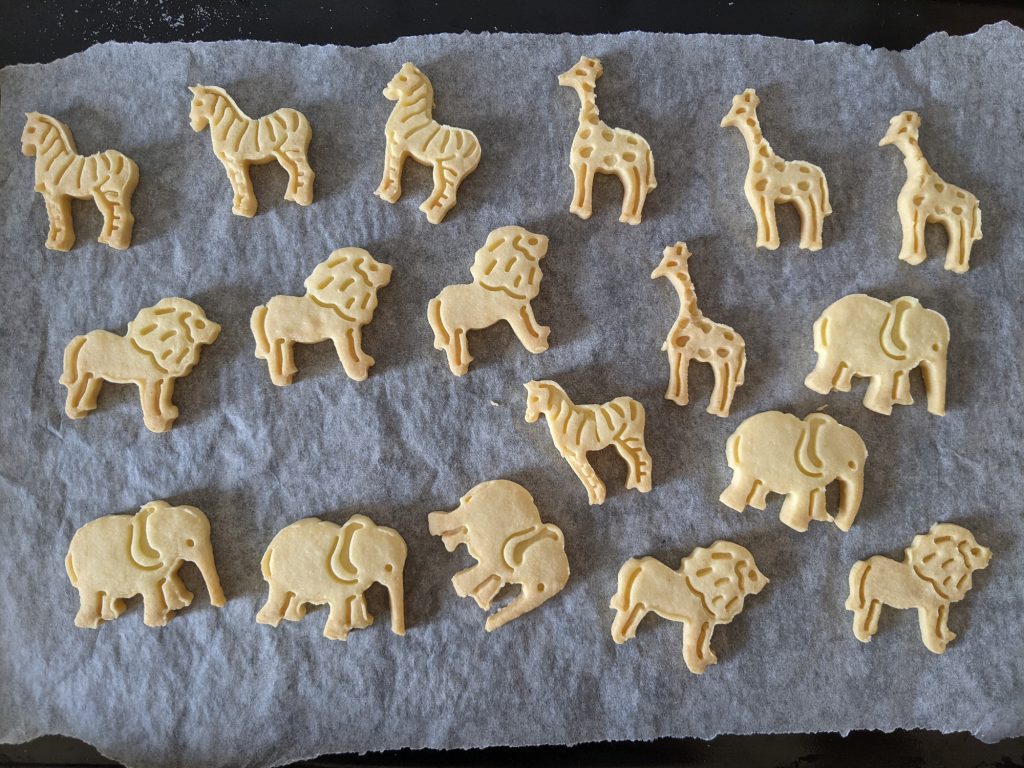
I picked up my animal shaped plunger biscuit cutters in B&M a while ago, however I’ve found the exact same designs on Amazon – these Jungle Animal Cookie Cutters. Whatever cutter you decide to use, a plunger design cutter makes for a lovely end design and works well with this cookie dough. You can also use simple biscuit cutters if you just want an animal silhouette.

Which Cadbury Chocolate Is Suitable For Coeliacs?
I use the Cadbury Giant Chocolate Buttons, as they are gluten free and have no “may contain” warning in the UK. Note some other varieties of Cadbury Dairy Milk do have a may contain warning, so always check the packet carefully.
Can I Make A Dairy Free Version of These Chocolate Animal Biscuits?
I don’t see why not! Use a dairy free chocolate, such as Nomo and dairy free spread or the Stork Baking Block in place of Stork spread. I haven’t tried the dairy free version personally, but I feel quite confident that they would turn out well as often bake with the Stork block and get good results.
Gluten Free Chocolate Animal Biscuits Recipe
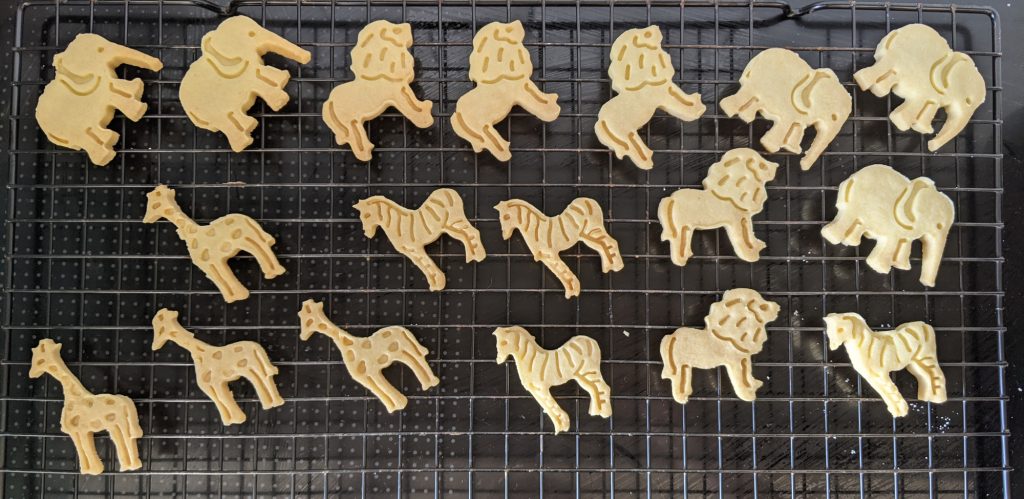
This recipe makes about 20 chocolate animal biscuits, assuming you are working with fairly small cutters. They are so munchable, if you have time I recommend doubling or even tripling the recipe and making a small jungleful of them!
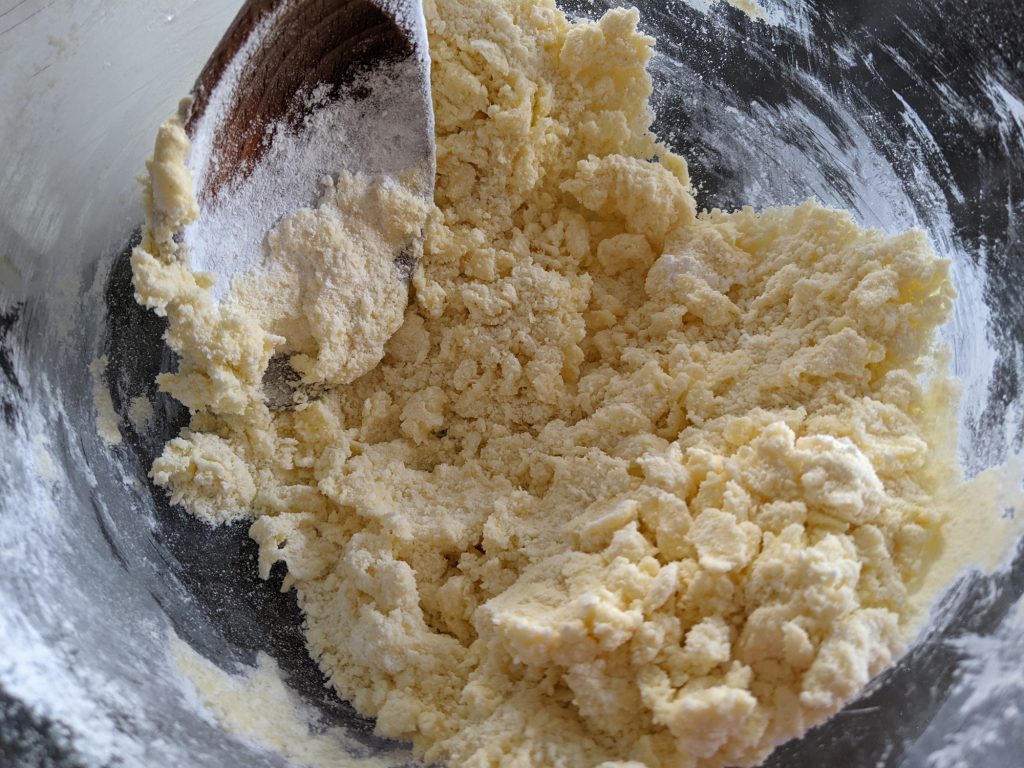
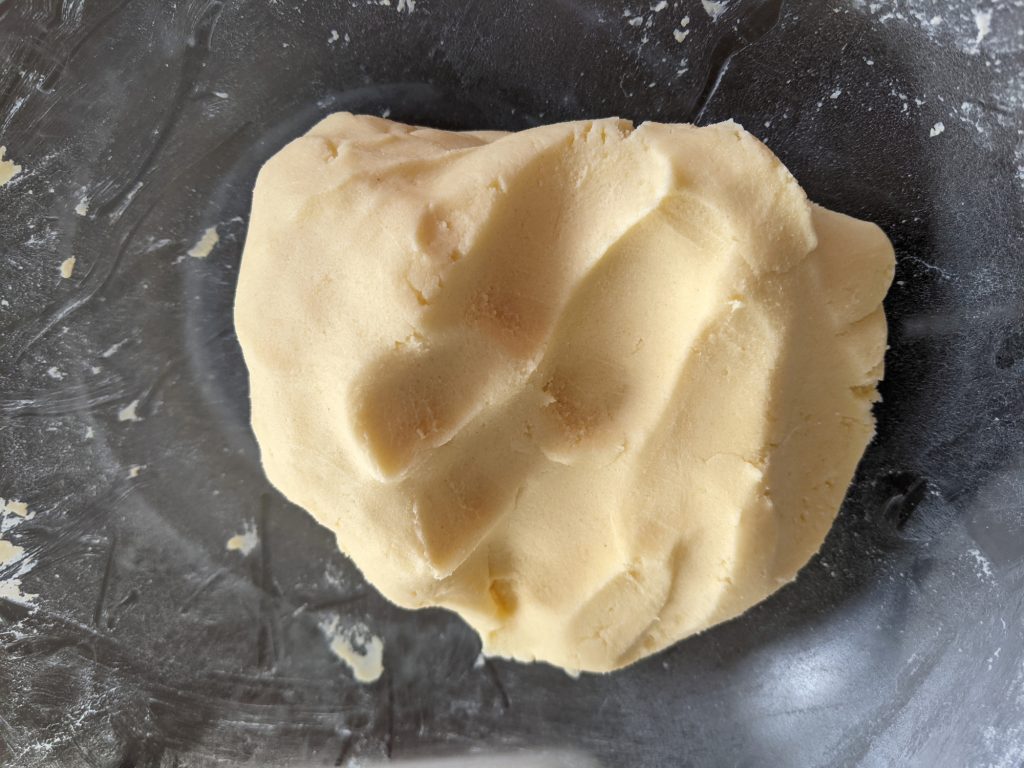
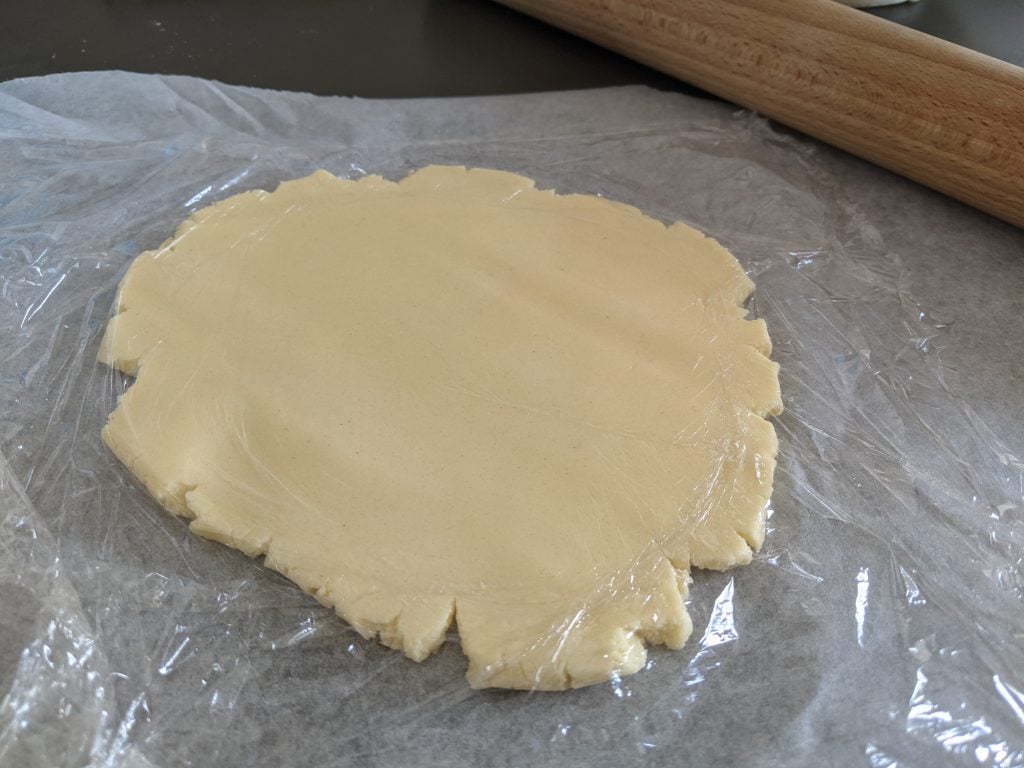
You’ll find a full method below, plus some photos to help guide you through the recipe. Feel free to email me any questions or comments you might have. You can contact me at laura@mygfguide.com or message me on Instagram/Facebook @myglutenfreeguide. I love seeing your home creations too so please do tag me on social media if you make these.
Lastly, if you enjoy these biscuits, I would be really grateful if you could leave a star rating or review on the recipe card below. Thank you!
Laura xxx
Gluten Free Chocolate Animal Biscuits
A gluten free take on Cadbury Animal Biscuits! Chocolate meets tasty crunchy safari animals, in a fun nostalgic bake that kids and adults will both love.
Ingredients
- 50g Stork (I used Stork Original Baking Spread)
- 25g caster sugar
- 45g plain flour (I used FREEE)
- 30g cornflour
- 50g Cadbury Giant Buttons
Instructions
Oooo I love making these chocolate animal biscuits and might have to tackle another fun biscuit soon. Let me know if you have any requests! In the meantime, here are some other bakes you might like to try:
Happy baking! Laura xxx
*This article contains some affiliate links, meaning no additional cost to you. They enable me to keep running www.mygfguide.com as a free website that is open to all :).