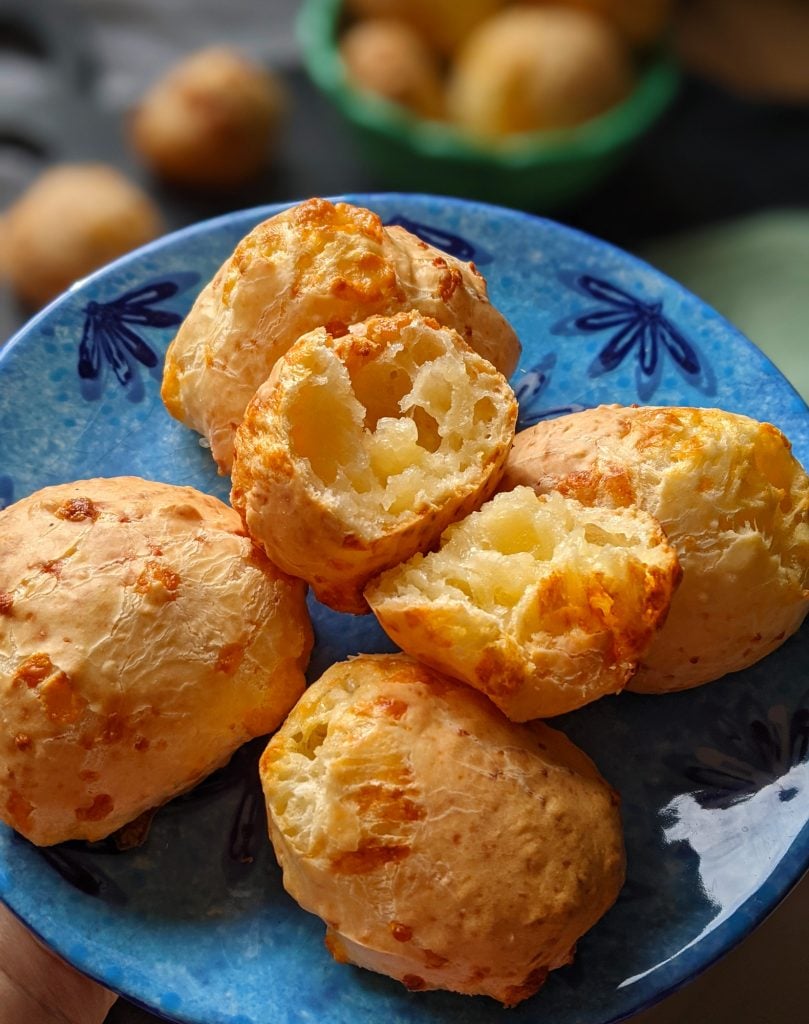
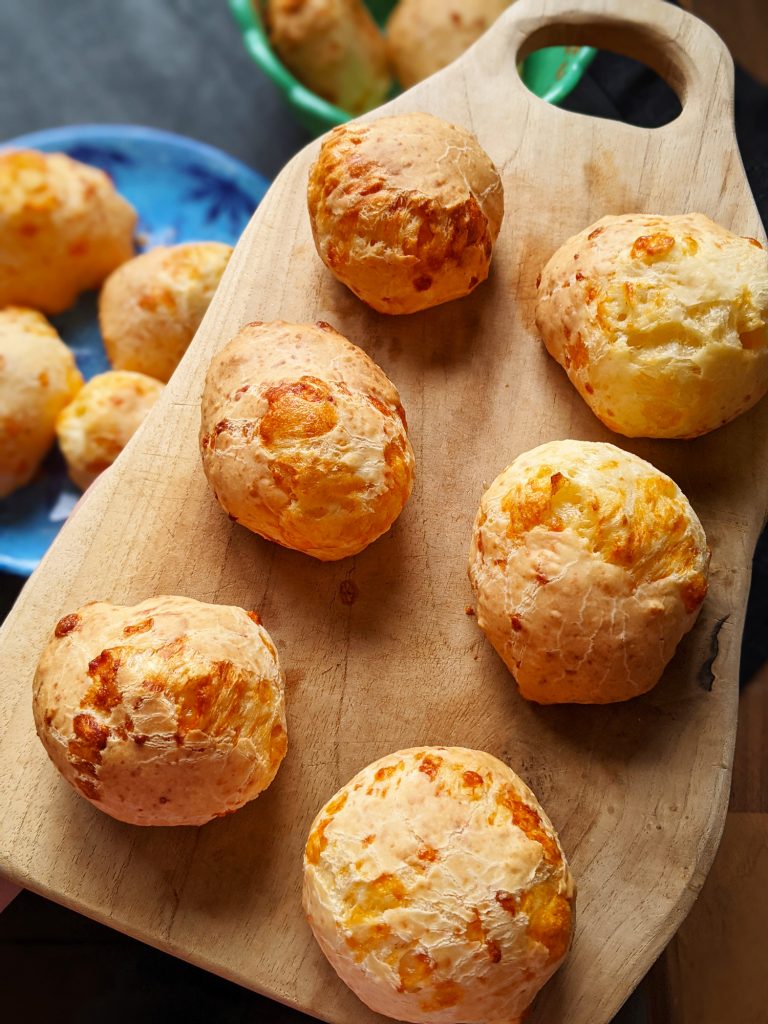
Pao de queijo are a popular, naturally gluten free cheese bread hailing from Brazil. Like little cheesy dough balls, they are utterly delicious! Made with tapioca flour, they are a perfect choice whether you are coeliac or not.
A few of you will have bought tapioca flour/starch now to make my gluten free pizza, gluten free naan or garlic pizza bread recipes. I thought it might be helpful to continue the trend and show what other bakes can be made with this fantastic flour.
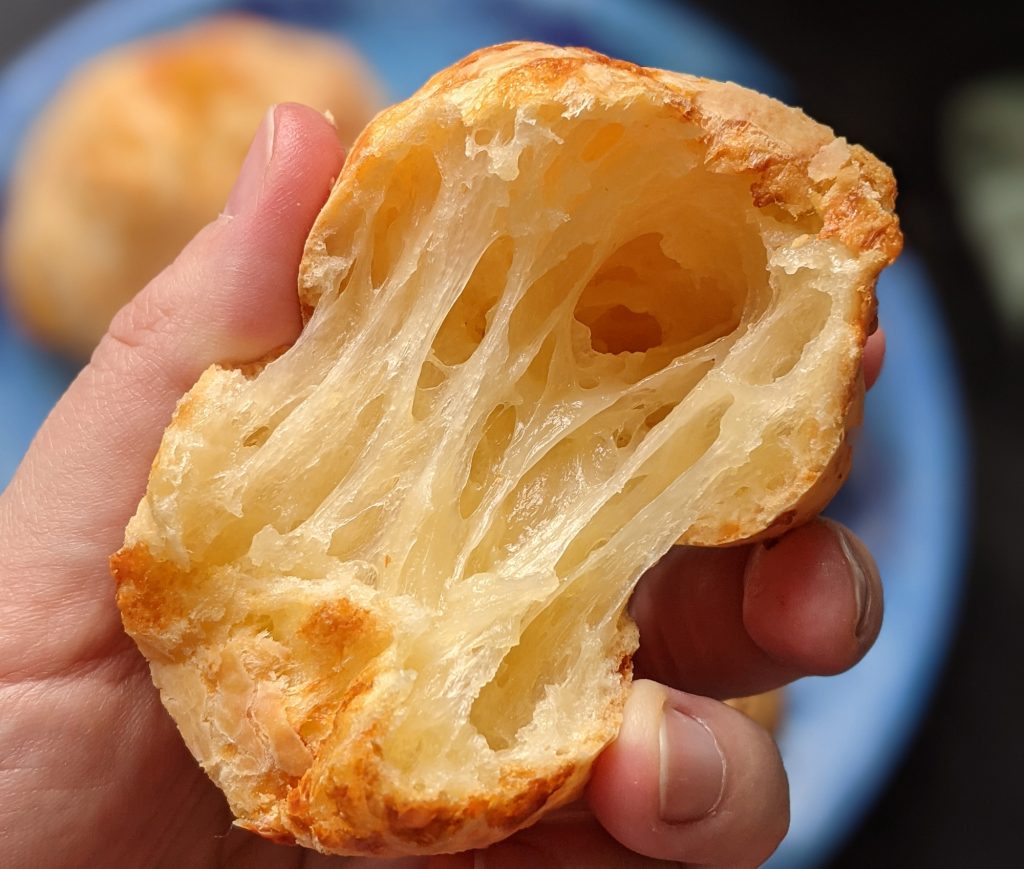
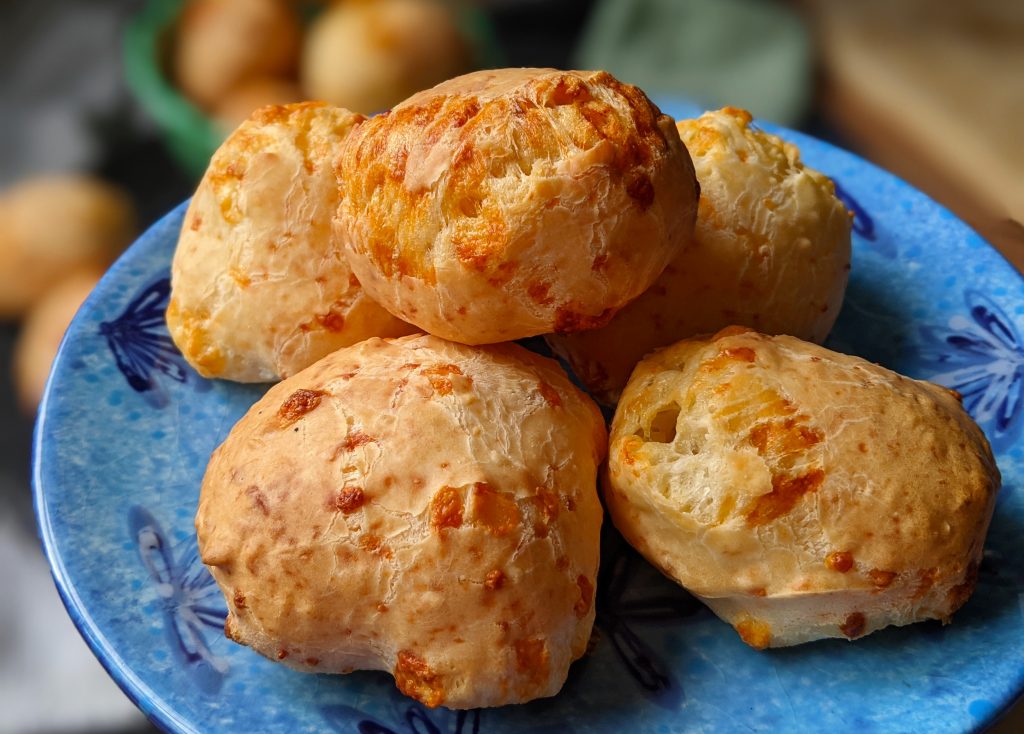
In Brazil, people traditionally eat pao de queijo for breakfast or as a snack – often with jam, honey or other sweet condiments for breakfast, or with savoury accompaniments and as a side to stew-like dishes. If you’ve not tried them before, you are missing out ona real treat. They are gorgeously cheesy and have a crispy exterior and stretchy yet soft bread dough inside.
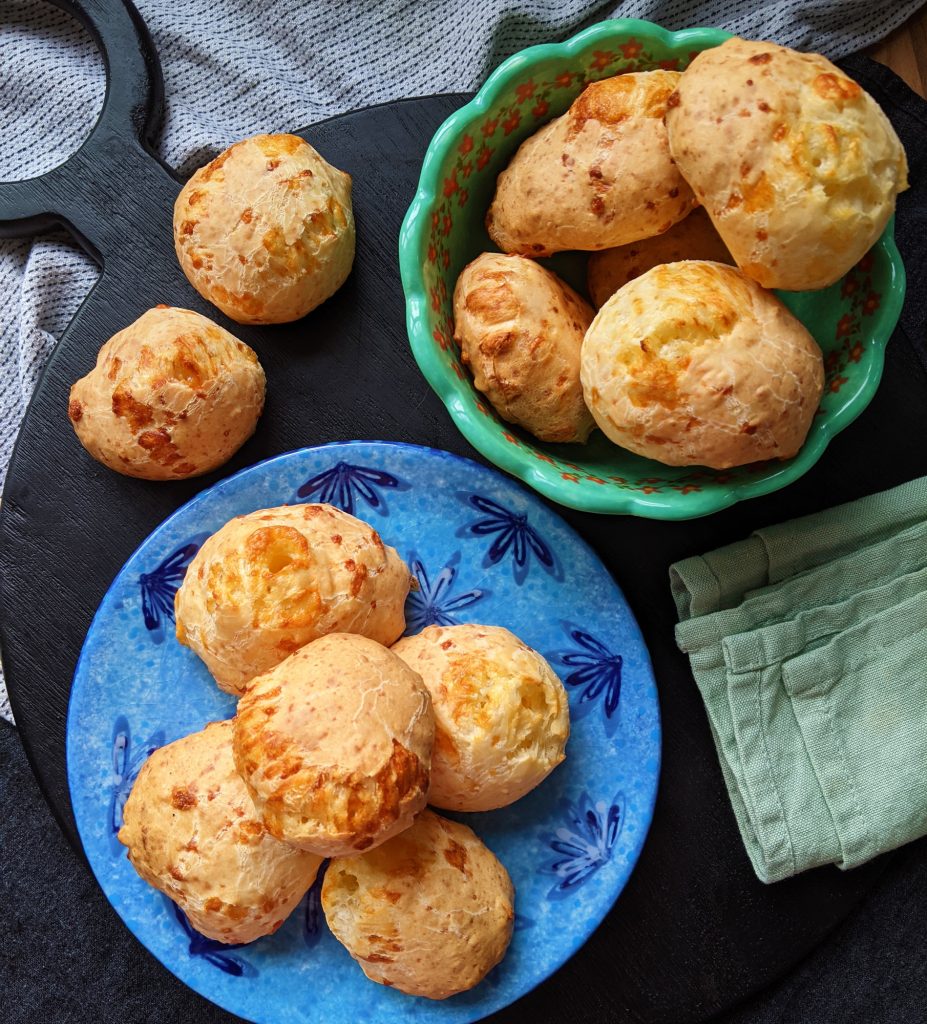
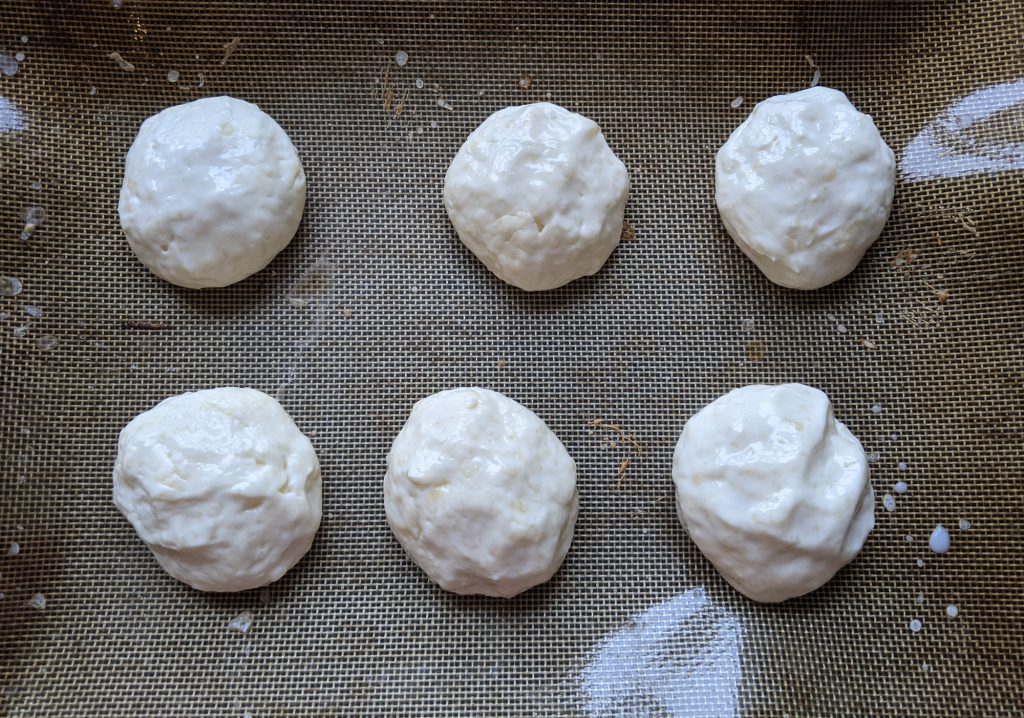
Whether you want to have them with savoury or sweet toppings, or simply eat them plain, there is no change to the recipe. These little cheesy dough balls are amazing, however you have them!
Which Cheese Should I Use?
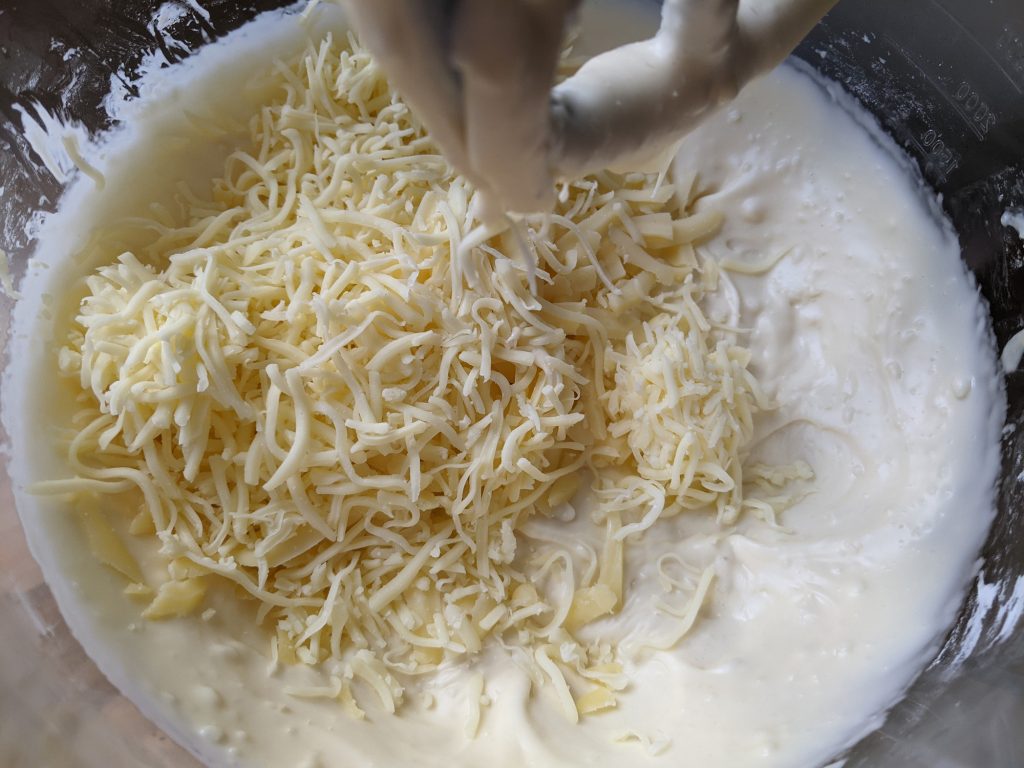
Traditionally these are made with Minas cheese (a Brazilian cheese), however most recipes outside of Brazil use a mix of mozzarella and a hard cheese such as parmesan. I’ve actually opted for mozzarella and cheddar cheese in mine, which is readily available in the UK. I like the saltiness that the cheddar brings, and of course mozzarella for amazing stretch.
If you can’t get cheddar cheese in your country or local area, please use parmesan cheese or another hard cow’s cheese instead.
Could These Be Made Dairy Free?
This is a fairly dairy-heavy bread and I have not tried the dairy free version myself. However, I think it would work as the main element of this bread is the tapioca starch.
You could use a plant-based milk in place of the cows milk and dairy free cheese in place of the mozzarella and cheddar. If you are feeling brave and want to test this for me, please do let me know how you get on!
Can I Make Them in Advance?
Yes – these reheat really well. Simply allow them to cool after baking then store in an airtight container for up to 3 days. When you want to serve them reheat in the oven at 170C (fan) for 5 minutes. They will be as good as new!
These pao de queijo also freeze well, simply defrost at room temp (or give them a few seconds in the microwave if you are in a hurry) before you reheat per the above.
Serving Ideas
You have to eat one fresh from the oven…they are impossible to resist! Then we tend to have them with savoury dishes – soups, stews and other saucy meals. Try them with my spiced carrot and parsnip soup, Spanish chicken and chorizo stew or my classic lasagne.
Pao de Queijo (Brazilian Cheese Bread) Recipe
Time for the recipe! If you enjoy making these pao de queijo, I would be really grateful if you could review the recipe on the card below.
You’ll find a full method below along with lots of pictures to help you as you work through the recipe. Feel free to email me any questions or comments you might have – laura@mygfguide.com – or DM me on social media @myglutenfreeguide.
Enjoy! Laura xxx

Pao de Queijo (Brazilian Cheese Bread) (GF)
Ingredients
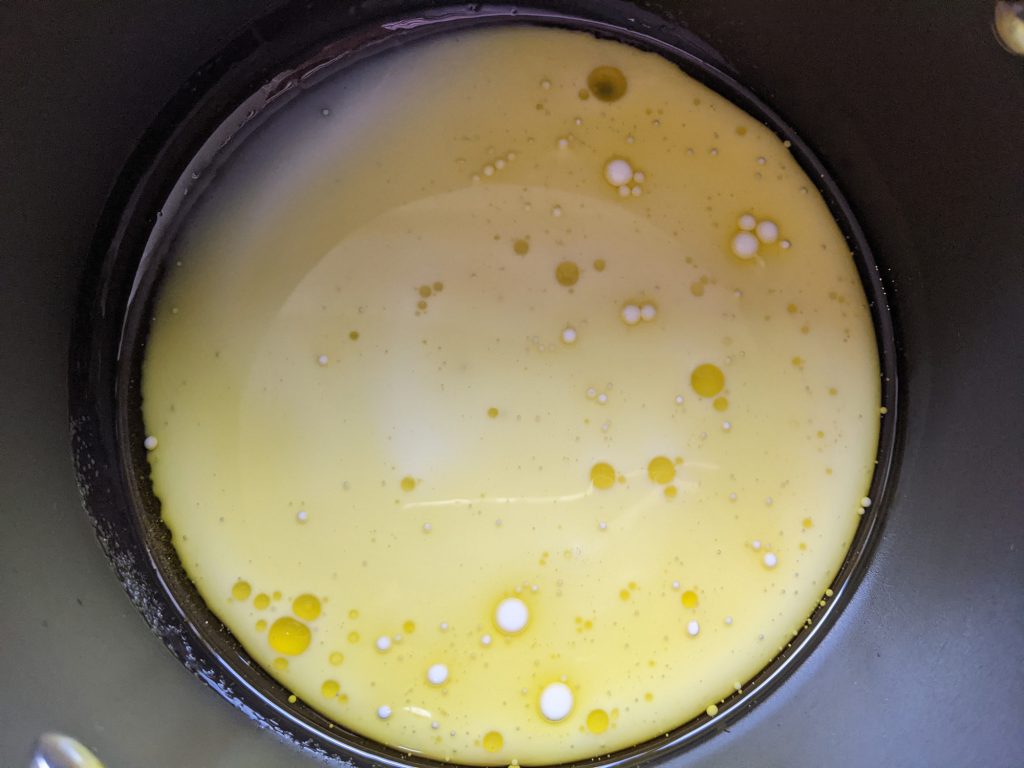
- 200ml semi-skimmed milk
- 1 tsp fine salt
- 45ml olive oil
- 270g tapioca starch/flour (I use Shipton Mill or Bob's Red Mill)
- 1 large egg
- 80g grated cheddar cheese
- 60g grated mozzarella cheese
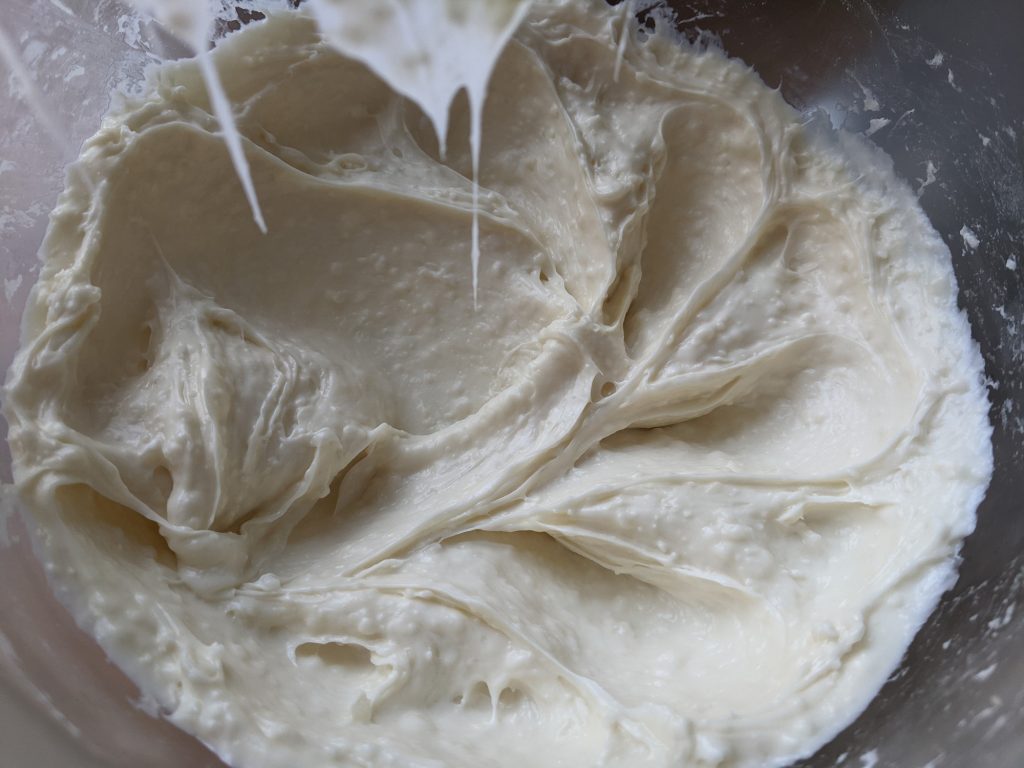
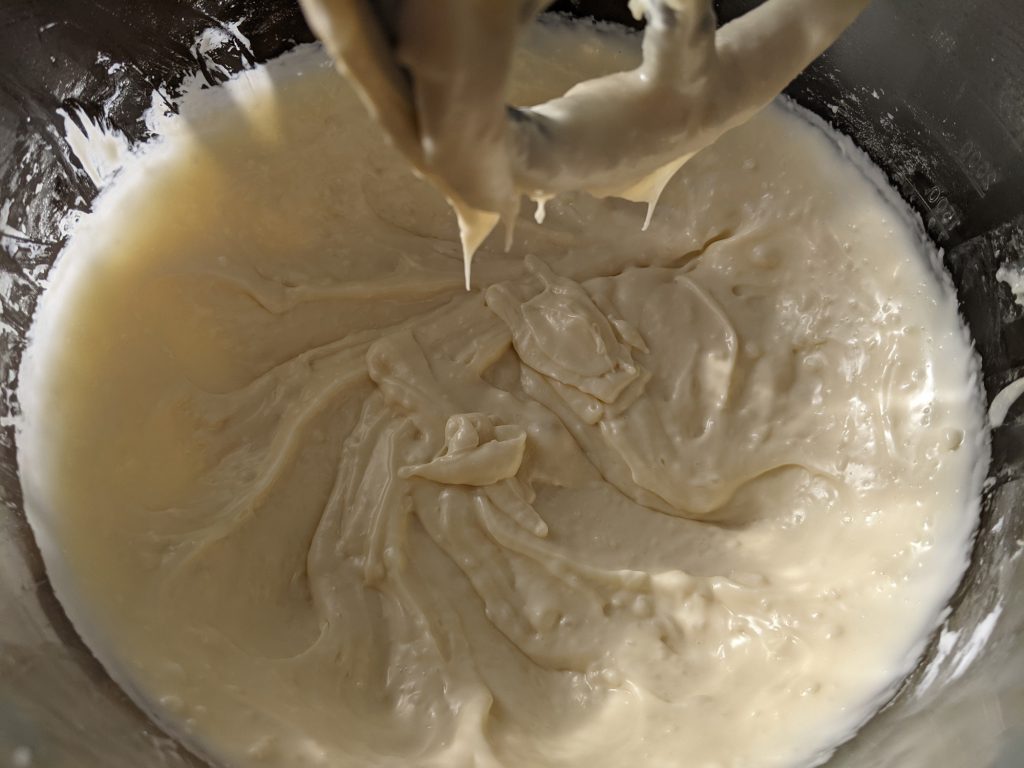
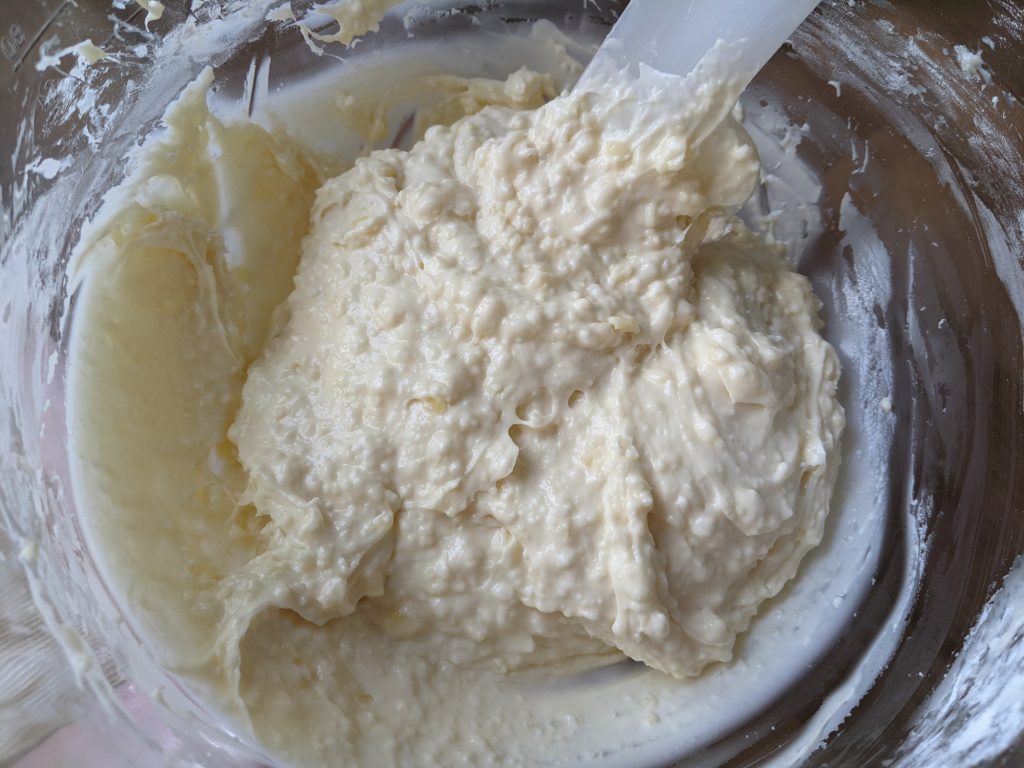
Instructions
I hope you enjoy making and eating these cheesy dream breads! Stick around and try some of my other gluten free recipes while you are here:
- Raspberry Cheesecake Brownies
- Baked Arancini with Melting Mozzarella Centres
- Baked Gnocchi with Chorizo and Aubergine
Bon appetit! Laura xxx