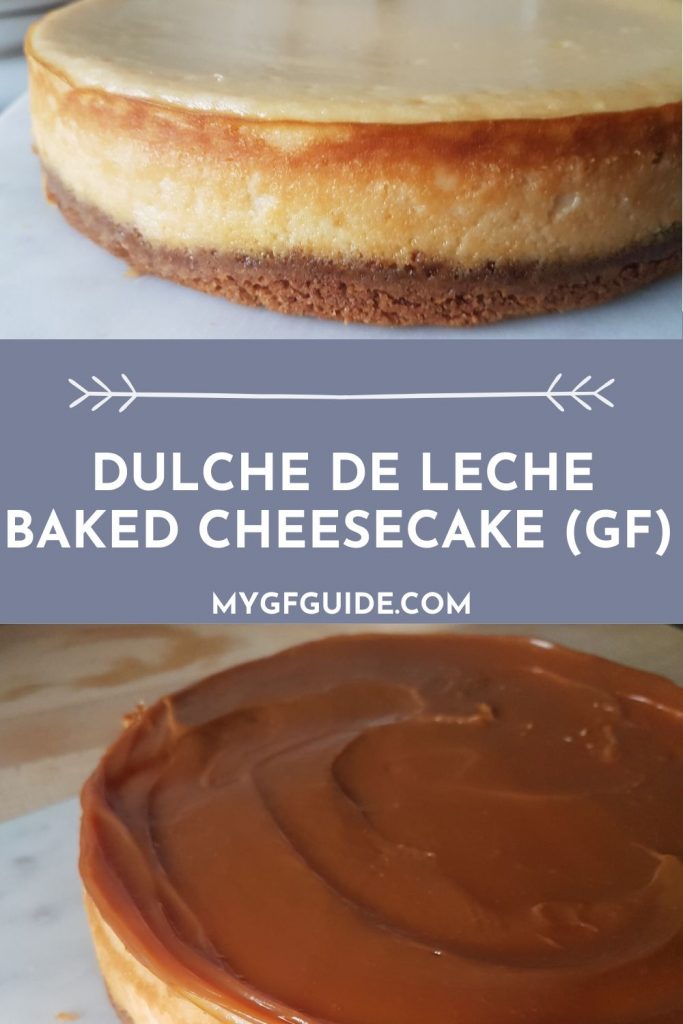
I had been trying to find a decent gluten free baked cheesecake recipe for a while, to branch out from the classic New York baked cheesecake recipe I usually use. My heart was set on a caramel variety and as I couldn’t find a suitable recipe, I decided to develop one myself. It turned out to be a real treat! My recipe uses light brown sugar in place of caster, which gives a very light caramel taste throughout the whole cheesecake. Then the dulche de leche topping is (quite literally) the icing on the (cheese)cake. You need to make this gluten free cheesecake in advance in order to allow it to cool fully before you top it. You can even make it the day before as it will store well in the fridge.
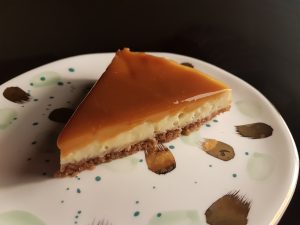
If you prefer a shallower cream cheese filling on your gluten free cheesecake, simply divide the topping ingredients by half and reduce the second stage of cooking time from 40 minutes to 25 minutes. I tried both and the slimmer cheesecake works beautifully too (pictured below).
Also, note that this recipe yields a cheesecake that is still quite soft in the centre. If you prefer a harder baked cheesecake then add 10 minutes to the second-stage cooking time for the full cheesecake, or 5 minutes for the half cheesecake.
Gluten Free Caramel Baked Cheesecake (Serves 8)
Ingredients
Base
- 160g gluten free shortbread biscuits (you can also use gluten free digestives)
- 1 tbsp light brown sugar
- 80g salted butter
Filling
- 720g full fat cream cheese
- 100g light brown sugar
- 100g caster sugar
- 3 tbsp plain gluten free flour (I used Dove’s Farm)
- 2 tsp vanilla extract
- 2 large eggs + 2 egg yolks
Topping
- 140g dulche de leche or caramel sauce (the Bonne Maman one is fab and gives a lovely glossy finish, you could also try my salted caramel sauce)
Method
- Preheat your oven to 180C (fan).
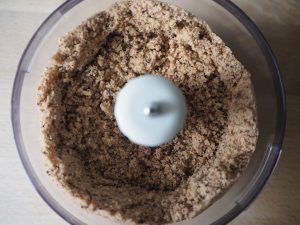
- In a small saucepan, melt the butter over a low heat. Meanwhile, blitz your gluten free biscuits in a small blender to turn them into fine crumbs.

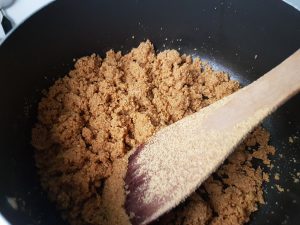
- Add 1 tbsp of light brown sugar to the butter and then tip in the gluten free biscuit crumbs. Stir everything well to ensure the ingredients are fully combined.

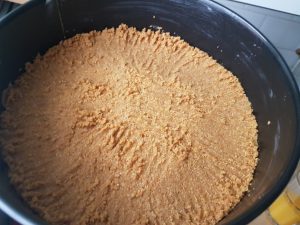
- Line the base of a small springform tin (20cm) with non-stick baking paper and lightly grease the sides with a little butter. Tip the biscuit mixture into the tin and press down with a fork until you have a nice even layer that is fairly well compacted. Place the tin on a baking tray (to catch any escaping butter during cooking) and then this tray and tin go into the oven to bake for 10 minutes. After the 10 minutes, remove the tin from the oven and set aside to cool slightly will you make the filling.

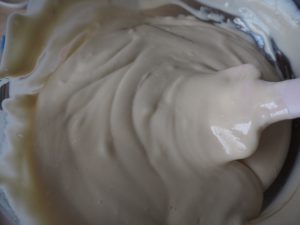
- In a large bowl, beat the cream cheese with a spatula to remove any lumps and make it smooth in texture. Add the vanilla, light brown sugar, caster sugar and gluten free flour to the cream cheese, then stir well to combine. Then add the two eggs and the two egg yolks, one at a time, stirring the mixture as you add each one to ensure it stays smooth and lump-free. If any lumps remain in the mix, just give it a really good stir for a couple of minutes to smooth everything out.

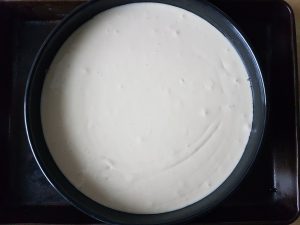
- Pour the cream cheese filling onto the biscuit base, then use a spatula to level it out and spread to the edges.

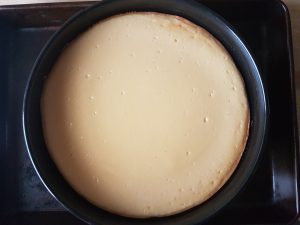
- The gluten free cheesecake then goes back into the oven to bake. Bake at 180C for 10 minutes, then (keeping the oven door closed) turn the temperature down to 110C and allow to bake for a further 40 minutes. After this time, turn the oven off completely but leave the cheesecake inside. Crack the oven door open slightly (I wedge mine open with a folded tea towel) and leave the cheesecake inside to cool gradually for 2 hours (longer is fine too).
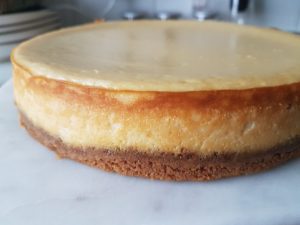
- Take the cheesecake out after the cooling time and you will see it is nicely set. Use a palette knife to gently loosen the edges of the cheesecake from the springform tin, then ease the tin open and slide your cheesecake onto a serving board. Remember to remove the baking paper from under the base – I use a spatula to gently ease my cheesecake off the paper and to slide it onto the board.


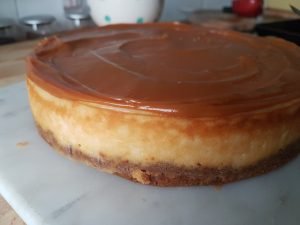
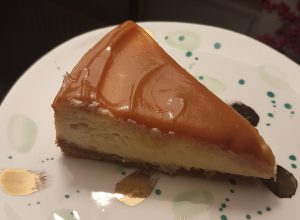
- Now we add the topping! You can use dulche de leche for a thick caramel topping, or a caramel sauce for a thinner, glossier finish. Pictured here is the dulche de leche topping. Warm the dulche de leche in a bowl in the microwave for 45 seconds. This will make it easier to spread across your gluten free cheesecake. Pour onto the centre of the cheesecake and then use a small palette knife to spread the sauce right to the edges. You can serve straight away or pop in the fridge to chill, depending on how you like your gluten free caramel cheesecake. It will keep well in the fridge for a few days…if you don’t eat it all first!


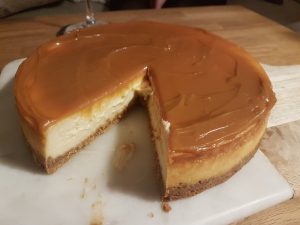
For comparison, as mentioned above you can also make this recipe with a half-quantity topping (second stage cooking time for the filling reduces to 25 minutes). I also topped my half-cheesecake with a glossier caramel topping – see pictures below for this gluten free caramel cheesecake variation. Both styles are delish!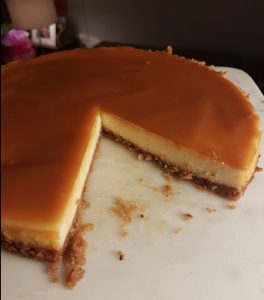
Liked this recipe? Then check out the other gluten free cakes and bakes on this site, including: