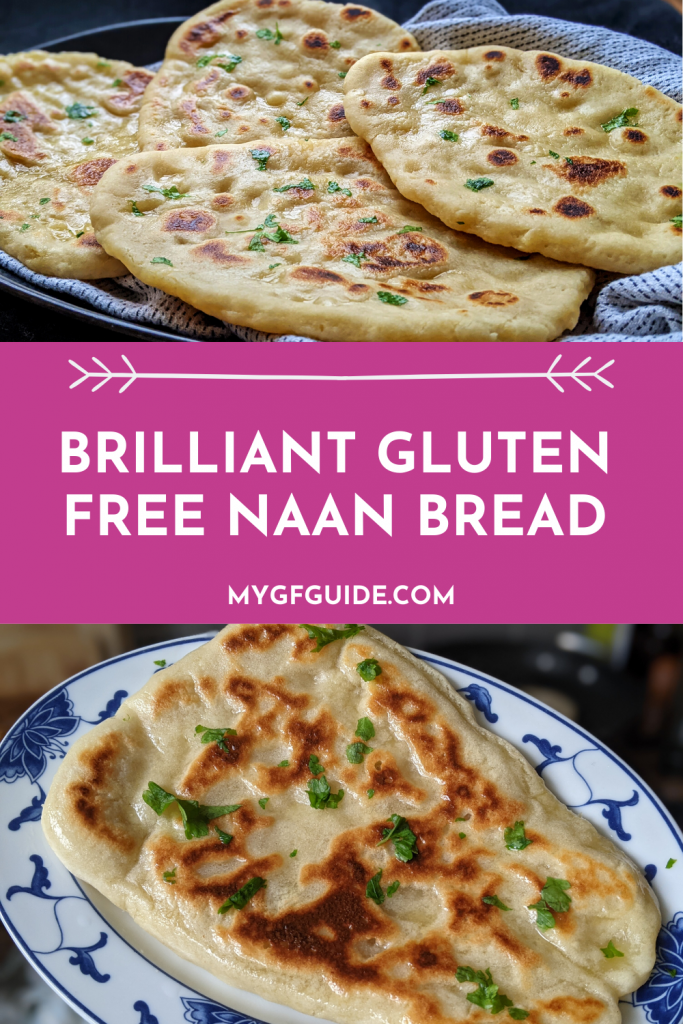
Hooray, gluten free naan are here! No more will you need to miss out on curry night, or have to make do with a rubbish shop bought ones (let’s face it, none of them are very good).
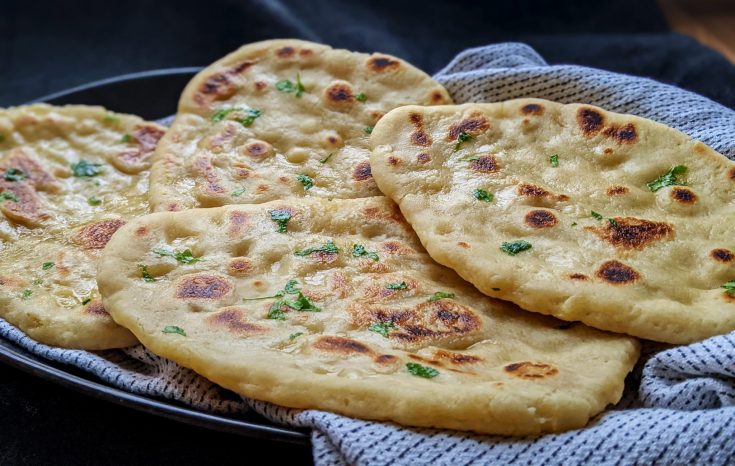
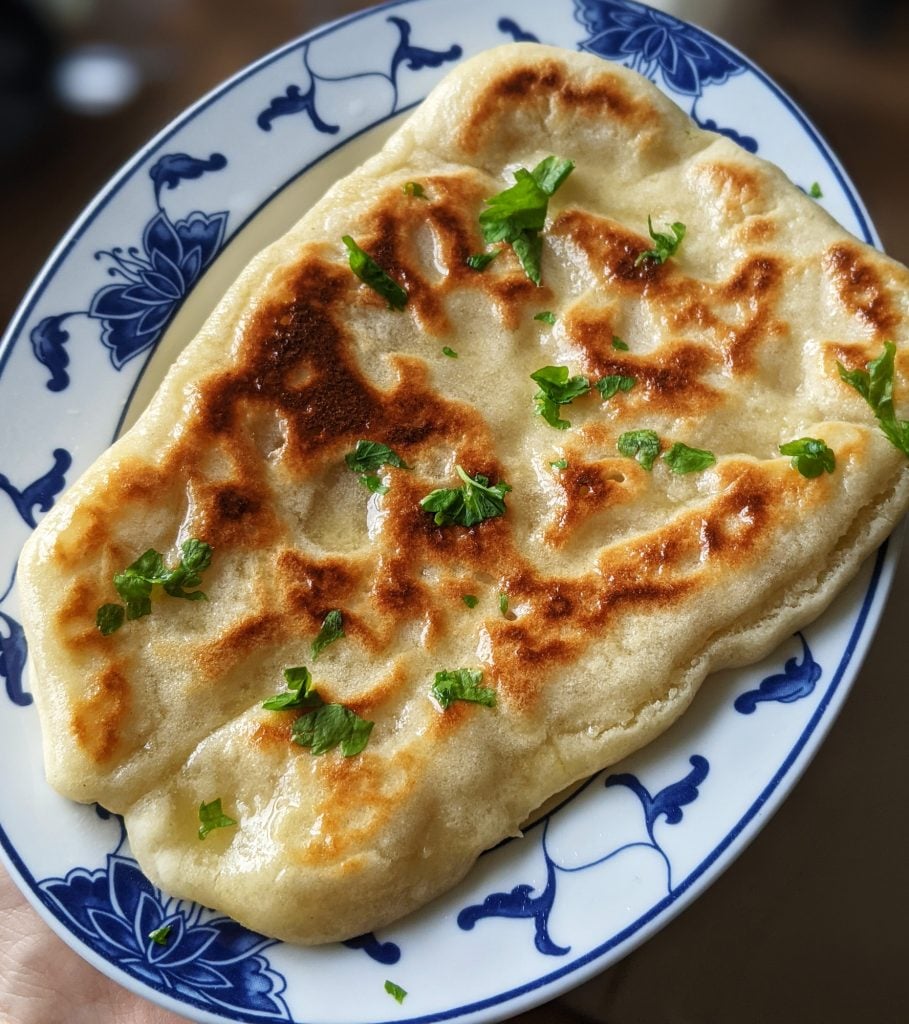
These homemade gluten free naan are the perfect mix of soft bread and a bit of chewiness. They are also freezer-friendly, so can be made ahead of time.
My recipe uses gluten free plain flour, dried active yeast, caster sugar, water, olive oil, plain yoghurt and tapioca starch (sometimes called tapioca flour). If you do not have tapioca you can buy it on Amazon or find it in health food shops, and even Ocado sell it.
However, if you want a simple flour-yoghurt recipe instead then try my gluten free flatbread recipe. The naans in this dedicated recipe are waaaay better (yeast makes all the difference to the lightness and the tapioca gives them some stretch), but the flatbread are a very quick alternative.
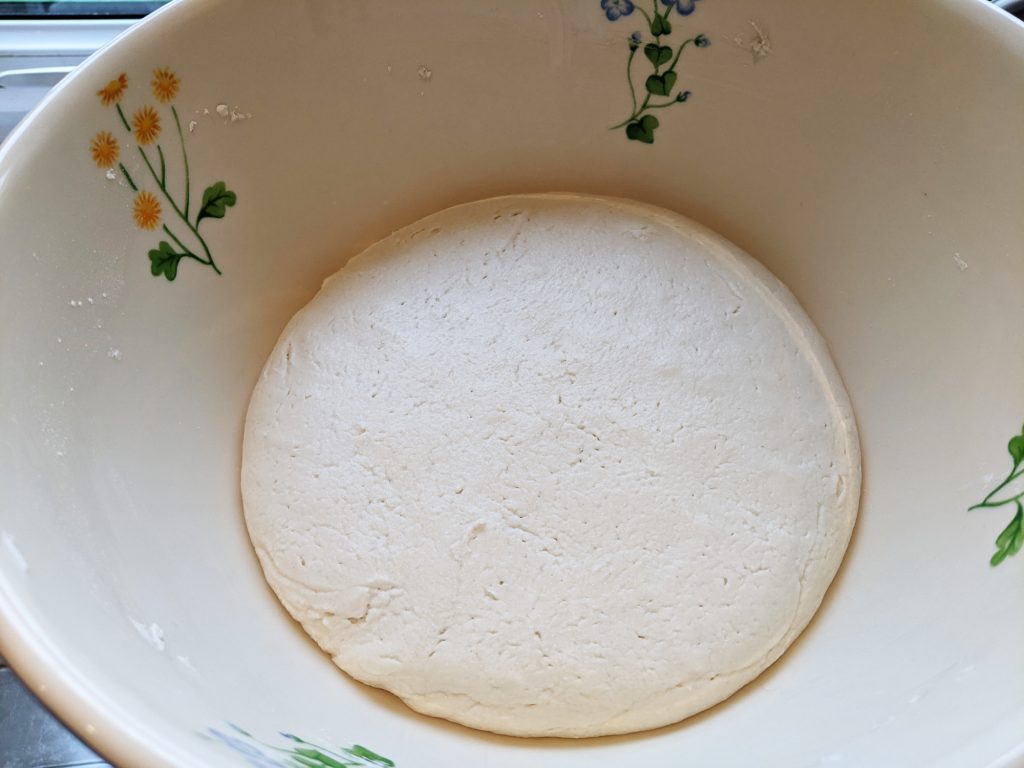
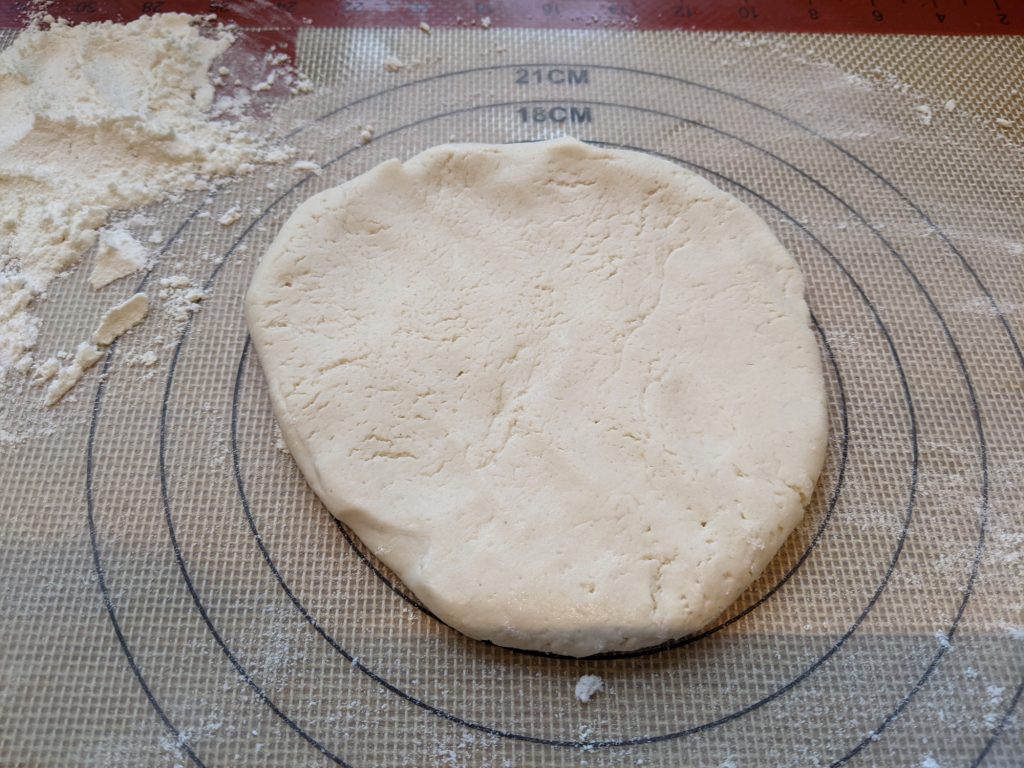
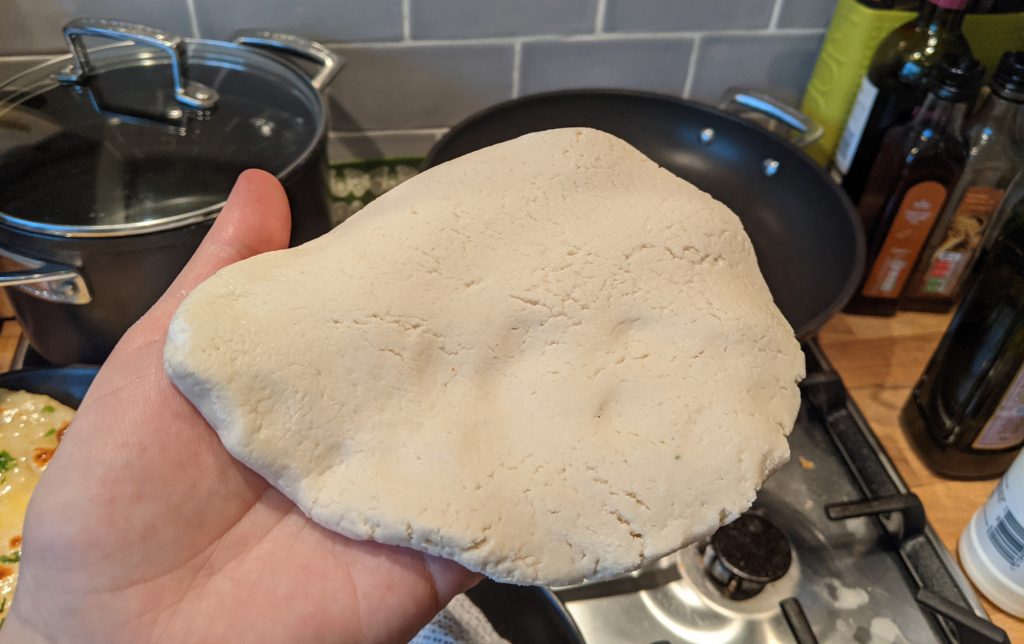
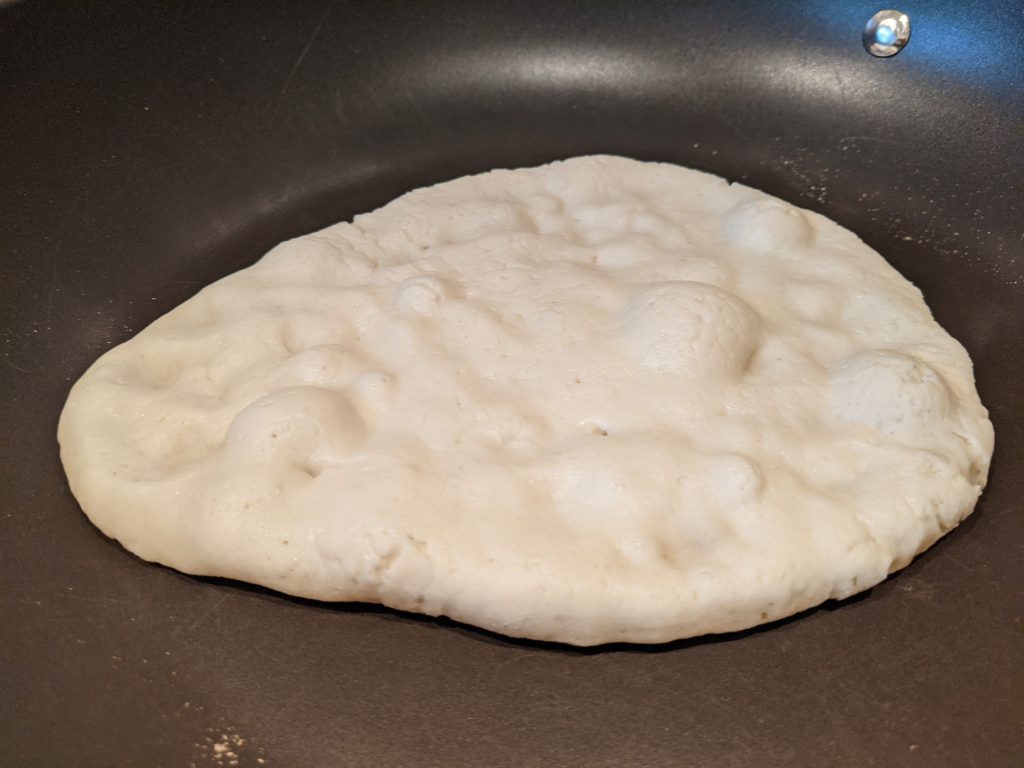
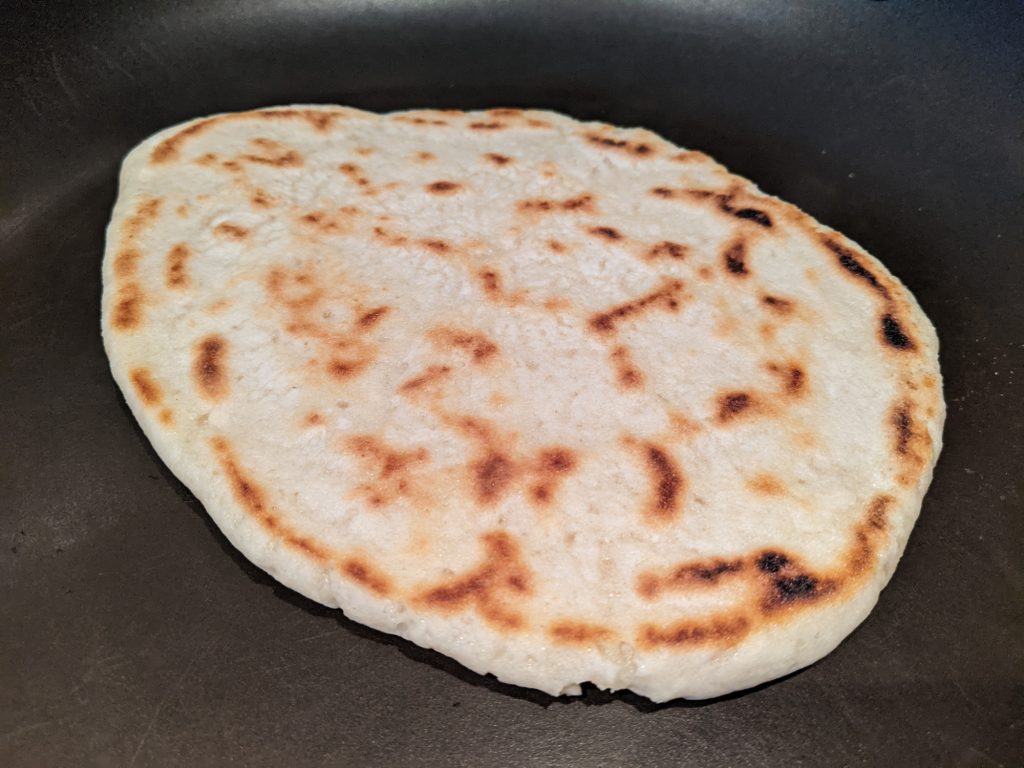
As for my gluten free naan bread, I really am loving this recipe! The dough is lovely and soft to work with, meaning you can get the naan really thin (ideal for curry scooping) or keep them thick and fluffy if you prefer to dip.
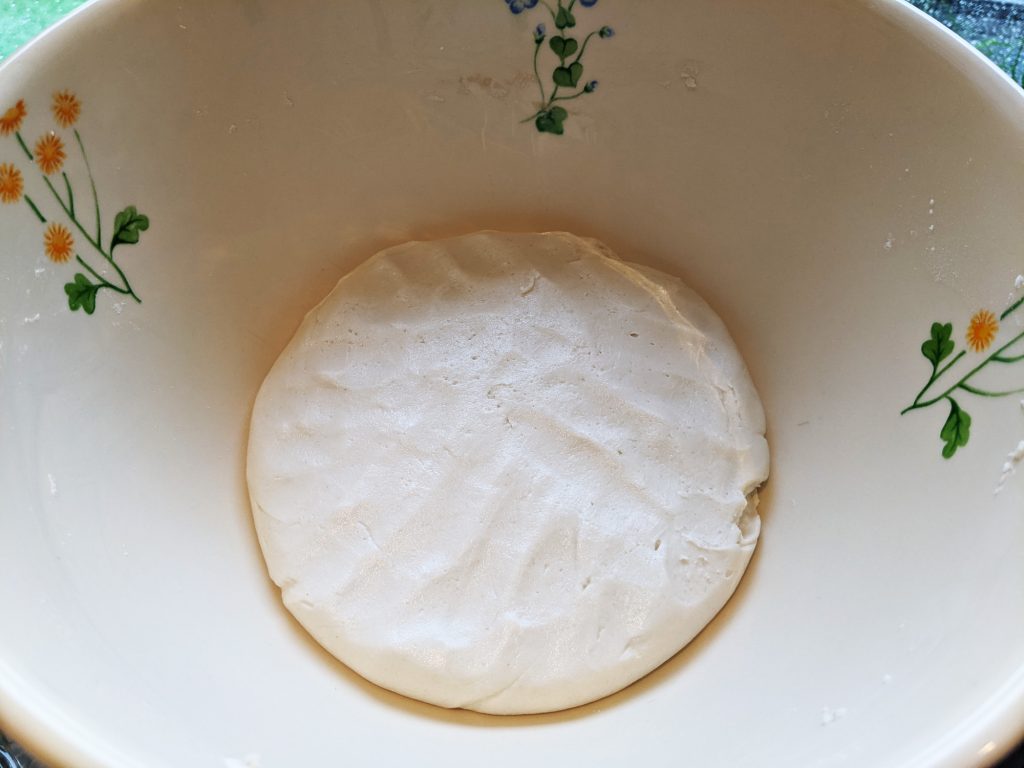
They take an hour to rise, but only a few minutes to cook, hence not too time consuming to make either.
If you prefer a sweet naan, then you will love my Peshwari Naan recipe too – it’s based on this same dough, but features a sweet almond/coconut/sultana filling.
Or for an epic brunch, try my Dishoom-Style Bacon Naan. Sooooo gooooood!

How to Freeze and Reheat These Gluten Free Naan
As I mentioned in the intro, my gluten free naan are freezer-friendly. Simply place in an airtight container or wrap up in cling film, then freeze. When you want to use them, 1-2 minutes in the microwave will defrost and refresh them perfectly.
Can I Make a Dairy Free Version?
Yes easily. Instead of the plain yoghurt use coconut yoghurt or another plain dairy free yoghurt in its place. I used the Alpro Greek Style yoghurt – I simply found I had to add an extra tbsp or so of flour, to ensure the dough wasn’t sticky. Then flour the surface well during nann shaping.
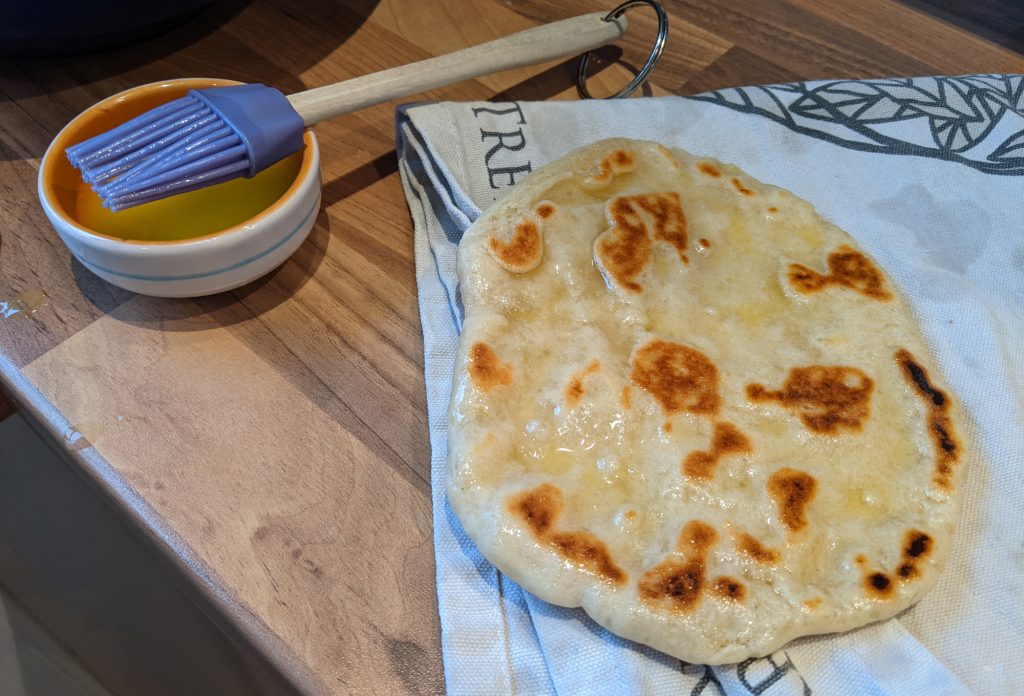
Then for the final gloss of butter at the end either skip this or use a dairy free spread.
Serving Suggestions
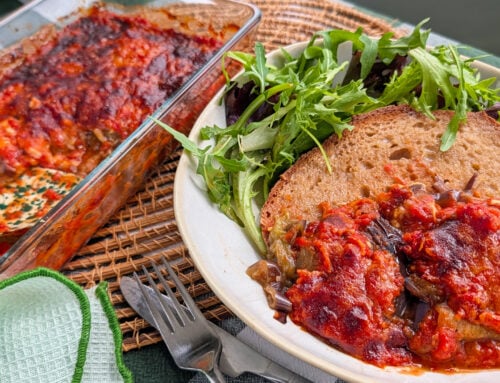
Naan bread are the perfect partner for Indian-style curries. Try my Indian-style chicken curry or my paneer and green lentil curry – both are delicious with these naan.

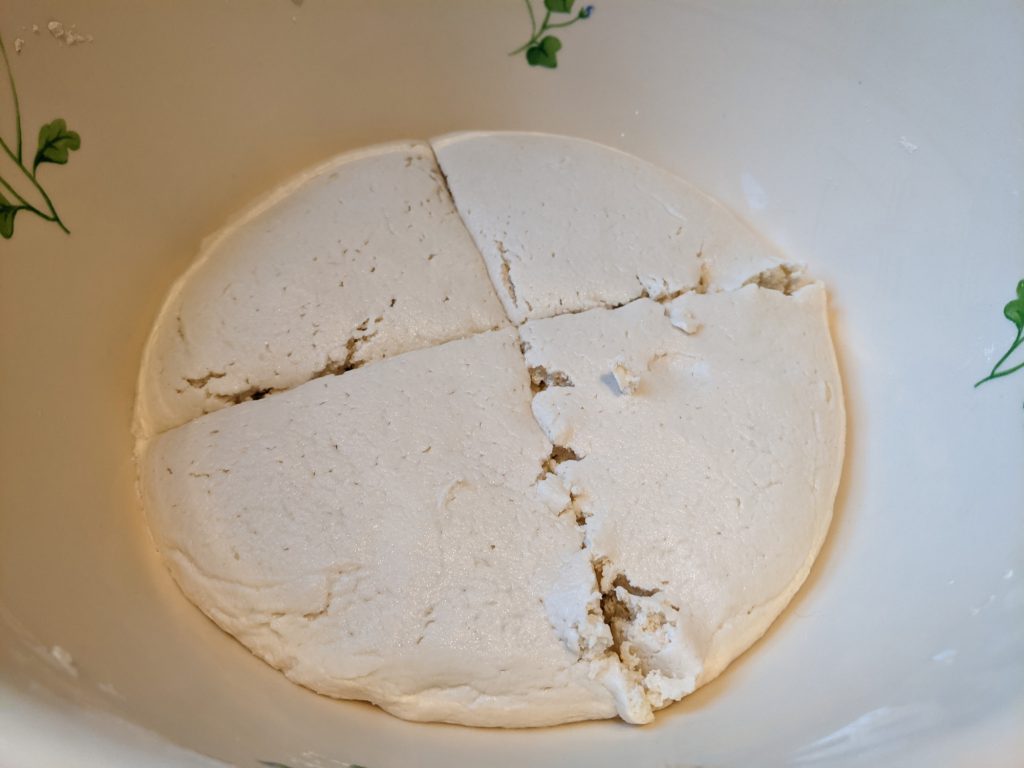
Gluten Free Naan Bread Recipe (Makes 4 Naan Bread)
Time for the recipe! If you enjoy making my naan bread, I would be really grateful if you could review the recipe on the card below.
You’ll find a full method below along with lots of pictures to help you as you work through the recipe. Feel free to email me any questions or comments you might have – laura@mygfguide.com – or DM me on social media @myglutenfreeguide. Ooh, also send photos of your creations please!
Enjoy! Laura xxx
Brilliant Gluten Free Naan Bread
Ingredients
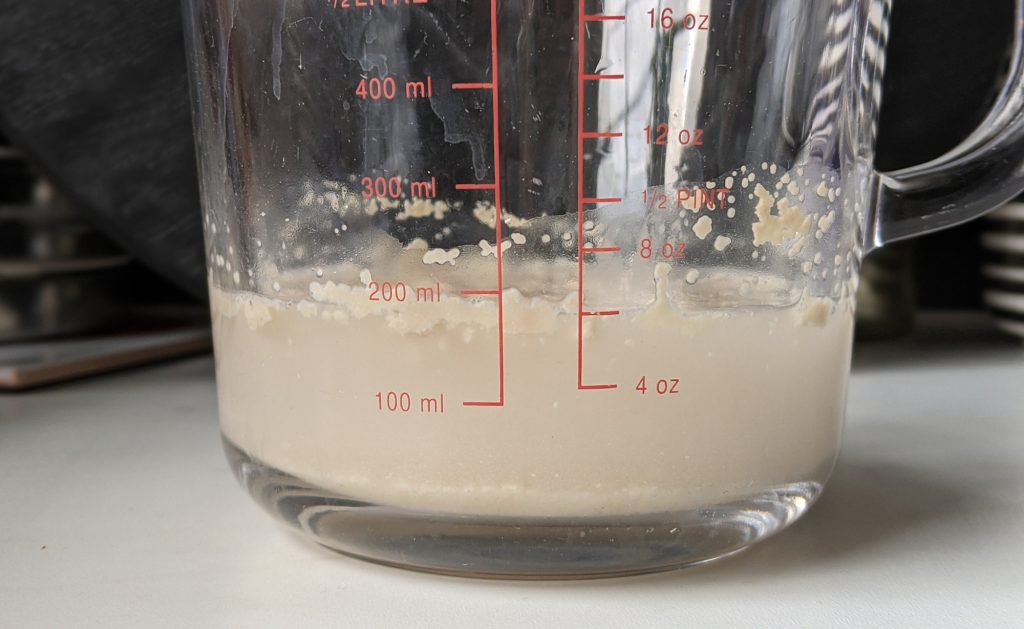
- 1 tsp caster sugar
- 120ml warm water
- 8g dry active yeast
- 240g gluten free plain flour (I use FREEE by Doves Farm)
- 60g tapioca starch/flour
- 1 tsp fine salt
- 2 tbsp olive oil
- 100ml plain yoghurt (Greek or natural)
- 20g salted butter
Instructions


I hope you love these gluten free naan bread! For more delicious gluten free recipe ideas, why not try some of these:
Enjoy! Laura xxx