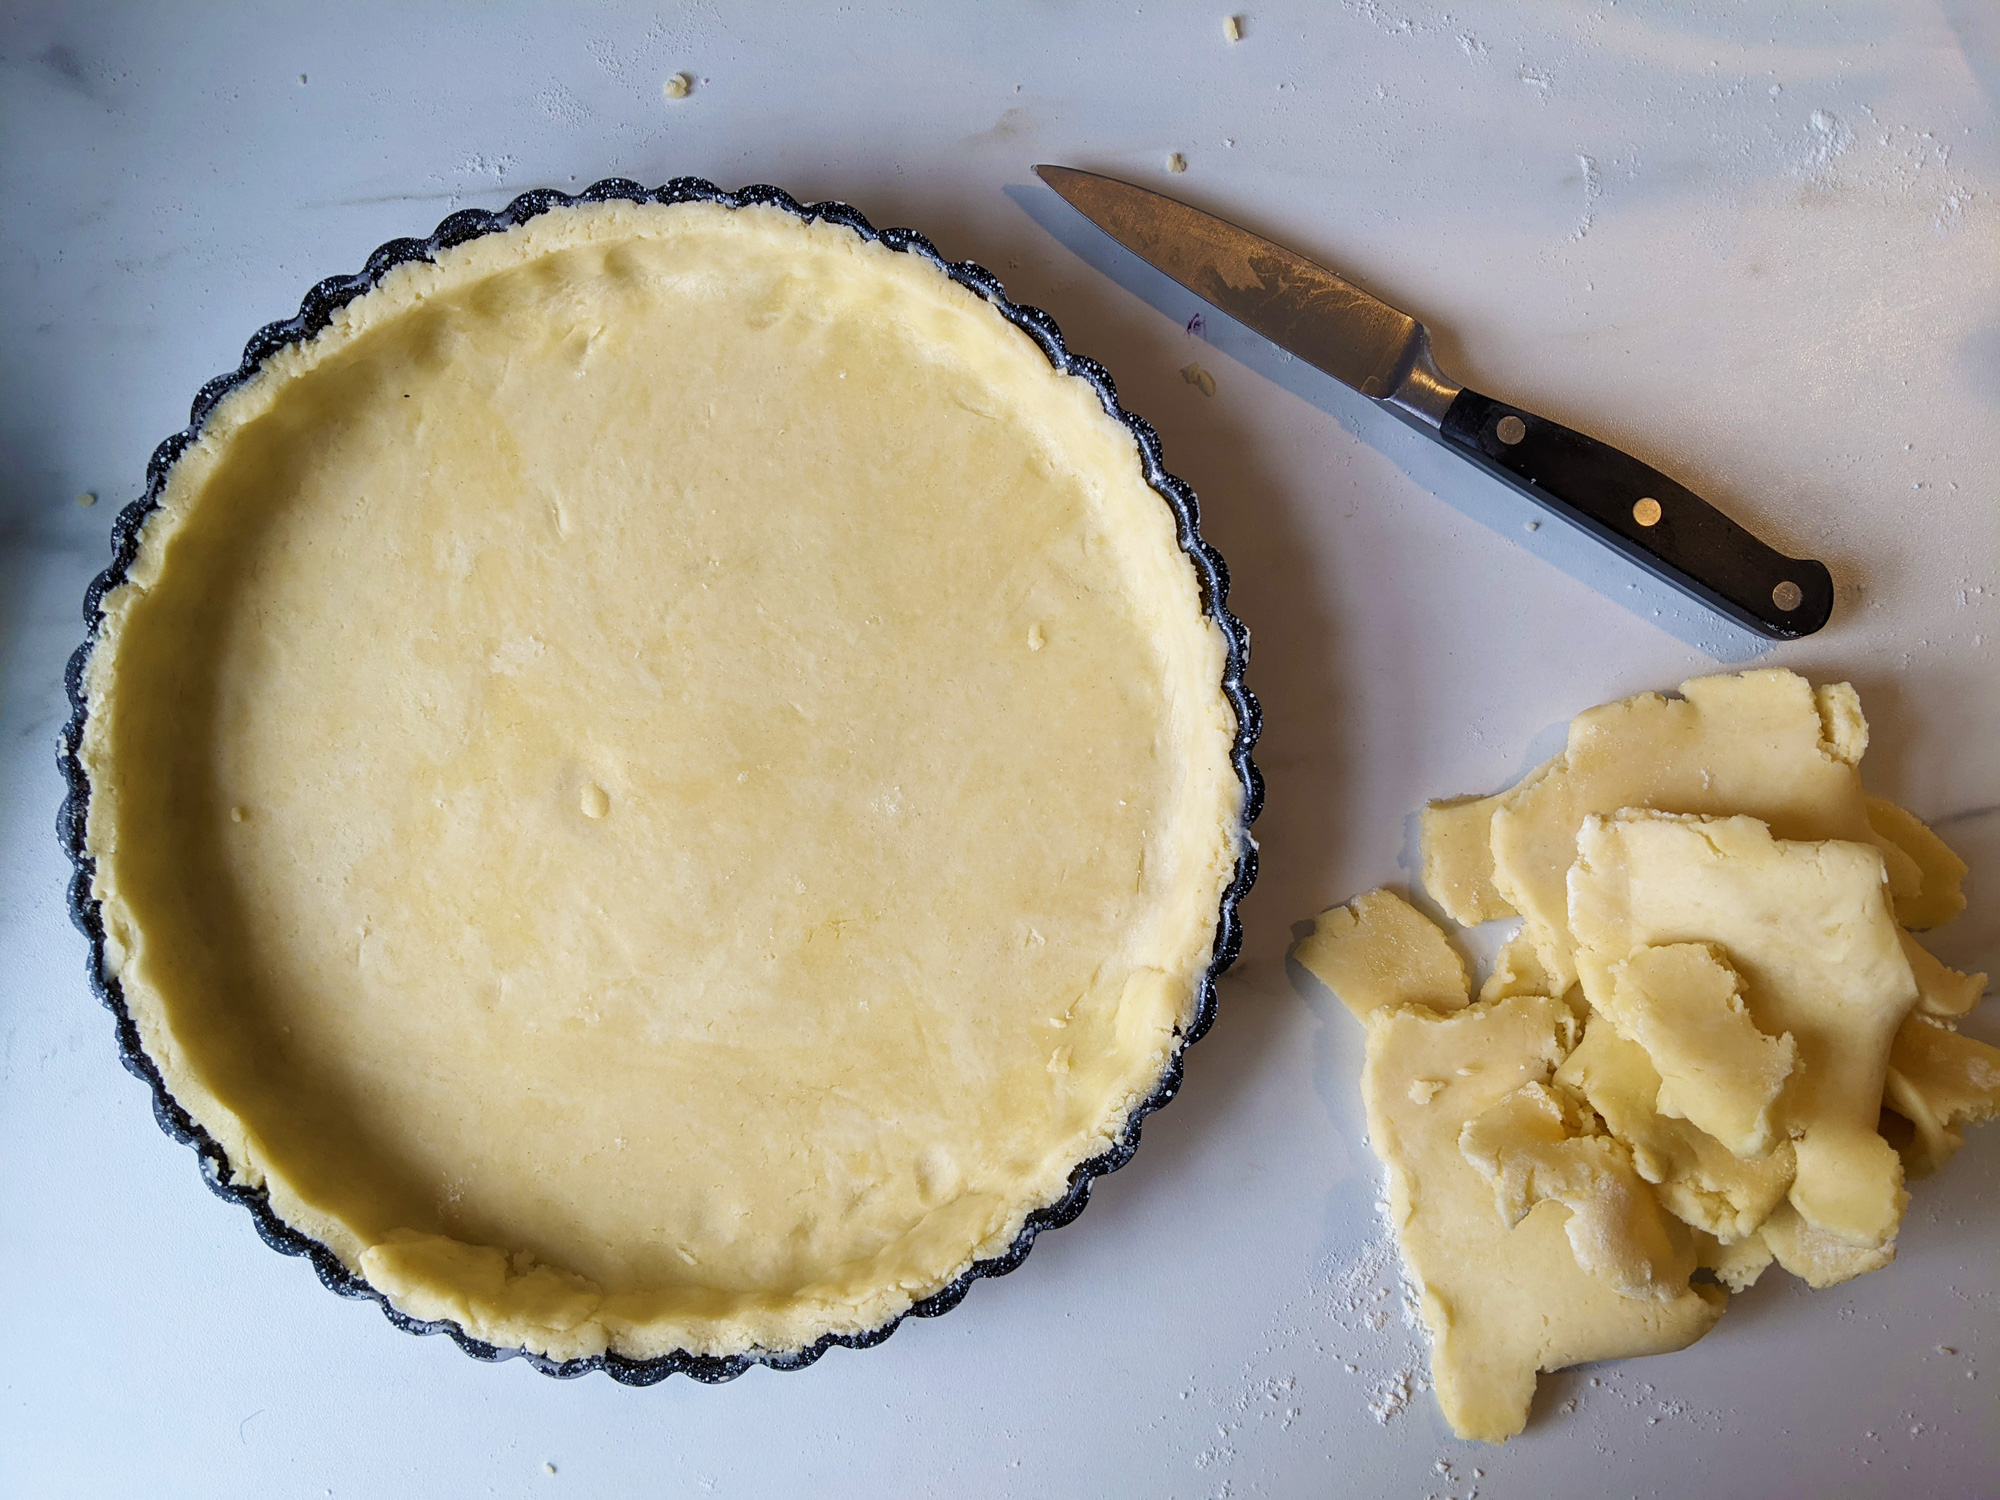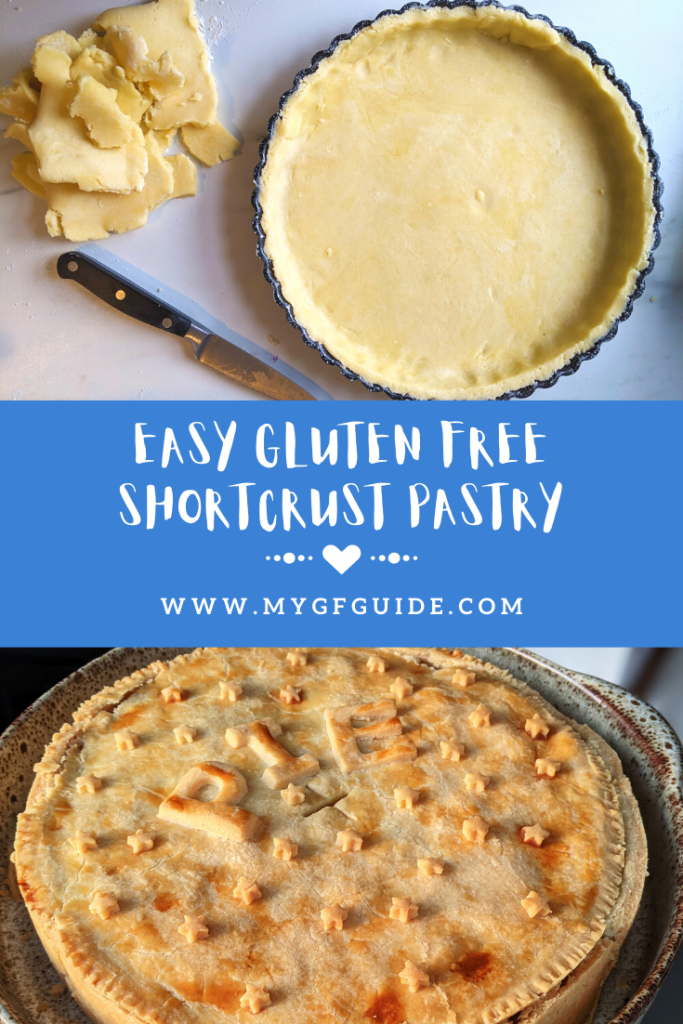
I was so happy to finally nail a really delicious gluten free shortcrust pastry recipe, made using simple ingredients. No multiple flours needed, only plain gluten free flour is used for this pastry. Woo hoo!
Loads of you make this gluten free shortcrust regularly now and I’ve had such lovely feedback. A few gluten-eaters have even told me they prefer this pastry to gluteny shortcrust! After trying it for a coeliac friend or family member, they are now converts :D.
To make the pastry you need gluten free plain flour (I use FREEE by Doves Farm or Shipton Mill), xanthan gum, salt, unsalted butter, a large egg and a little water. Then follow this simple method and you’ll have wonderful gluten free shortcrust pastry in no time at all.
The resulting pastry is buttery, perfectly short and just melts in the mouth. You’ll find it easy to work with and holds its form really well when baked, yet isn’t too hard, rather it has just the right amount of crumble when you bite into it. Yummy!
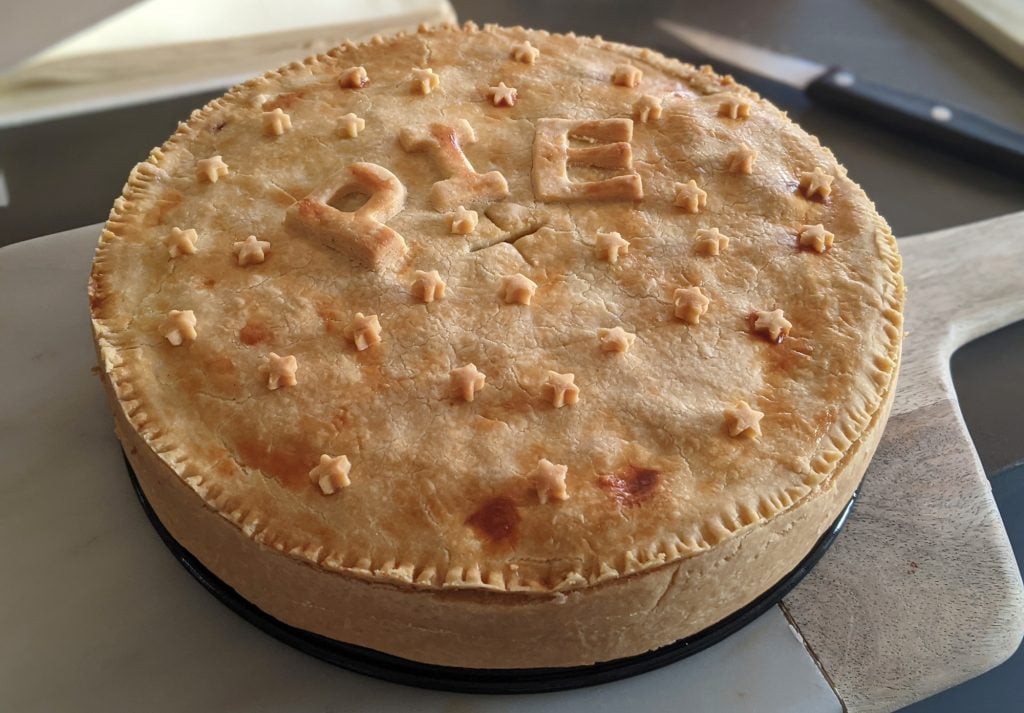
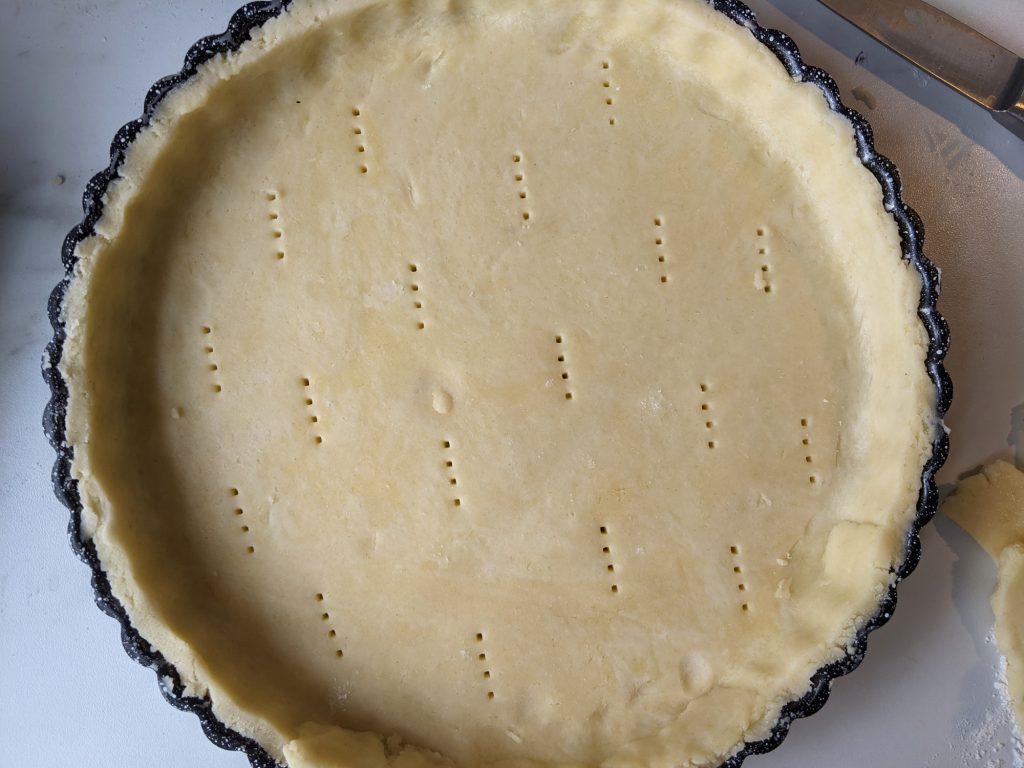
Only Plain Flour?
No tapioca? No sorghum? No cornflour? That’s right, just good old plain gluten free flour!
I’ll admit I was always a bit untrusting of simple gluten free shortcrust recipes. The ones I had tried either made pastry that was rock hard, or horrible crumbly stuff that falls apart and makes a mess.
Until recently I tended to use a mixed flour pastry recipe instead (Naomi Devlin’s shortcrust was a particular favourite of mine).
You tend to get more depth of flavour with mixed flour pastry, however those recipes tend to require a lot of different ingredients. The different flours serve a purpose and can yield fabulous pastry, but they can be tricky or expensive to get hold of in the shops.
Lots of you had asked me for a simple gluten free shortcrust instead. One that you can make using the contents of your existing storecupboard. I am very happy to finally be able to oblige!
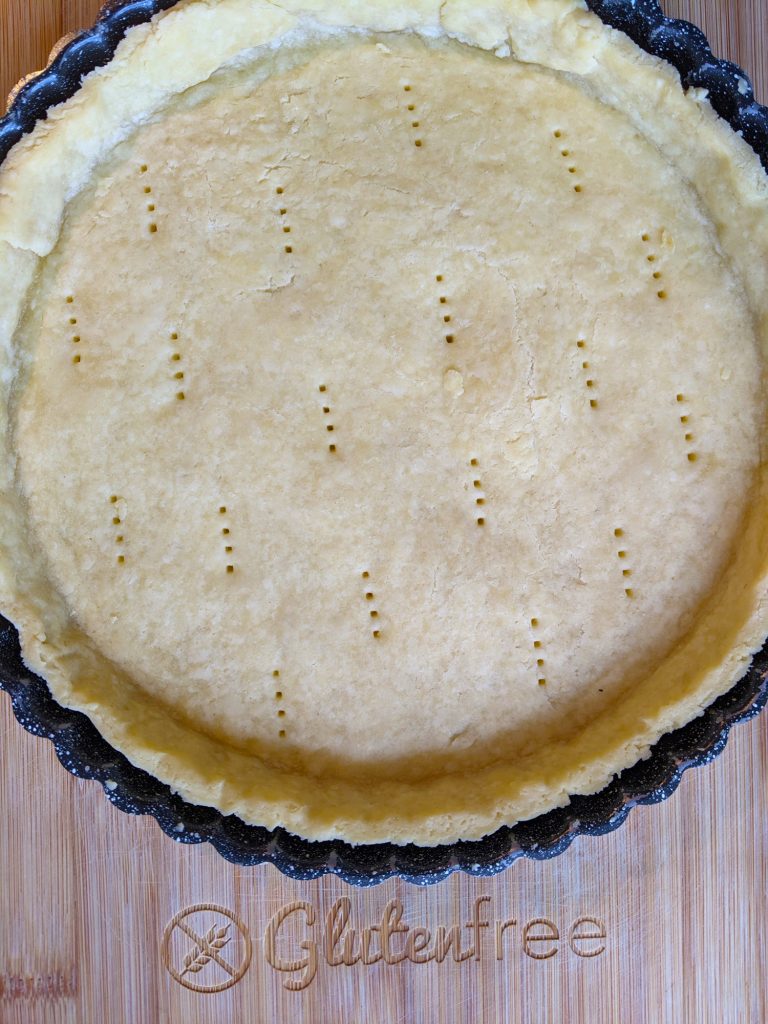
I use the FREEE gluten free plain flour for my shortcrust pastry, generally, although also find the M&S flour works really nicely.
My Top Tip for Great Gluten Free Shortcrust Pastry…
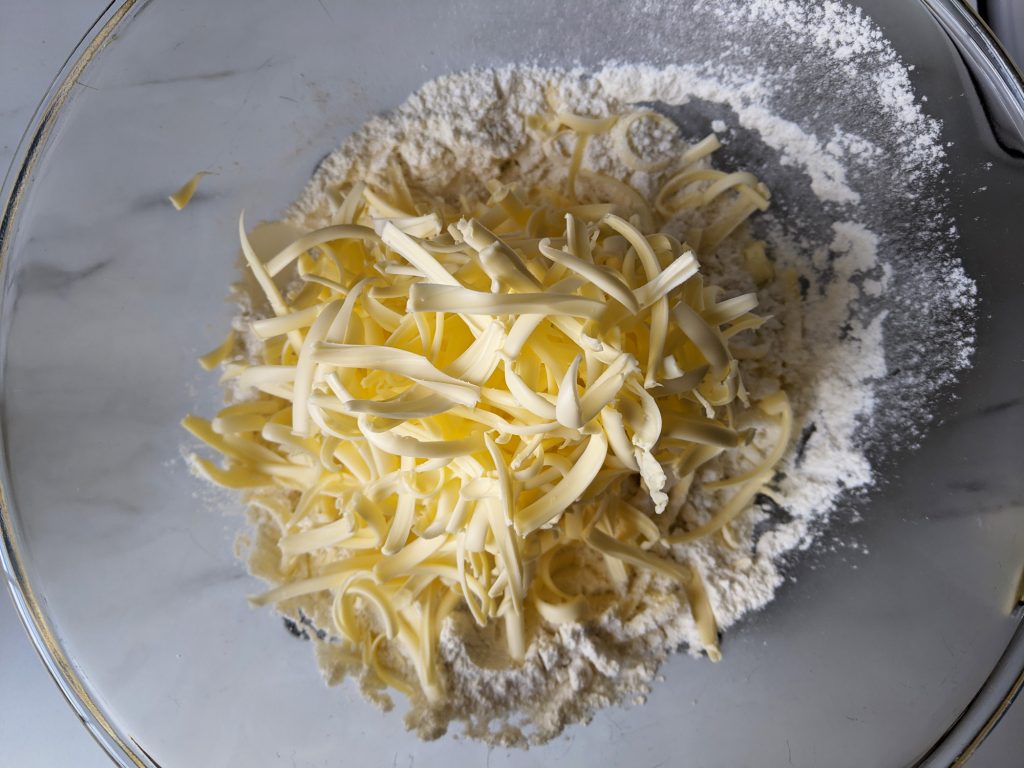
Grated butter! You’ll see in the method that the butter in this recipe is grated before being mixed into the dry ingredients. This helps to ensure a really even distribution through the flour.
Plus you won’t have to work the mixture as much to get to the breadcrumb stage, which makes for much cooler, happier pastry.
If you are using lactose free butter, it might not be possible to grate it as it tends to be a bit softer. Don’t fret, just cut into small cubes and rub into the flour per the method. The pastry will still be lovely.
Or a few followers making it lactose or dairy free have said popping their spread in the freezer has made it grateable (not a word but you know what I mean!).
Can I Make Sweet Shortcrust Using this Recipe?
Sure thing! I use this recipe regularly for both sweet and savoury bakes. For sweet pastry, simply omit the salt from the recipe and instead add 1 tbsp caster sugar to the dry ingredients in step 1. Easy peasy.
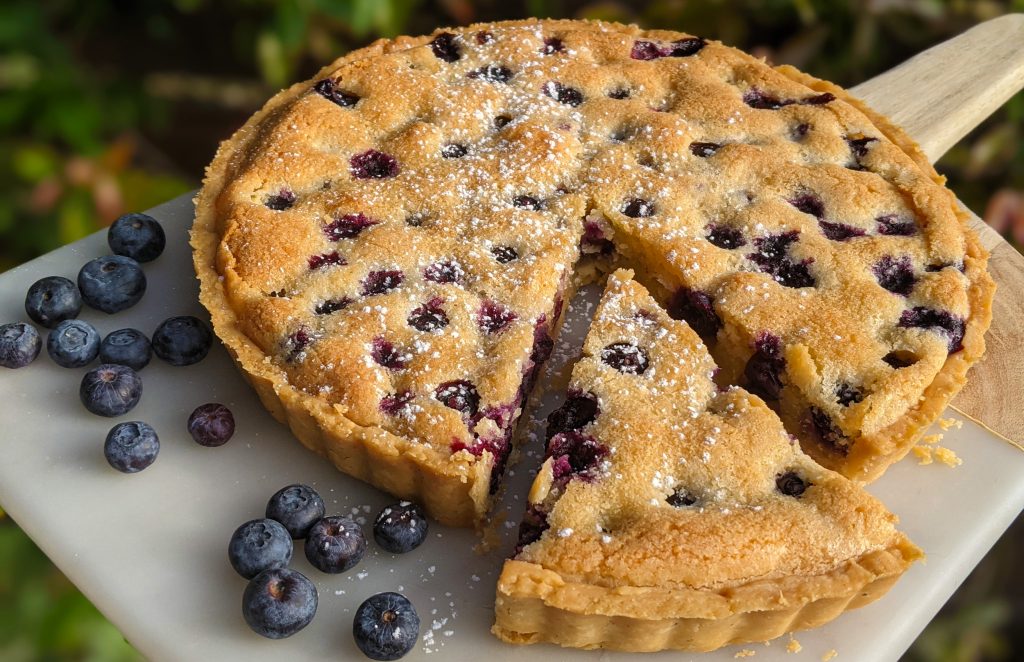
I also have a slight variation on this recipe using some ground almonds, which makes fabulous patisserie-style shortcrust pastry – my Sweet Almond Shortcrust Pastry (pictured below in this yummy Blueberry Frangipane Tart).
Go On, Laura, Give Me Some Recipe Inspo!
Oooo where to start? Here are some recipes I make regularly, all using my gluten free shortcrust pastry:
- Cheese & Onion Quiche
- Chicken, Mushroom & Pancetta Pie
- Pancetta, Parmesan & Courgette Quiche
- Lemon Meringue Pie
- Mince Pies
- Salted Caramel Treacle Tart
- Mini Spiced Apple Pies
- Pecan Pie
Lots of gooduns to try there!
Does It Take Long To Make?
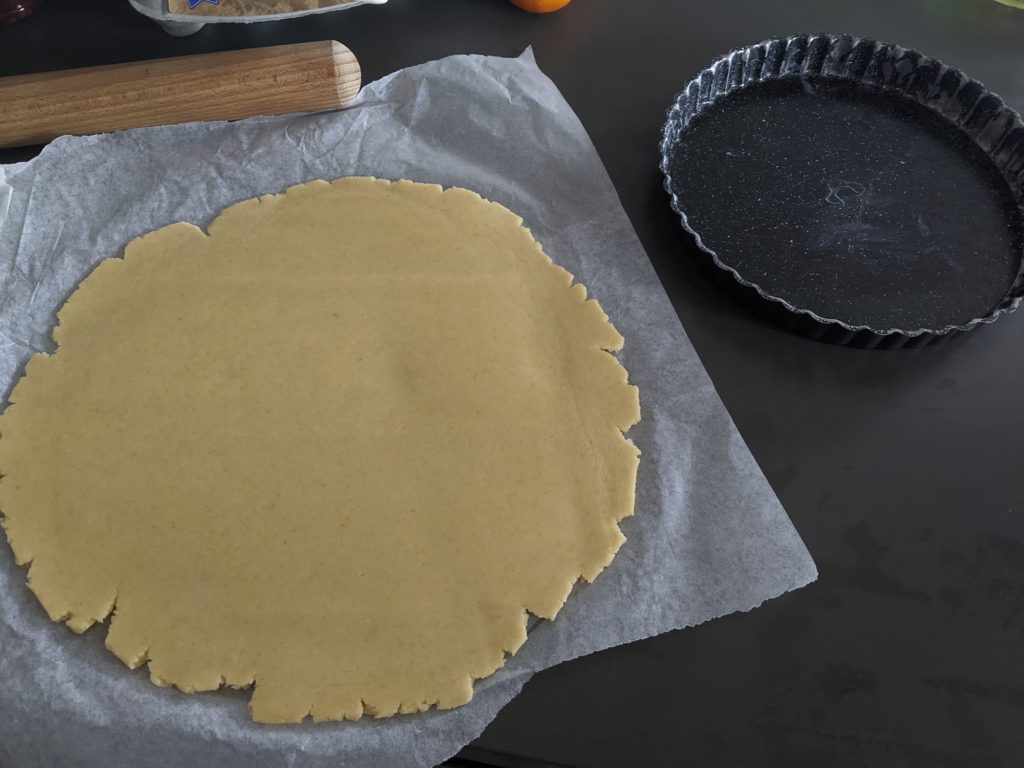
Nope, this pastry is really quick to make. You’ll need about 10 minutes to make the dough, 30 minutes to chill, then it’s ready to use.
You can leave it in the fridge for long if you want to get on with other things, but I’ve found a short little chill is all this pastry needs to be fully workable and delicious.
Can I Chill This Pastry Overnight?
Yes – I did a trial run recently and run the pastry was still fine if you chill for longer than 30 mins. You can even make it the day before.
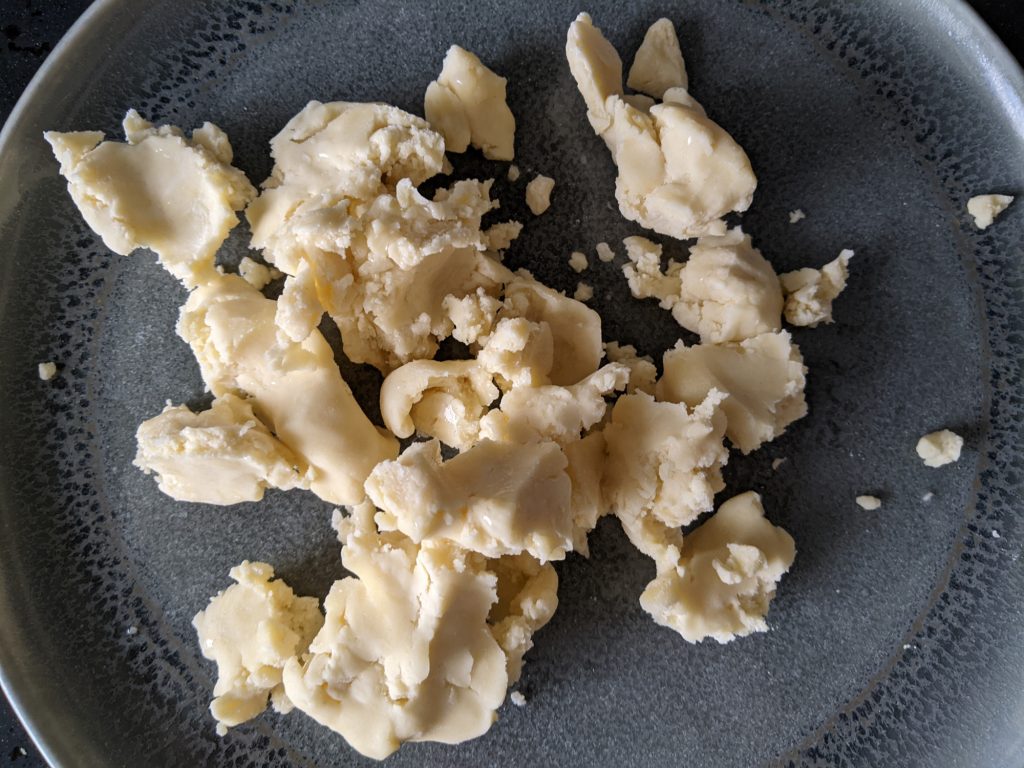
You will find it may be a little crumbly when you start working with it, after a long chill. Simply break it into pieces, sprinkle with a few drops of water and knead the dough until pliable again.
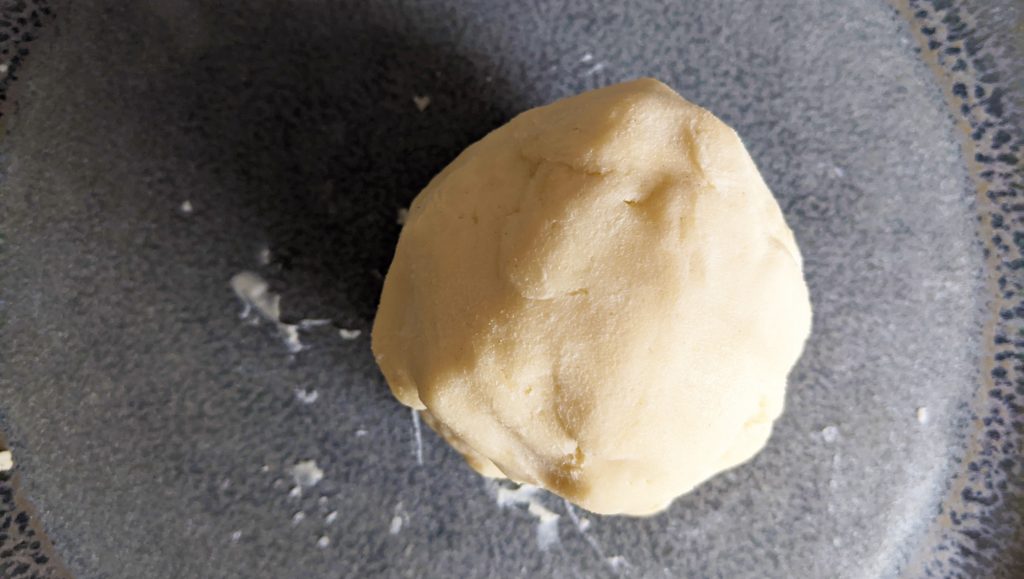
Gluten Free Shortcrust Pastry Recipe
Here’s the recipe! If you enjoy making this gluten free shortcrust pastry please do leave a review on the recipe card below. Any questions – fire away! You can contact me (Laura) at mygfguide@gmail.com or via my Instagram @myglutenfreeguide.
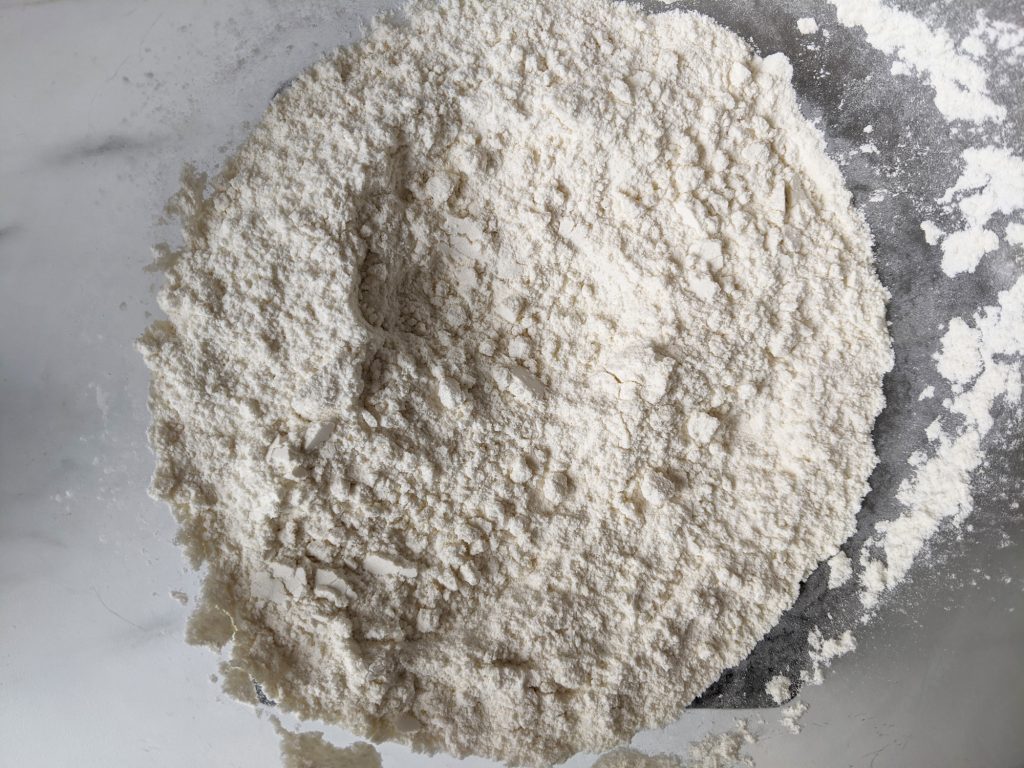
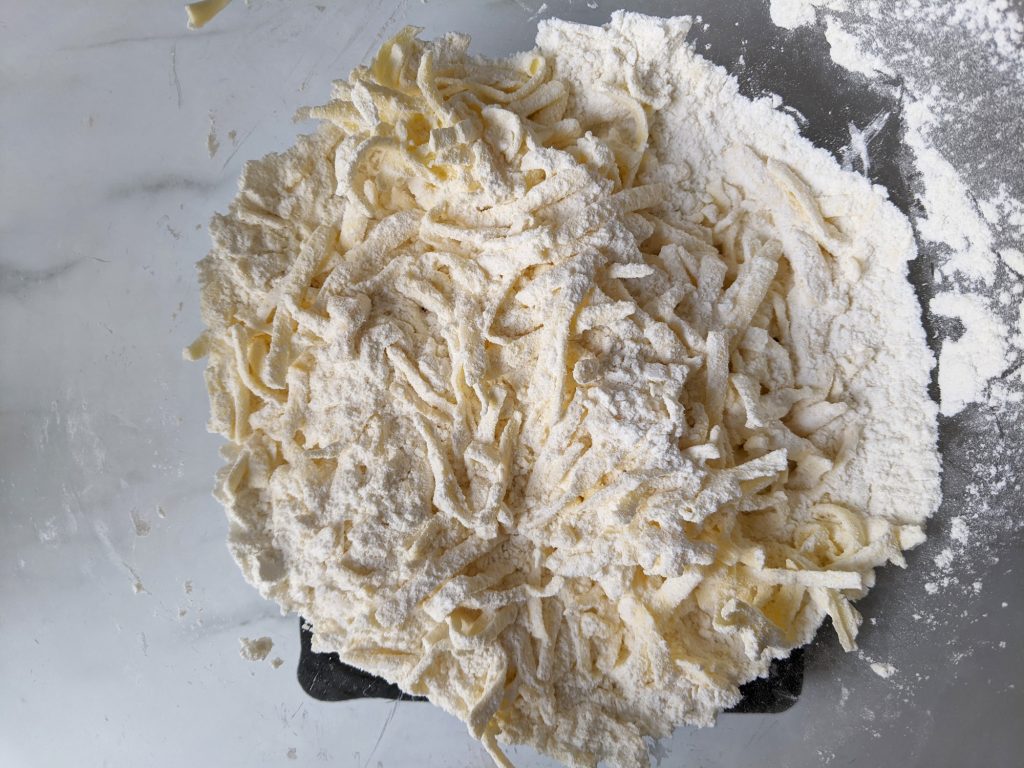
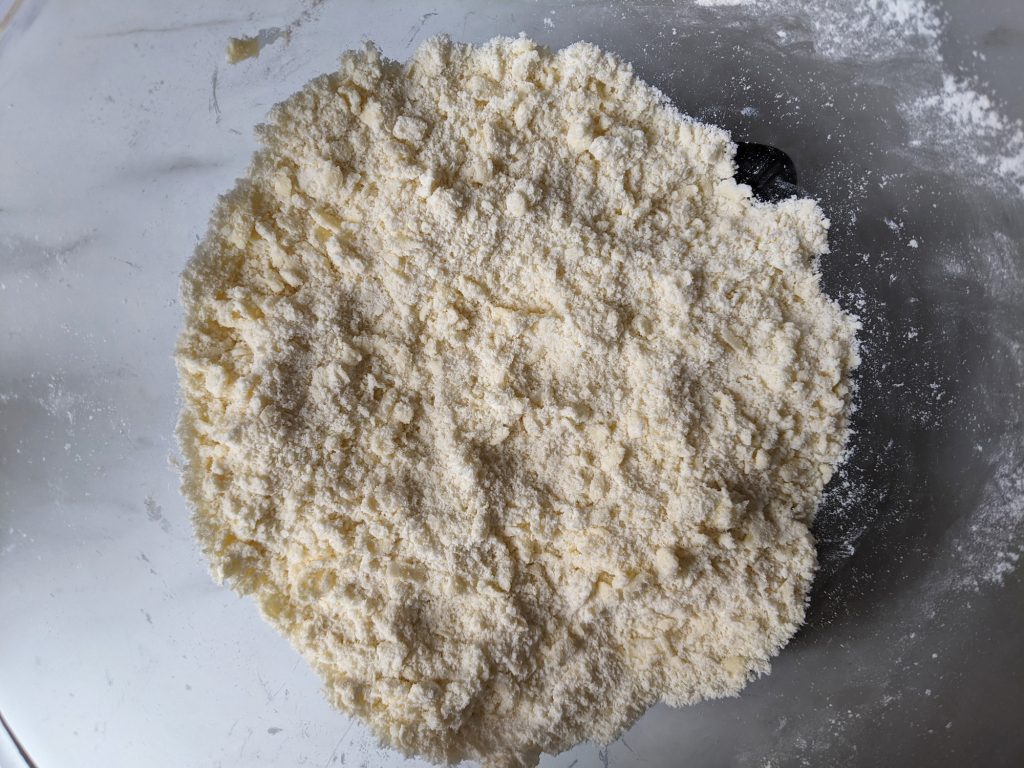
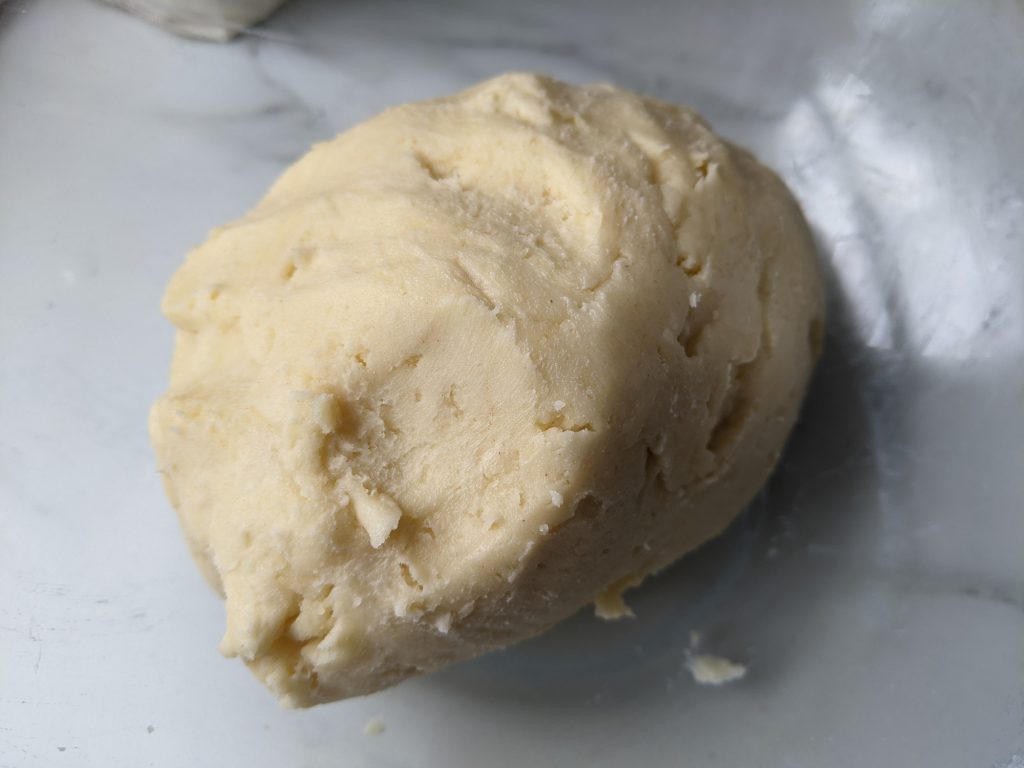
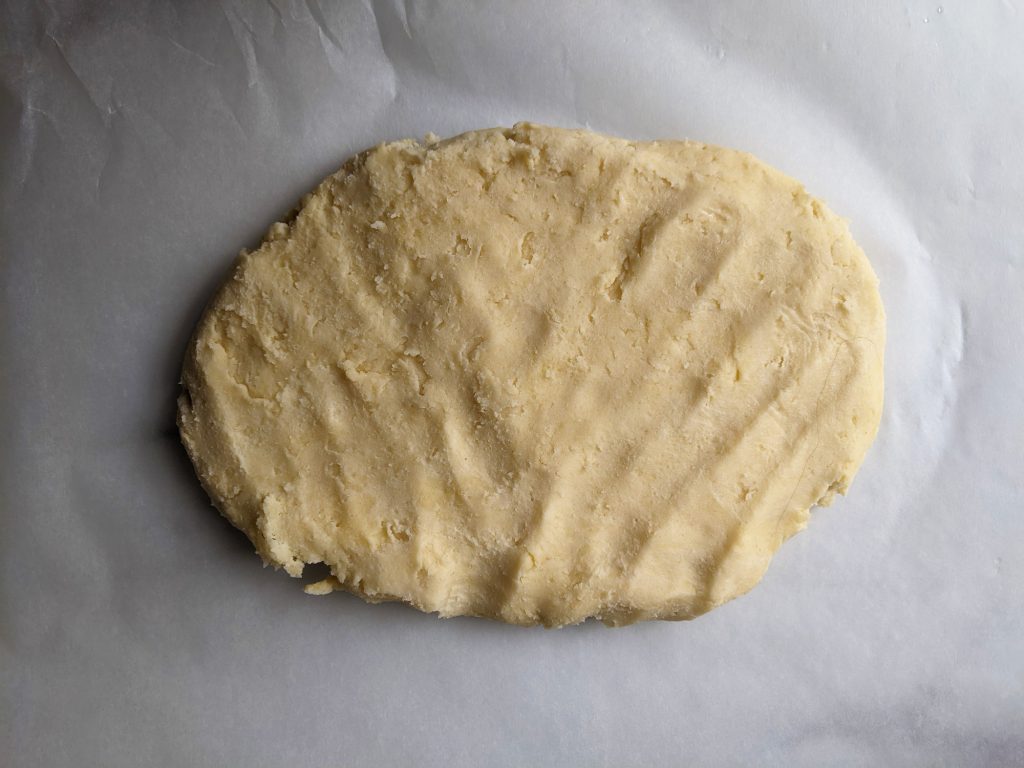
You’ll also find some step-by-step pictures below the recipe, to help you know what the pastry mix should look like at each stage.
Happy baking! Laura xxx
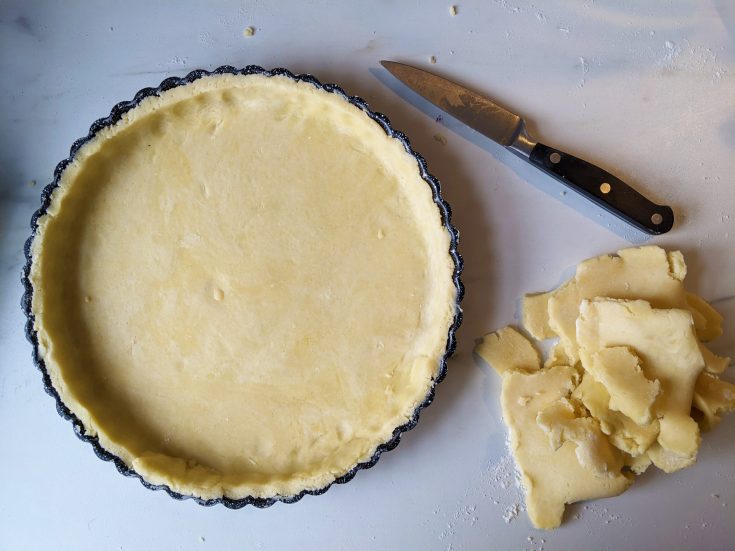
Gluten Free Shortcrust Pastry
Easy peasy gluten free shortcrust pastry, suitable for both sweet and savoury bakes. With a short chill time and simple method, you'll be enjoying gorgeous gluten free pastry treats in no time!
Ingredients
- 280g (10oz) plain gluten free flour
- 1 tsp xanthan gum
- 0.5 tsp salt (for savoury pastry) OR 1 tbsp caster sugar (for sweet pastry)
- 140g (5oz) unsalted butter, chilled
- 1 large egg
- 2-3 tbsp water
Instructions
- Sift the flour, xanthan gum and salt (OR sugar for sweet) into a large mixing bowl. Stir to combine.
- Grate the chilled butter into the bowl (use the large grater setting on a cheese grater) and toss the butter strands through the flour with a spoon. Once the butter is coated with flour, use your finger tips to rub the butter into the flour until you have a coarse breadcrumb-like texture.
- Beat the egg and add to the bowl. Stir through with the spoon.
- Add 2 tbsp water (you may not need the third) and use your hands to bring the ingredients together to form a nice ball of dough. It should come away from the sides of the bowl and the dough will be smooth and pliable. If it is still a bit crumbly, add the third tbsp water and work to combine.
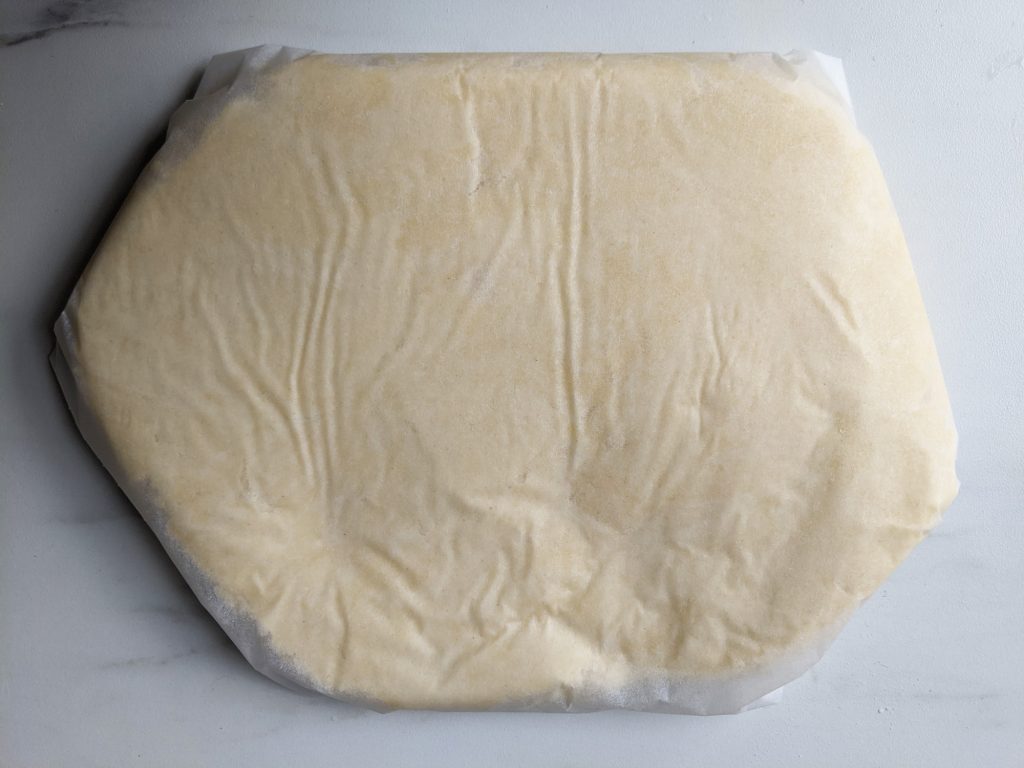
- Take a large piece of greaseproof paper (approx 40cm long) and place the ball of dough on the waxed, non-stick side. Press it down gently with your hands to form an oval shape a couple of cm thick. Now fold the paper over to cover the other side of the dough and then fold the edges over so that you have a nice little dough parcel. Now place into the fridge to chill for 30 minutes.
- Once chilled, the pastry is ready for use!
So you’ve nailed the pastry, now how about some ideas as to what you can make with it! Here are a few recipes you might like to try:
- Cheese & Onion Quiche
- Chicken, Mushroom & Pancetta Pie
- Pancetta, Parmesan & Courgette Quiche
- Mince Pies
- Salted Caramel Treacle Tart
Enjoy! x

