These little smores cheesecake pots are heaven! But what on earth are smores, you ask! Well, they are a classic American campfire treat involving a toasted marshmallow and some milk chocolate sandwiched between two biscuits. And they taste amazing.
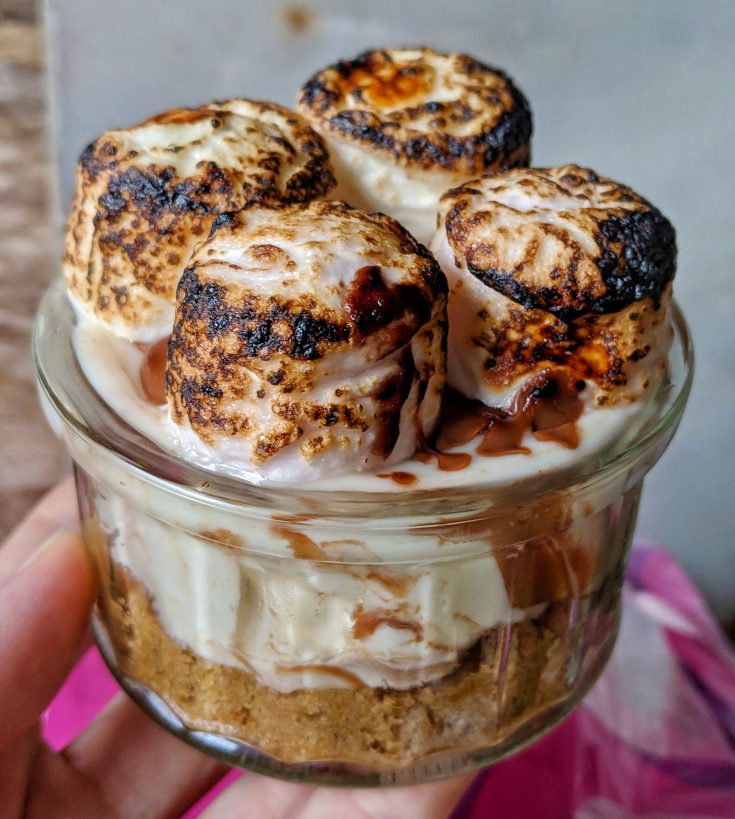
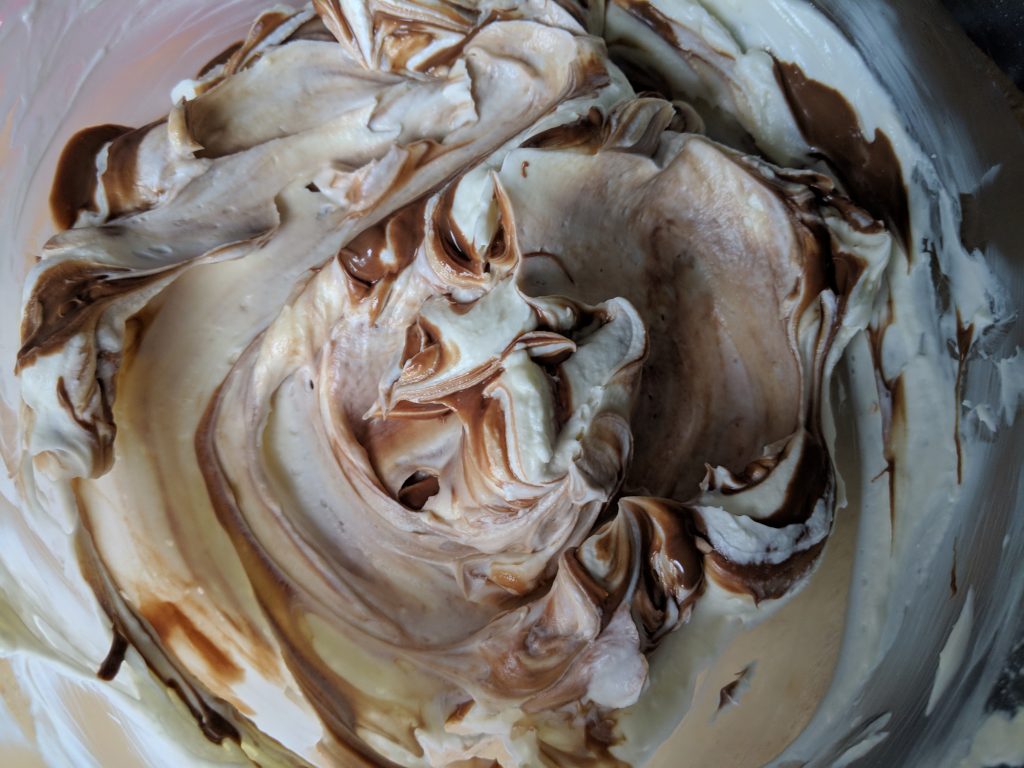
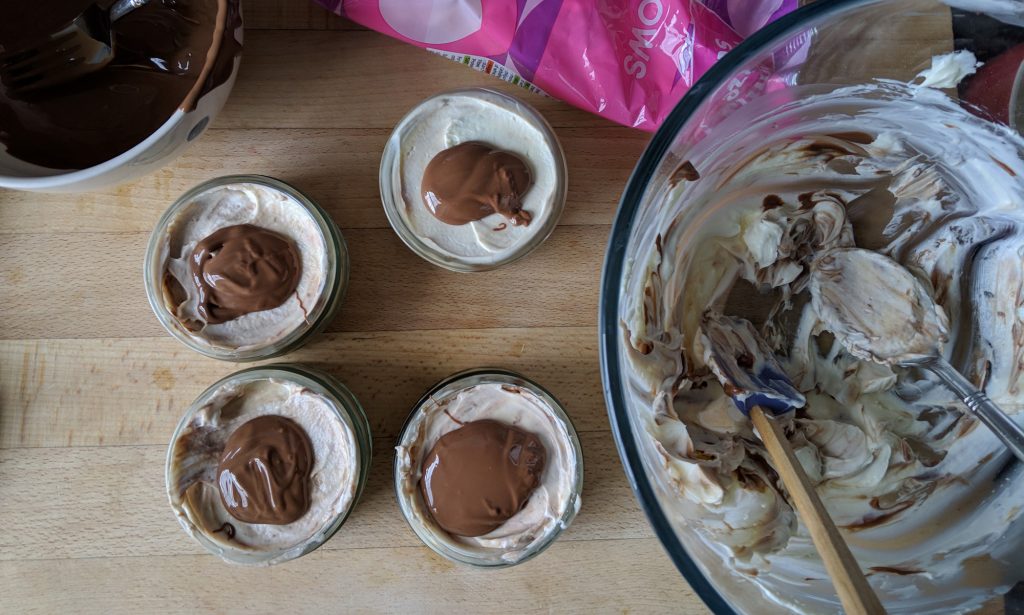
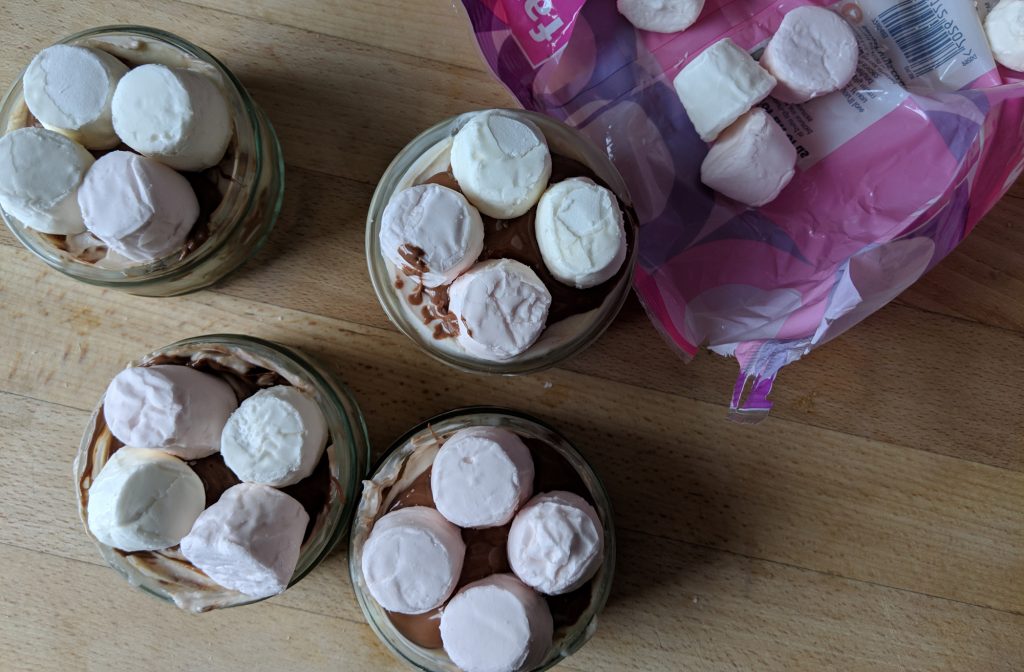
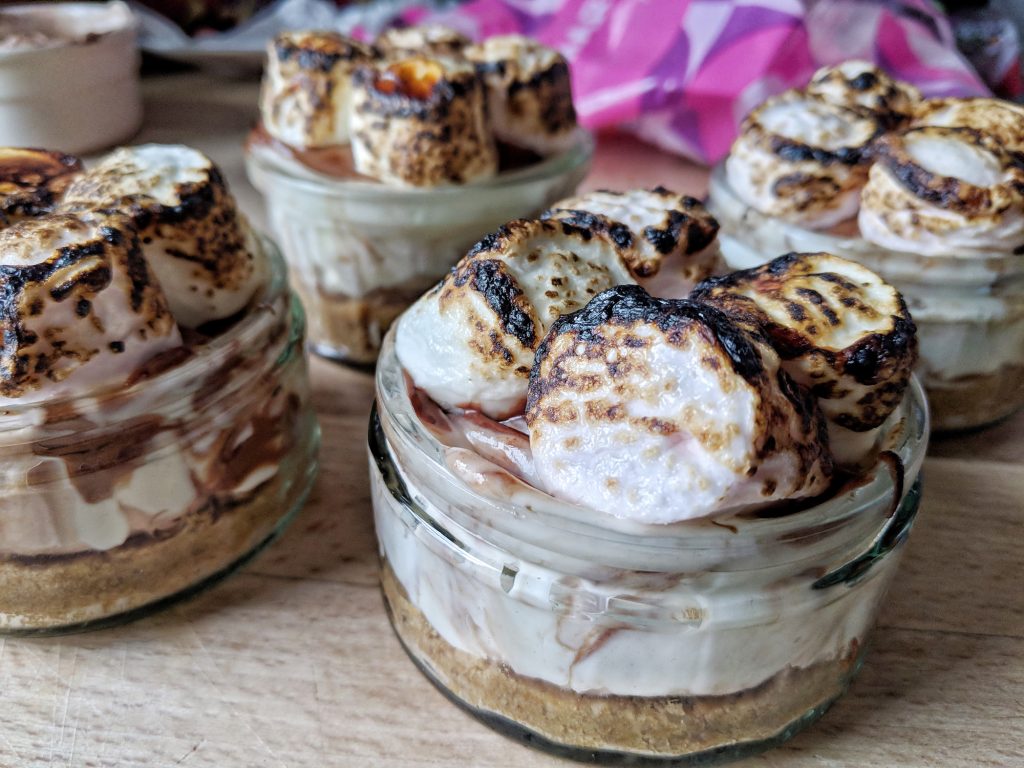
I took the spirit and key ingredients of this treat and transformed them into these smores cheesecake pots. A biscuity base, chocolate cheesecake swirl filling, milk chocolate layer and then toasted marshmallow topping. I AM DROOOOLING simply remembering the taste of these. They turned out even better than I had imagined.
You will need a cook’s blowtorch for this recipe, which are very reasonably priced and available from most kitchen shops and on Amazon. I use mine fairly regularly and would say it is a piece of kitchen equipment worth getting…at the very least you can make cheese on toast in record time haha!

Can I Make These Pots in Advance?
Yes! Simply make the pots and store in the fridge until you are ready to serve. Then give the marshmallows a little brulee before you dish them up to make the tops go lovely and melty again.
Gluten Free Smores Cheesecake Pots Recipe (Makes 6 Pots)
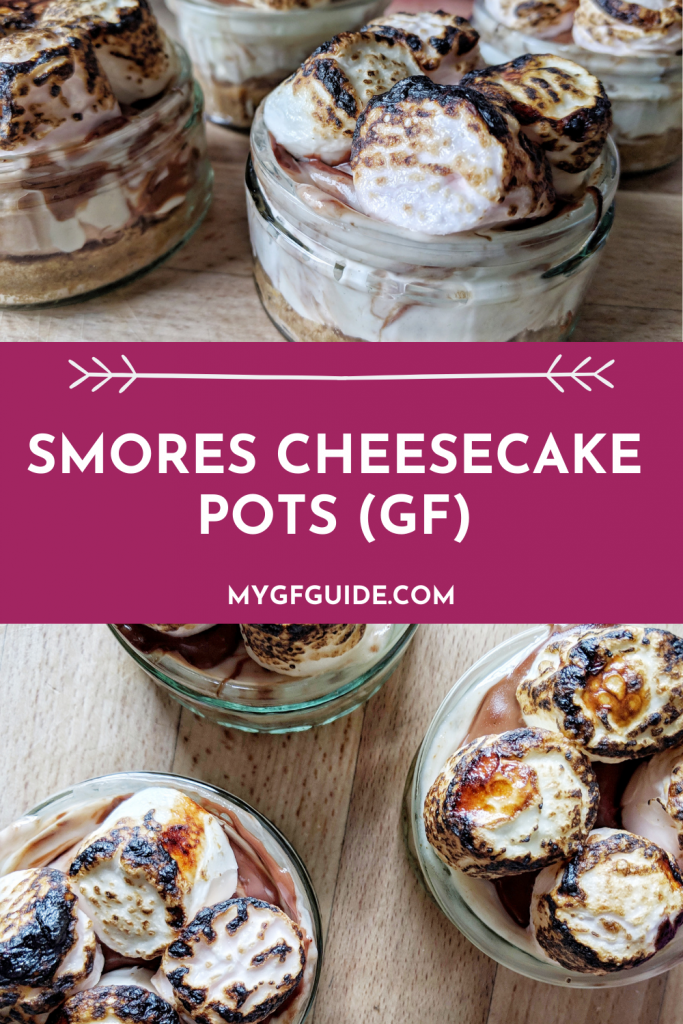
Smores Cheesecake Pots (GF)
Ingredients
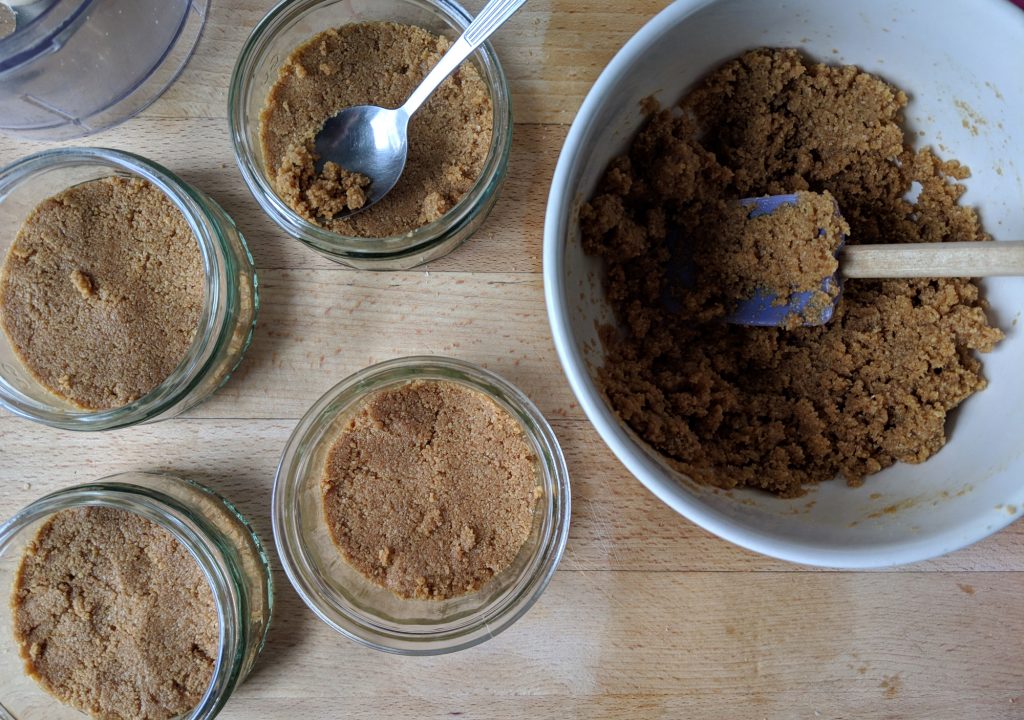
- 160g gluten free sweet digestive biscuits
- 50g unsalted butter, melted
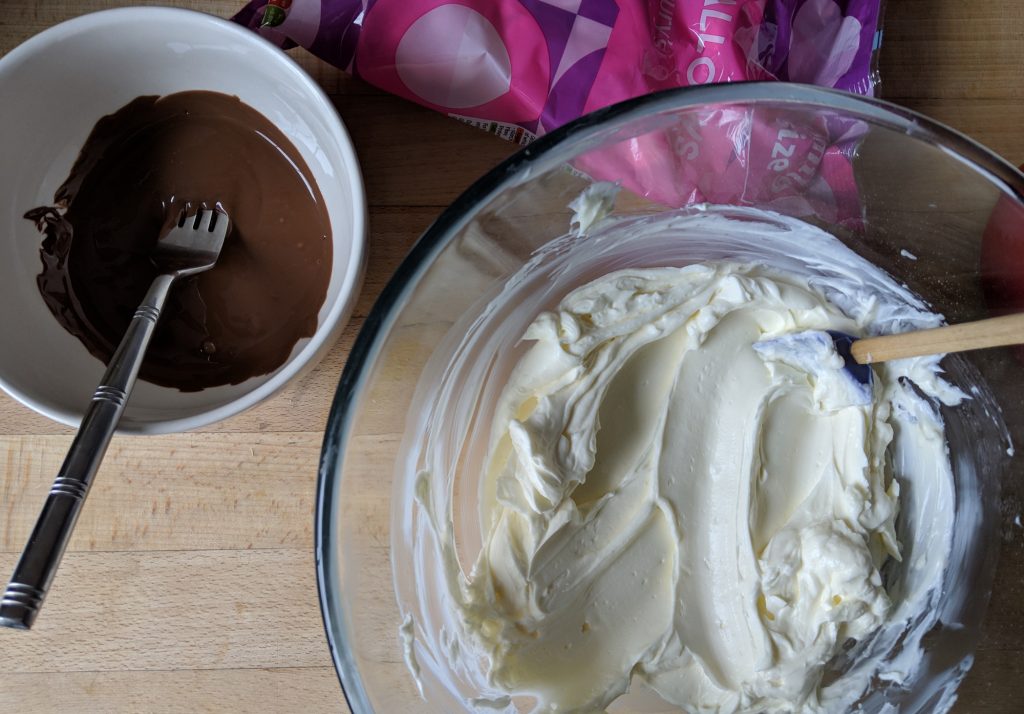
- 175g full fat cream cheese
- 175g mascarpone
- 100g icing sugar
- 100g milk chocolate
- A bag of marshmallows (large or mini are both fine)
Instructions
If you enjoyed making this recipe why not try one of my other gluten free sweet treats and desserts. Here are some of my faves:
- White Chocolate & Raspberry Brownies
- Epic Carrot Cake
- Chocolate Brownie Tart with Raspberries
- Salted Caramel Treacle Tart
- White Chocolate Chunk Cookies
Enjoy! x