Gluten Free Red Velvet Cake Recipe UK Pinterest

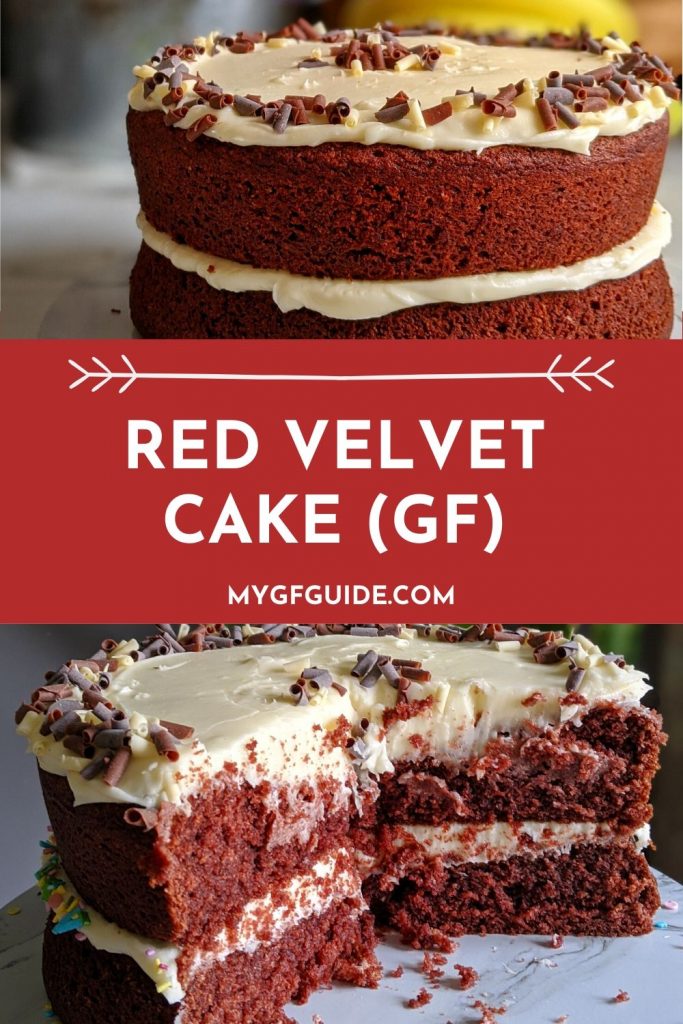
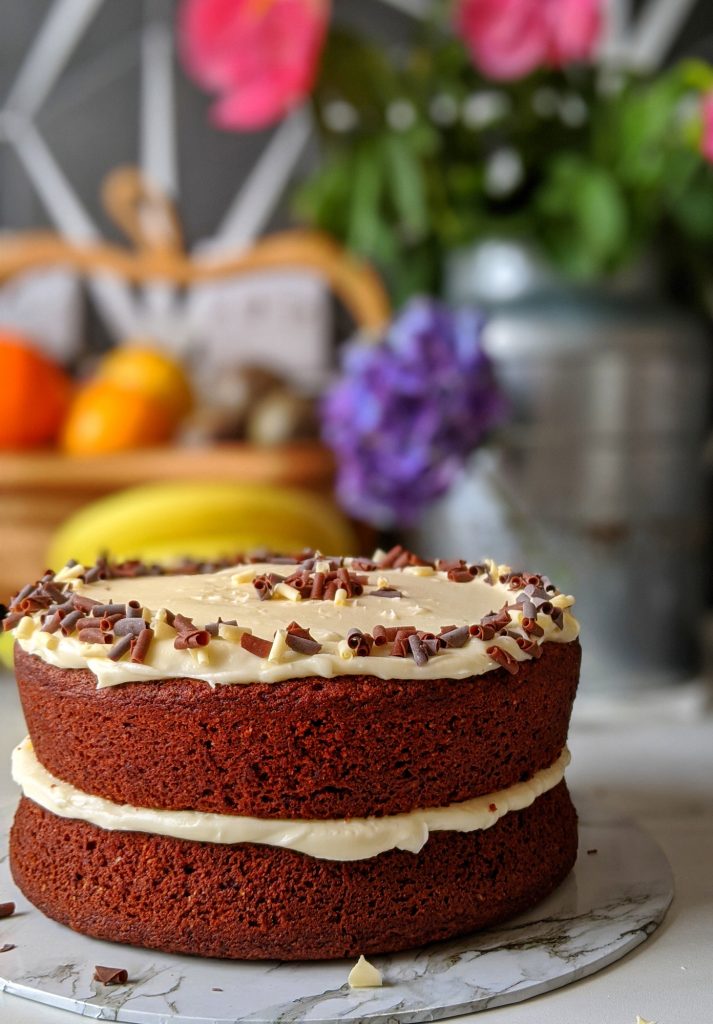
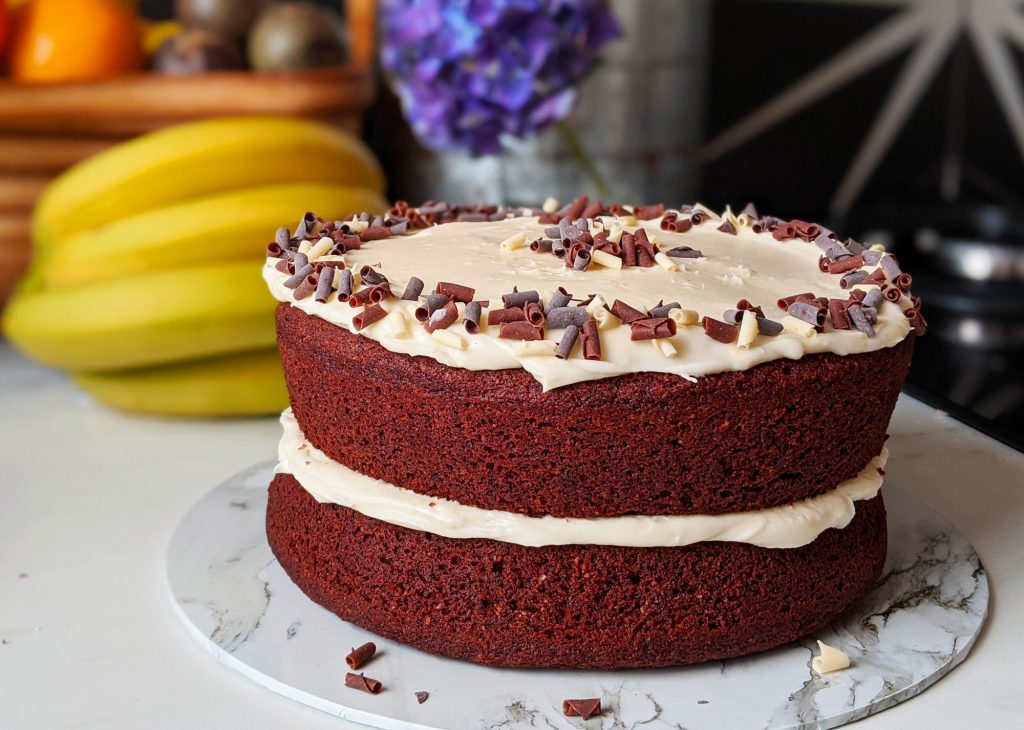
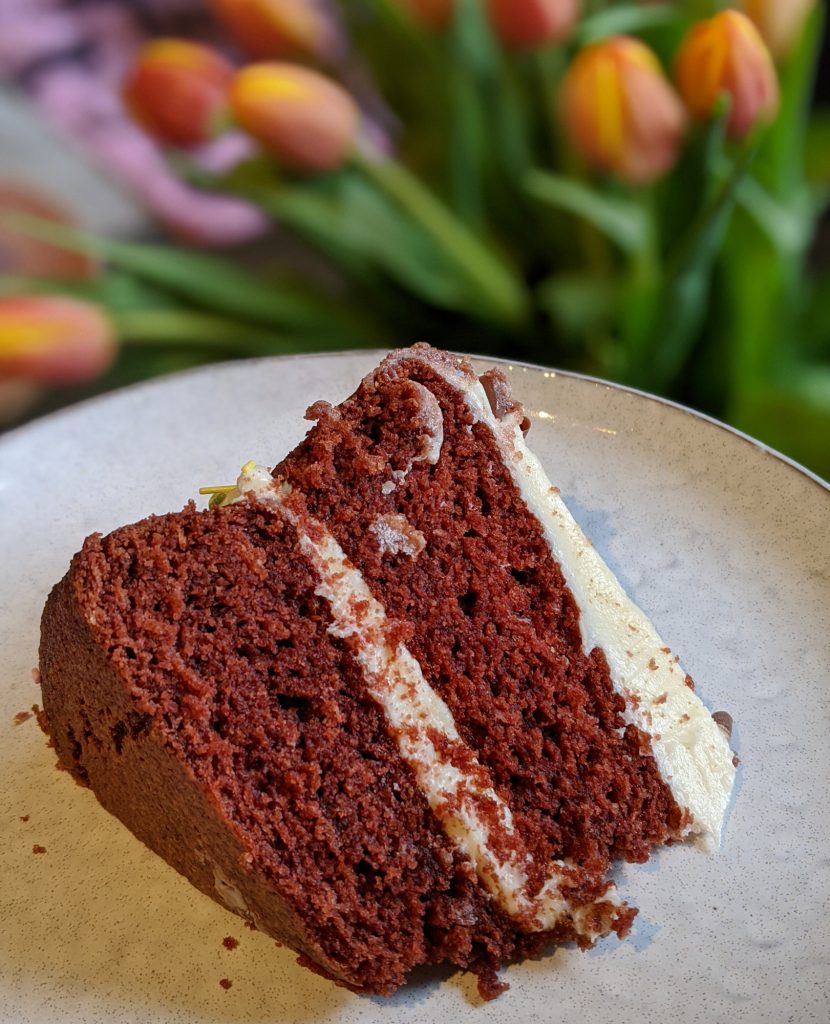
I am very happy to be sharing my gluten free red velvet cake recipe with you today. This red-coloured cake is flavoured with chocolate and vanilla, before being topped with gloriously smooth cream cheese frosting. It is a brilliant cake to bake for birthdays and other celebrations, or just as a lovely treat to brighten your week :).

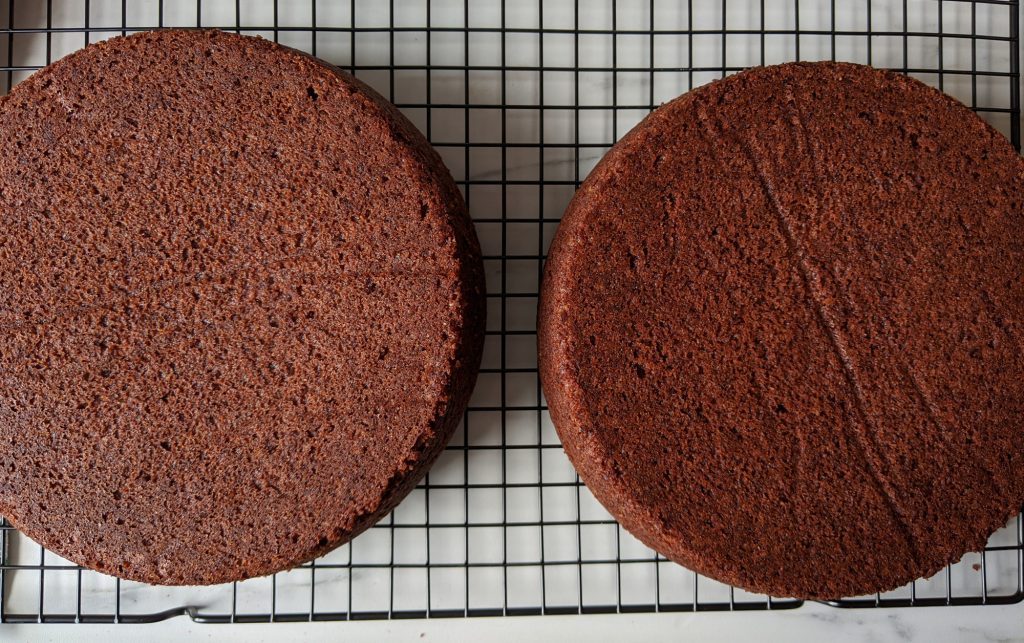
Red velvet cake has a soft, velvety crumb (hence the name!) and my gluten free version is no different. I am delighted with how this cake has turned out, with a lovely rise and great crumb structure. My family really enjoyed it and were amazed that a gluten free cake could taste so much like the “real thing”.

Craving red velvet cake but not sure you’d be able to munch the whole cake? You could give my gluten free red velvet cupcakes recipe a try! These are easier to make as a smaller batch for midweek treats.

gluten free red velvet cake

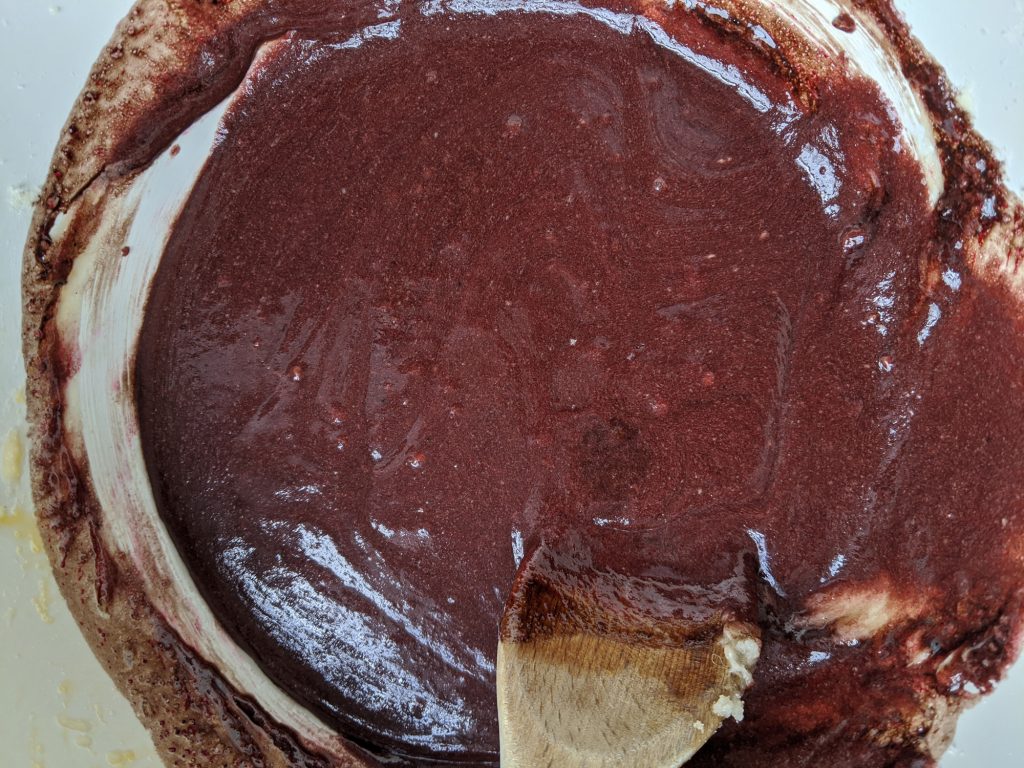
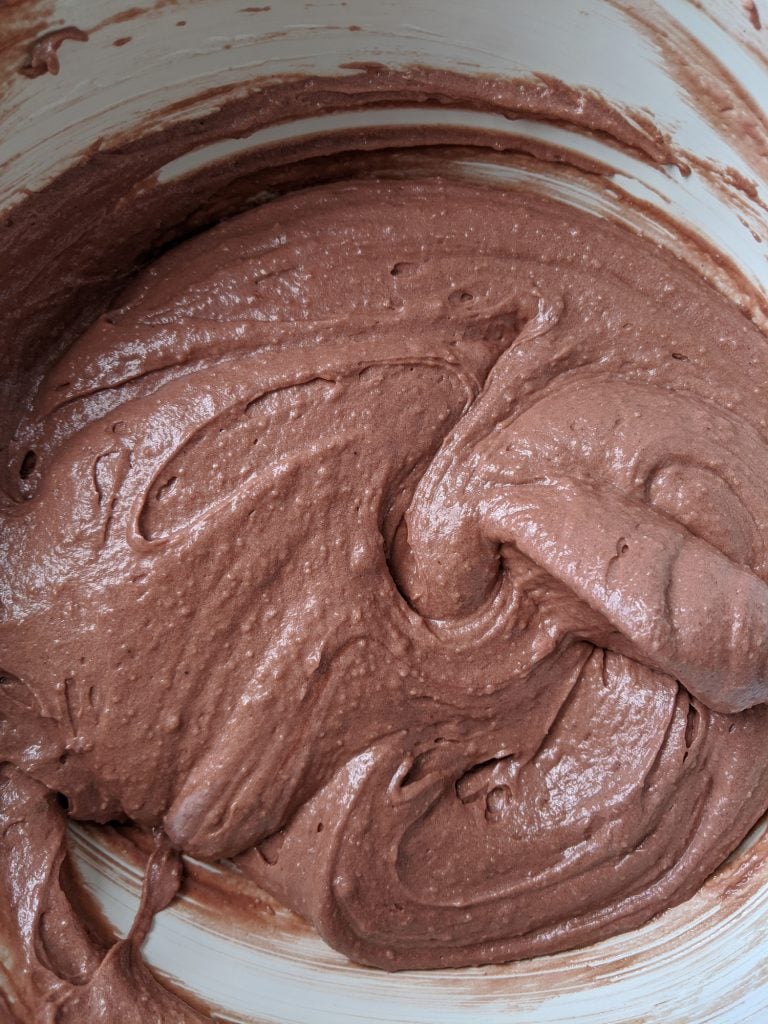
The method for making this cake is done in a slightly different order to classic all-in-one sponges, as you hold off adding the dry ingredients until the last moment. Then quickly transfer the cake to the oven.

The reason for the quick transfer? Well, the active ingredients in this recipe are bicarbonate of soda/baking powder and white wine vinegar/buttermilk. As soon as they combine, the bicarb will start reacting with vinegar and buttermilk, and the baking powder with the liquid, creating little air bubbles. These are what helps give the gluten free red velvet cake its beautiful rise. So work quickly to mix and pop into the oven at this final stage for a lovely, springy cake.

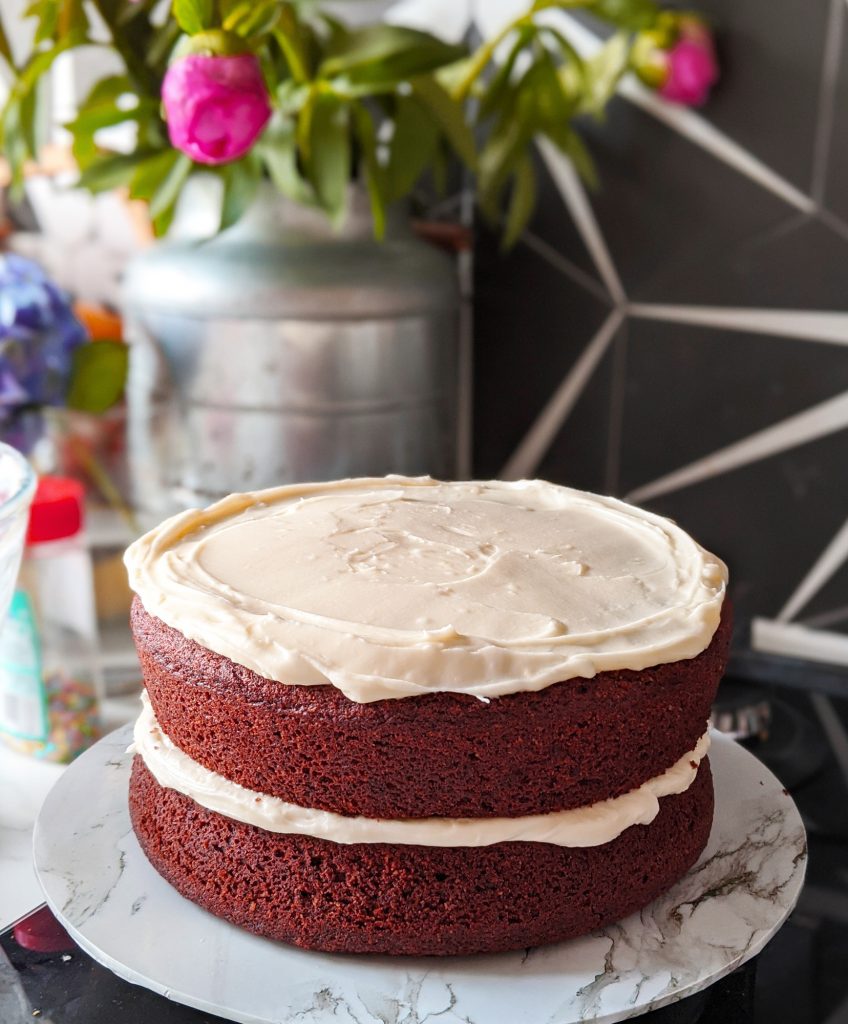
This gluten free red velvet cake is finished with a generous layer of smooth cream cheese frosting (plus a layer in the middle of the two sponges). I am very proud of my cream cheese frosting, it always turns out so well and is a dream to eat. The frosting is flavoured with vanilla in this cake, to pair perfectly with the sponge.

Ingredient substitutions

If you cannot find the specific ingredients required for this recipe, here are a few substitution options that you may have in your store cupboard instead:

  • Plain Gluten Free Flour: can replace with self raising flour (reduce the baking powder quantity to 1 tsp) or with rice flour (I did a test run with the FREEE by Doves Farms rice flour and it worked nicely).
  • Buttermilk: you can make your own at home if you cannot find it in the shops, using milk and vinegar. See this BBC recipe for details.
  • White Wine Vinegar: you can use apple cider vinegar instead if that’s all you have.

That’s the intro done and dusted, let’s get on with the recipe :).

Gluten Free Red Velvet Cake

Gluten Free Red Velvet Cake
Yield: Serves 10

Gluten Free Red Velvet Cake

Prep Time: 20 minutes
Cook Time: 30 minutes
Additional Time: 1 hour
Total Time: 1 hour 50 minutes

Ingredients

For the cake:

  • 120g unsalted butter
  • 300g caster sugar
  • 1.5 tsp vanilla essence
  • 2 large eggs
  • 220g plain gluten free flour
  • 80g ground almonds
  • 2 tsp baking powder
  • 1 tsp bicarbonate of soda
  • 0.5 tsp xanthan gum
  • 120ml sunflower oil
  • 2 tsp red food gel (I used Dr Oetker)
  • 1 tsp white wine vinegar
  • 25g cocoa powder
  • 284ml buttermilk

For the cream cheese frosting:

  • 70g unsalted butter
  • 200g full fat cream cheese
  • 450g icing sugar
  • 1 tsp vanilla essence

Instructions

  1. Preheat the oven to 175C (fan). Take two cake tins (approx 20cm) and lightly grease the edges with butter or oil, then line the base of each with non-stick baking paper.
  2. Chop the butter into small chunks and beat with an electric whisk until smooth. Add the caster sugar and vanilla essence, then mix again with the electric whisk until the ingredients are well combined.
  3. Add the eggs to the bowl one at a time, mixing after each addition until you have a nice smooth mixture.
  4. In a new small bowl, add the sunflower oil, red food gel and sifted cocoa powder, stirring well to combine.
  5. Add the cocoa powder oil mix to the butter/sugar/eggs, stir to combine. Then add the buttermilk and white wine vinegar, ensuring everything is mixed really well. The mixture will be very liquid at this stage as we are yet to add the dry ingredients. Set the bowl aside.
  6. In a large mixing bowl, add the ground almonds and then sift the plain flour, baking powder, bicarbonate of soda and xanthan gum into the bowl. Stir the dry ingredients for a couple of minutes, you need the raising agents and xanthan gum to be really well distributed through the flour and almonds to ensure you get an even rise when baking.
  7. Now pour the liquid ingredients into the large bowl with the dry ingredients and mix really well until everything is combined and you have a smooth cake batter. You'll notice it is slightly runnier than other cake batter, but have faith, it bakes up a treat!
  8. Immediately pour the cake batter into the two cake tins, dividing evenly between the pans, then they go straight into the oven. Place them on the middle shelf and bake at 175C (fan) for 30-35 minutes.
  9. After 30 minutes, test the centre of the cake with a cake tester or skewer - if it comes out clean the cake is baked, if not continue to bake for a further 5 minutes. If baked, remove from the oven.
  10. Leave the cakes in their tins to cool for the first 10 minutes (as they will still be quite soft). Then carefully tip the sponges out onto to wire rack and leave to cool completely. Once fully cooled, you can make the cream cheese frosting and assemble the cake.
  11. In a clean bowl, mix your butter with a wooden spoon or (ideally) an electric whisk until it is soft and smooth. You should be using slightly chilled butter if possible as this tends to yield a nice thick icing.
  12. Add the cream cheese to the butter and mix well to combine. Then you gradually mix in the sifted icing sugar - doing this gradually will help avoid any lumps forming. I would use a wooden spoon to initially mix the icing sugar in, then if you have an electric whisk this is handy for giving everything a final blend. You should end up with a lovely smooth frosting.
  13. Finally, add the vanilla essence to the frosting and stir it through until you have a nice even distribution.
  14. To assemble, place the first sponge on your serving plate or board and top with half of the cream cheese frosting. Use a palette knife to spread it right to the edges.
  15. Place the second sponge on top of the first and top with the remaining cream cheese frosting. Spread to the edges with a palette knife.
  16. Decorate as you wish, either with chocolate curls around the edges like in my pictures, or use sprinkles, a dusting of cocoa powder or anything you like. Now it's time to tuck into that cake - enjoy!

Recommended Products

As an Amazon Associate and member of other affiliate programs, I earn from qualifying purchases.

I hope you have enjoyed making (and eating) this gluten free red velvet cake! For more celebration cake and baking ideas, why not try another one of my gluten free recipes:

Enjoy! x