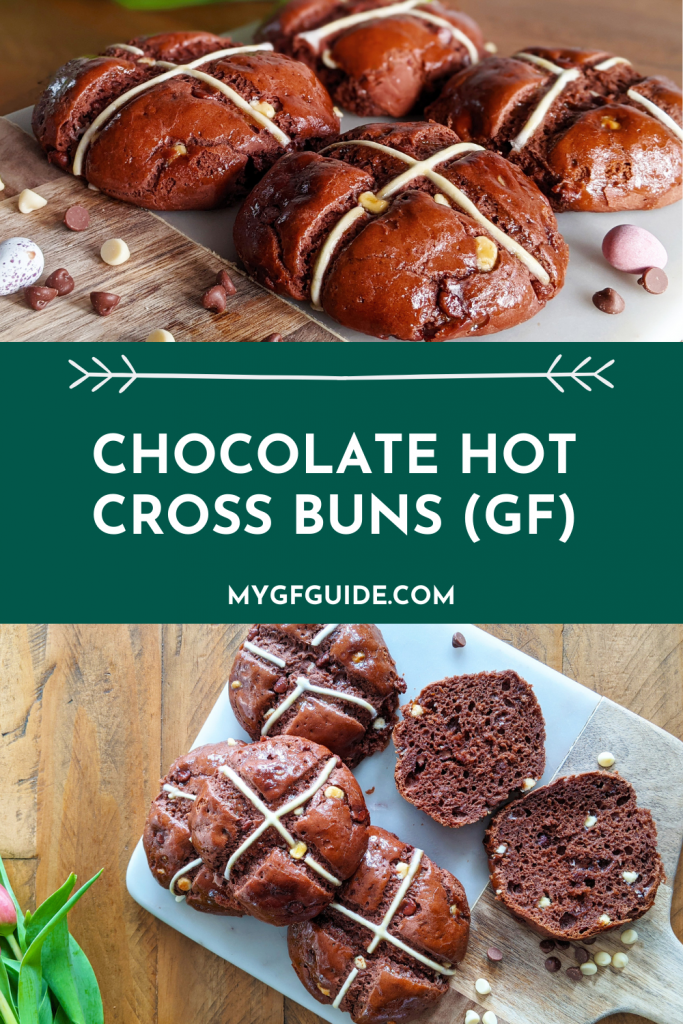
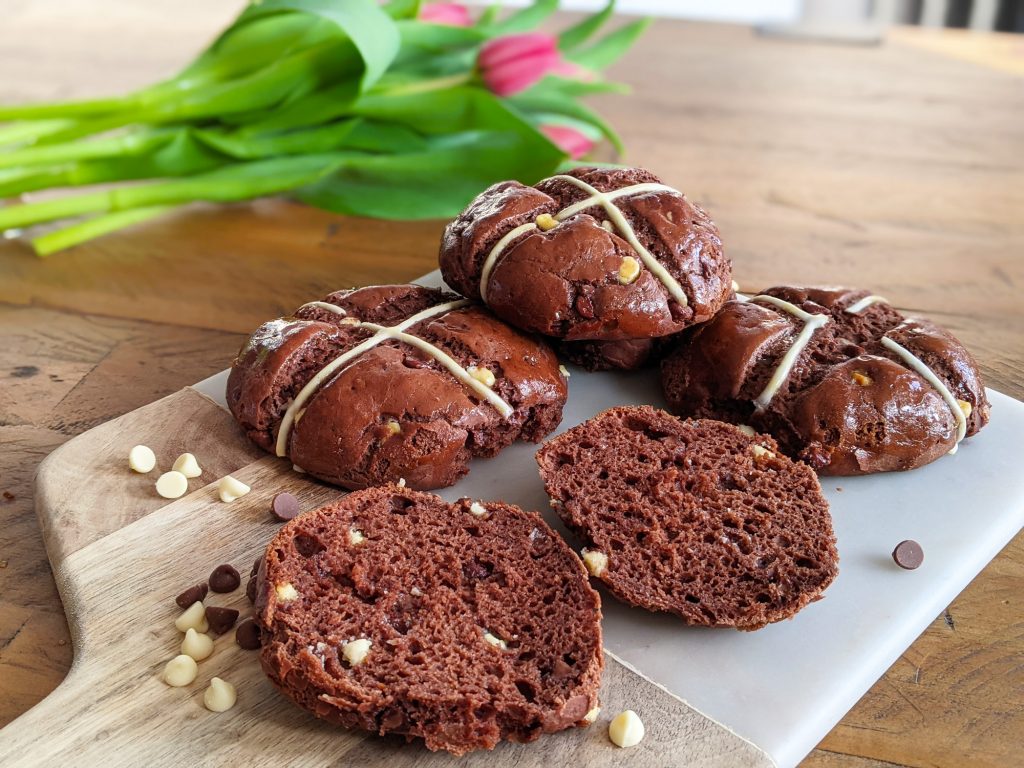
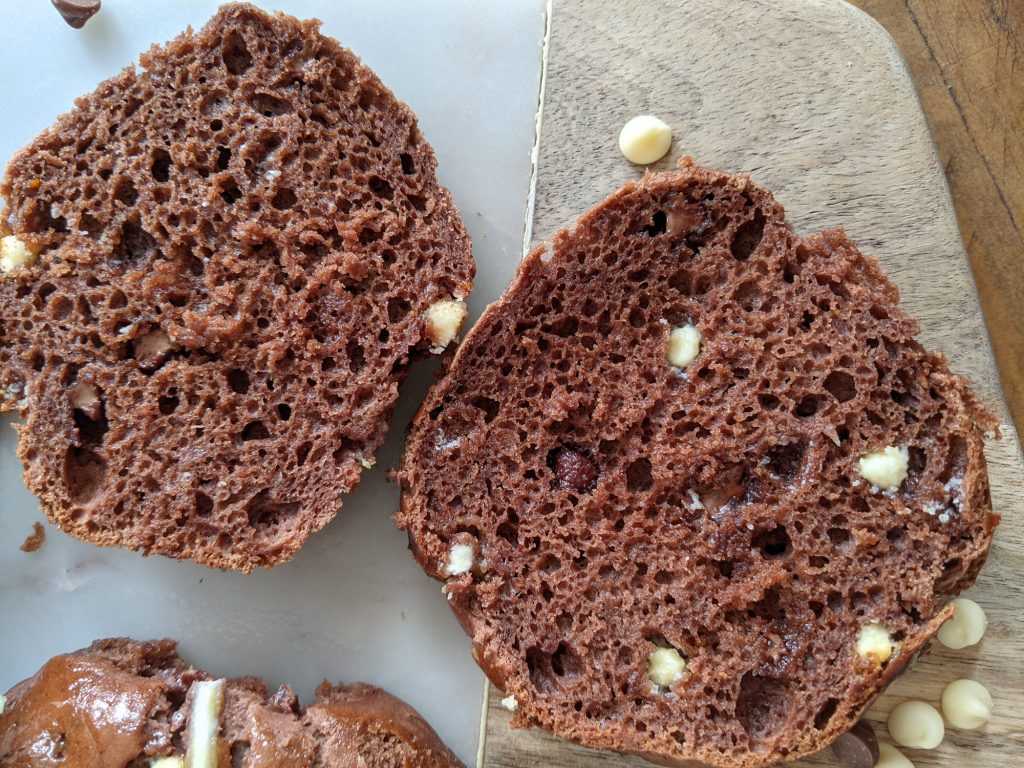
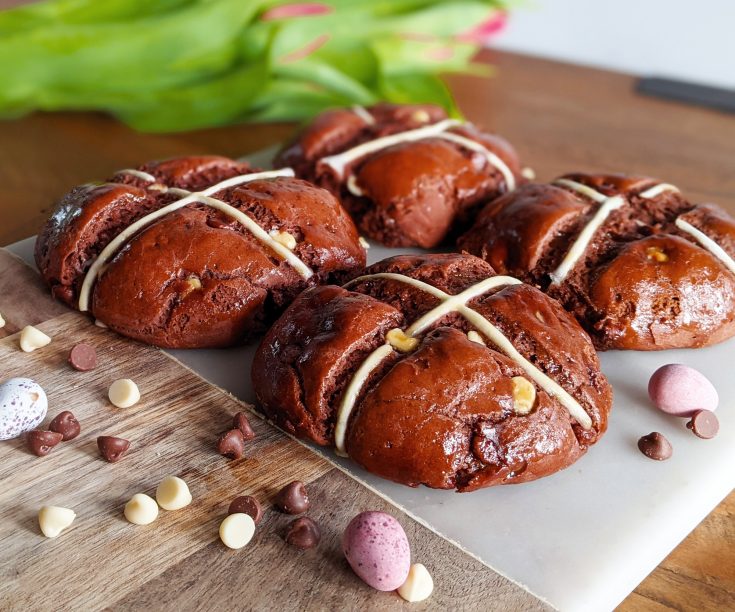
These gluten free chocolate hot cross buns are seriously easy to eat! A soft chocolate-flavoured gluten free bread bun studded with chocolate chips and flavoured with a hint of orange and cinnamon, the temptation to gobble them up straight from the oven is real.
These chocolate buns are a variation of my classic gluten free hot cross bun recipe and the two varieties make a perfect pairing. I’ll admit I tend to eat these chocolate buns plain, cookie monster munching style, as they are so lovely and chocolately. However, if you’ve more patience than me have them buttered or with chocolate spread for an extra indulgent treat.
They are best when freshly baked, as the crumb will be super soft, so I’ve designed this as a fairly small batch recipe. It will make 6 buns, however simply double or triple the recipe if you have more mouths to feed.
If you have any leftovers, simply split and toast them to refresh them the next day. You can also refresh them in the microwave: 30-45 seconds should do it. Then they will be soft with melty chocolate pockets again mmmmm.
Where Can I Buy Tapioca Starch?
I use a little tapioca starch in the flour mix for this recipe, as it vastly improves the texture (it makes gluten free bread much softer and gives it some stretch). You can buy this direct from Shipton Mill (I buy their various gluten free flours in bulk as they are good value and it’s free postage over £30), from Ocado (Bob’s Red Mill brand is better than the Dove’s variety, as the latter is a tiny pot) and Amazon. Tapioca flour and tapioca starch are the same thing.
Gluten Free Chocolate Hot Cross Buns Recipe
You’ll find a full method below, plus lots photos to help guide you through the recipe. However, feel free to email me any questions or comments you might have. You can contact me at laura@mygfguide.com or message me on Instagram/Facebook @myglutenfreeguide. I love seeing your home bakes too so please send me photos of your creations :).
Lastly, if you enjoy these gluten free chocolate hot cross buns, I would be really grateful if you could review the recipe on the card below. Thank you!
Laura xxx
Chocolate Hot Cross Buns (GF)
Ingredients
For the buns:
- 6g dry active yeast (check gluten free - I use Allinson's of Doves Farm)
- 130ml warm milk
- 1 tsp caster sugar + 30g caster sugar
- 190g plain gluten free flour (I use FREEE by Dove's Farm)
- 15g cocoa powder
- 60g tapioca starch (I use Shipton Mill)
- 0.5 tsp xanthan gum
- 0.5 tsp fine salt
- 1 tsp cinnamon
- 50g unsalted butter, melted
- 1 large egg
- Zest of 1 orange
- 100g chocolate chips (I use half white, half milk)
For the crosses:
- 20g gluten free plain flour
- 20ml water
For the glaze:
- 1 tbsp icing sugar
- 1 tbsp orange juice (from a carton or fresh)
Instructions
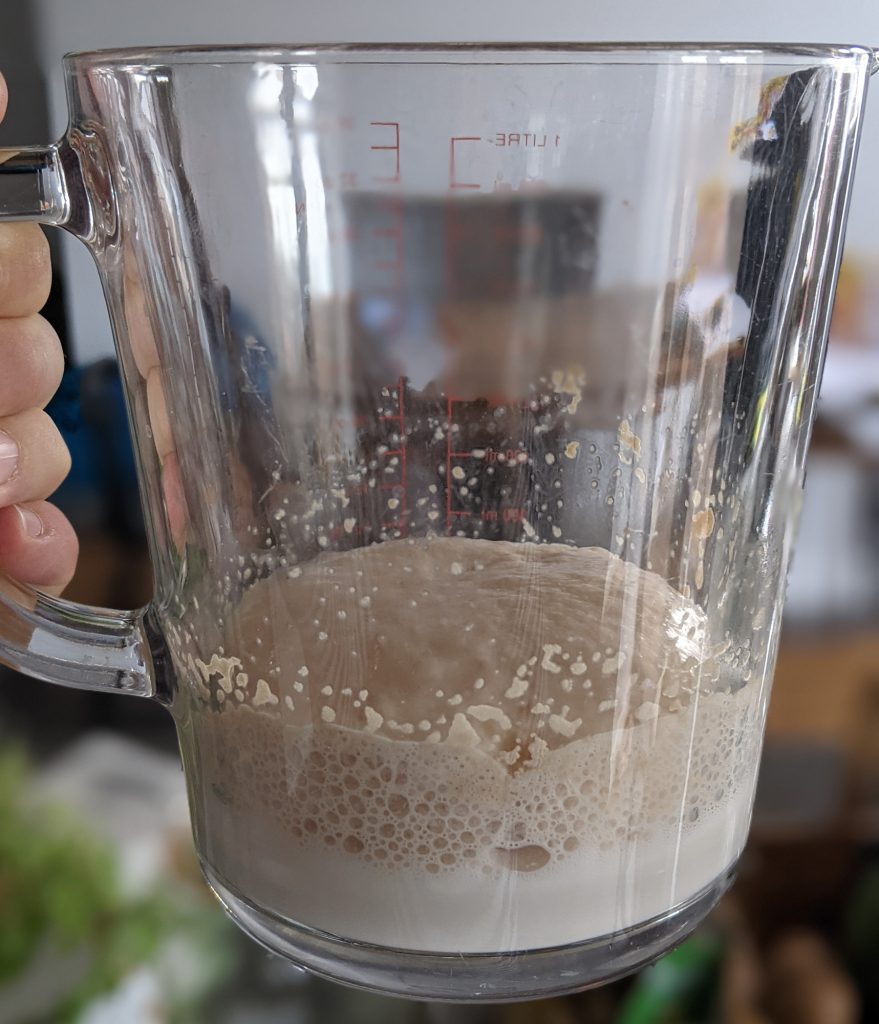
- Add the milk to a measuring jug and microwave for 30-40 seconds to warm it. Add 1 tsp sugar and yeast to the milk, then stir well to combine. Leave for about 15-20 minutes to allow the yeast to activate. When a thick layer of foam has formed on top of the liquid (see image below), the yeast has been activated and you can move onto the next stage.
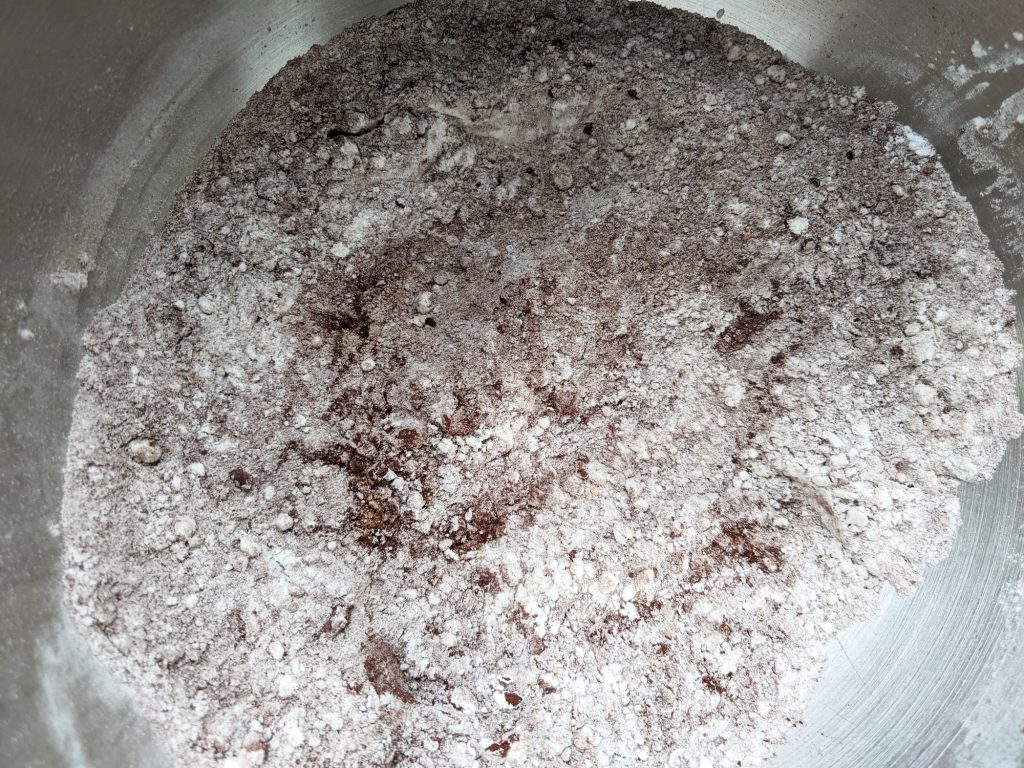
- While the yeast is doing its thing, you can prepare the dry ingredients. In a stand mixer bowl or mixing bowl, combine 30g caster sugar, the plain flour, tapioca starch, cocoa powder, xanthan gum, fine salt and cinnamon together.
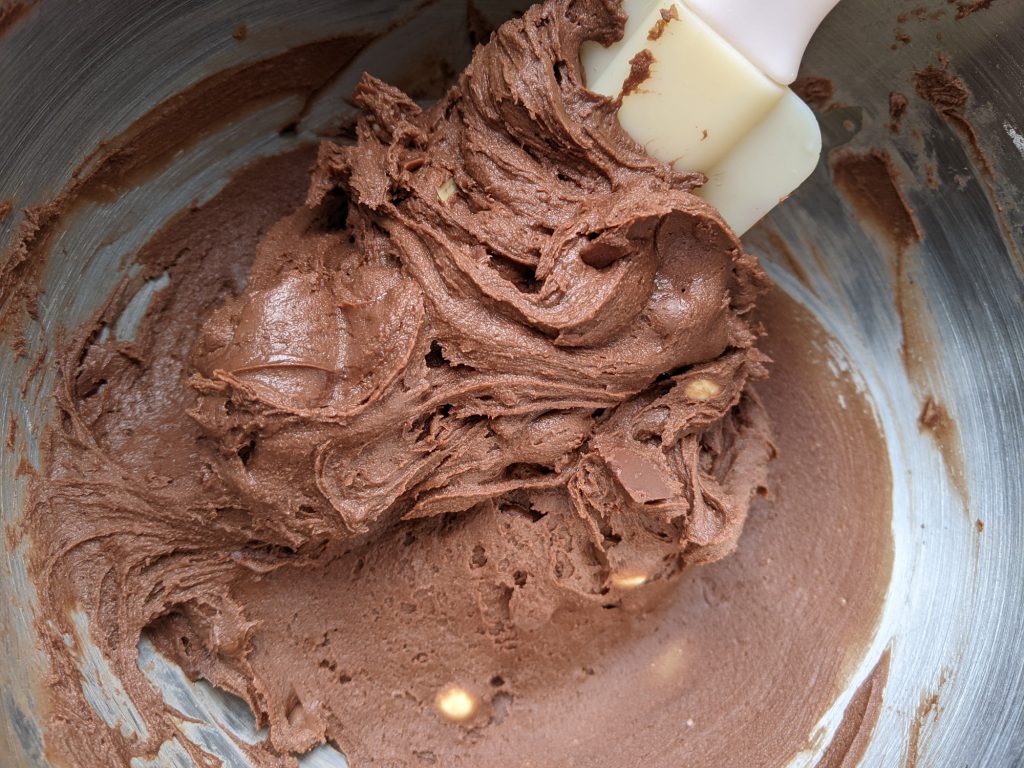
- Once the yeast is activated, add the liquid from the jug to the bowl, along with the melted butter and the large egg. Mix for a couple of minutes, then add the chocolate chips and orange zest. Mix again until the choc chips are evenly distributed. The dough will not look like classic gluteny dough, it will resemble a thick paste - this is perfect, as gluten free bread dough needs to be wet in order to yield a yummy finished bun (rather than a dry, crumbly one).
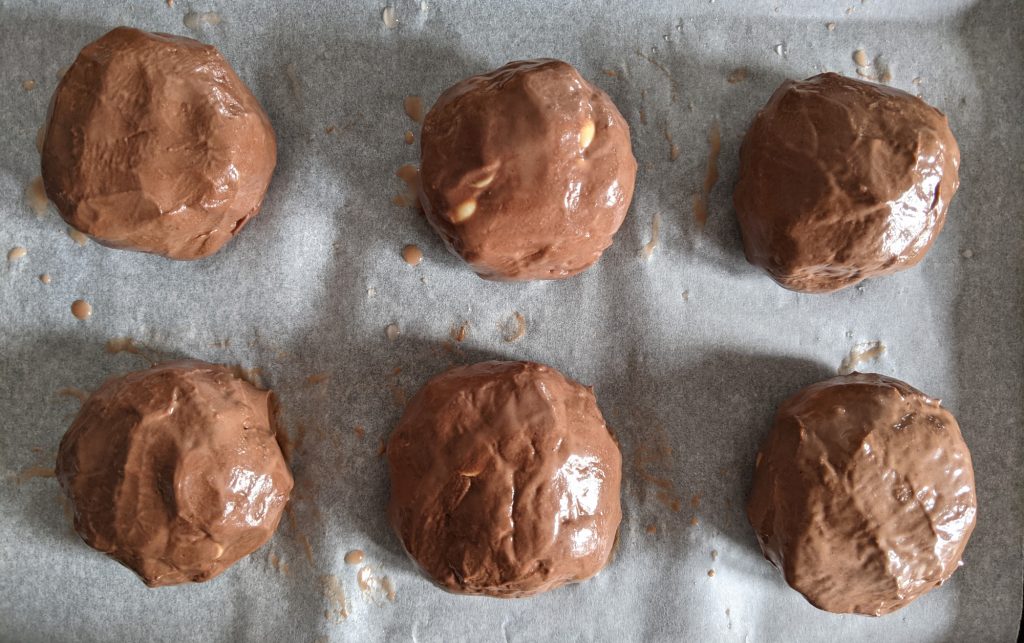
- Place your bowl close to the sink, along with a baking tray lined with non-stick baking paper. Wet your hands thoroughly and you will be able to handle the sticky dough without it sticking to you. I tend to leave the tap running slightly while I am shaping the buns, re-wetting my hands after shaping each one. Divide the mixture into six pieces of approx 90g each (a spatula is handy for this, as the dough is sticky and you'll need to scrape it out of the bowl), shaping each into a small bun shape with your wet hands. Space them on the baking tray, so that they have space to expand and rise.
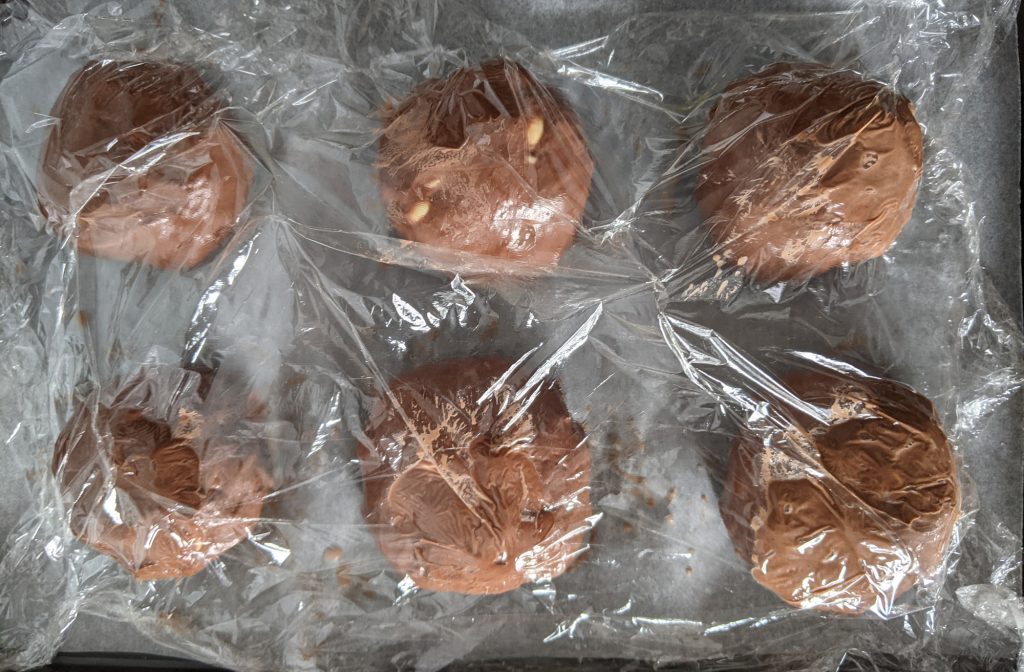
- Once you have 6 buns on your baking tray, cut a piece of cling film larger than the baking tray and grease one side of it with oil (olive/sunflower/vegetable oil all fine). Now make a little tent over the buns with the cling film, with the oiled side facing down (the oil will stop the cling film from sticking to the buns). Ensure the edges of the cling film are touching the tray, then allow the cling film over the buns to be baggy rather than tight, so that they have room to rise (see pic below). Leave the buns to rise/prove for 1 hour.
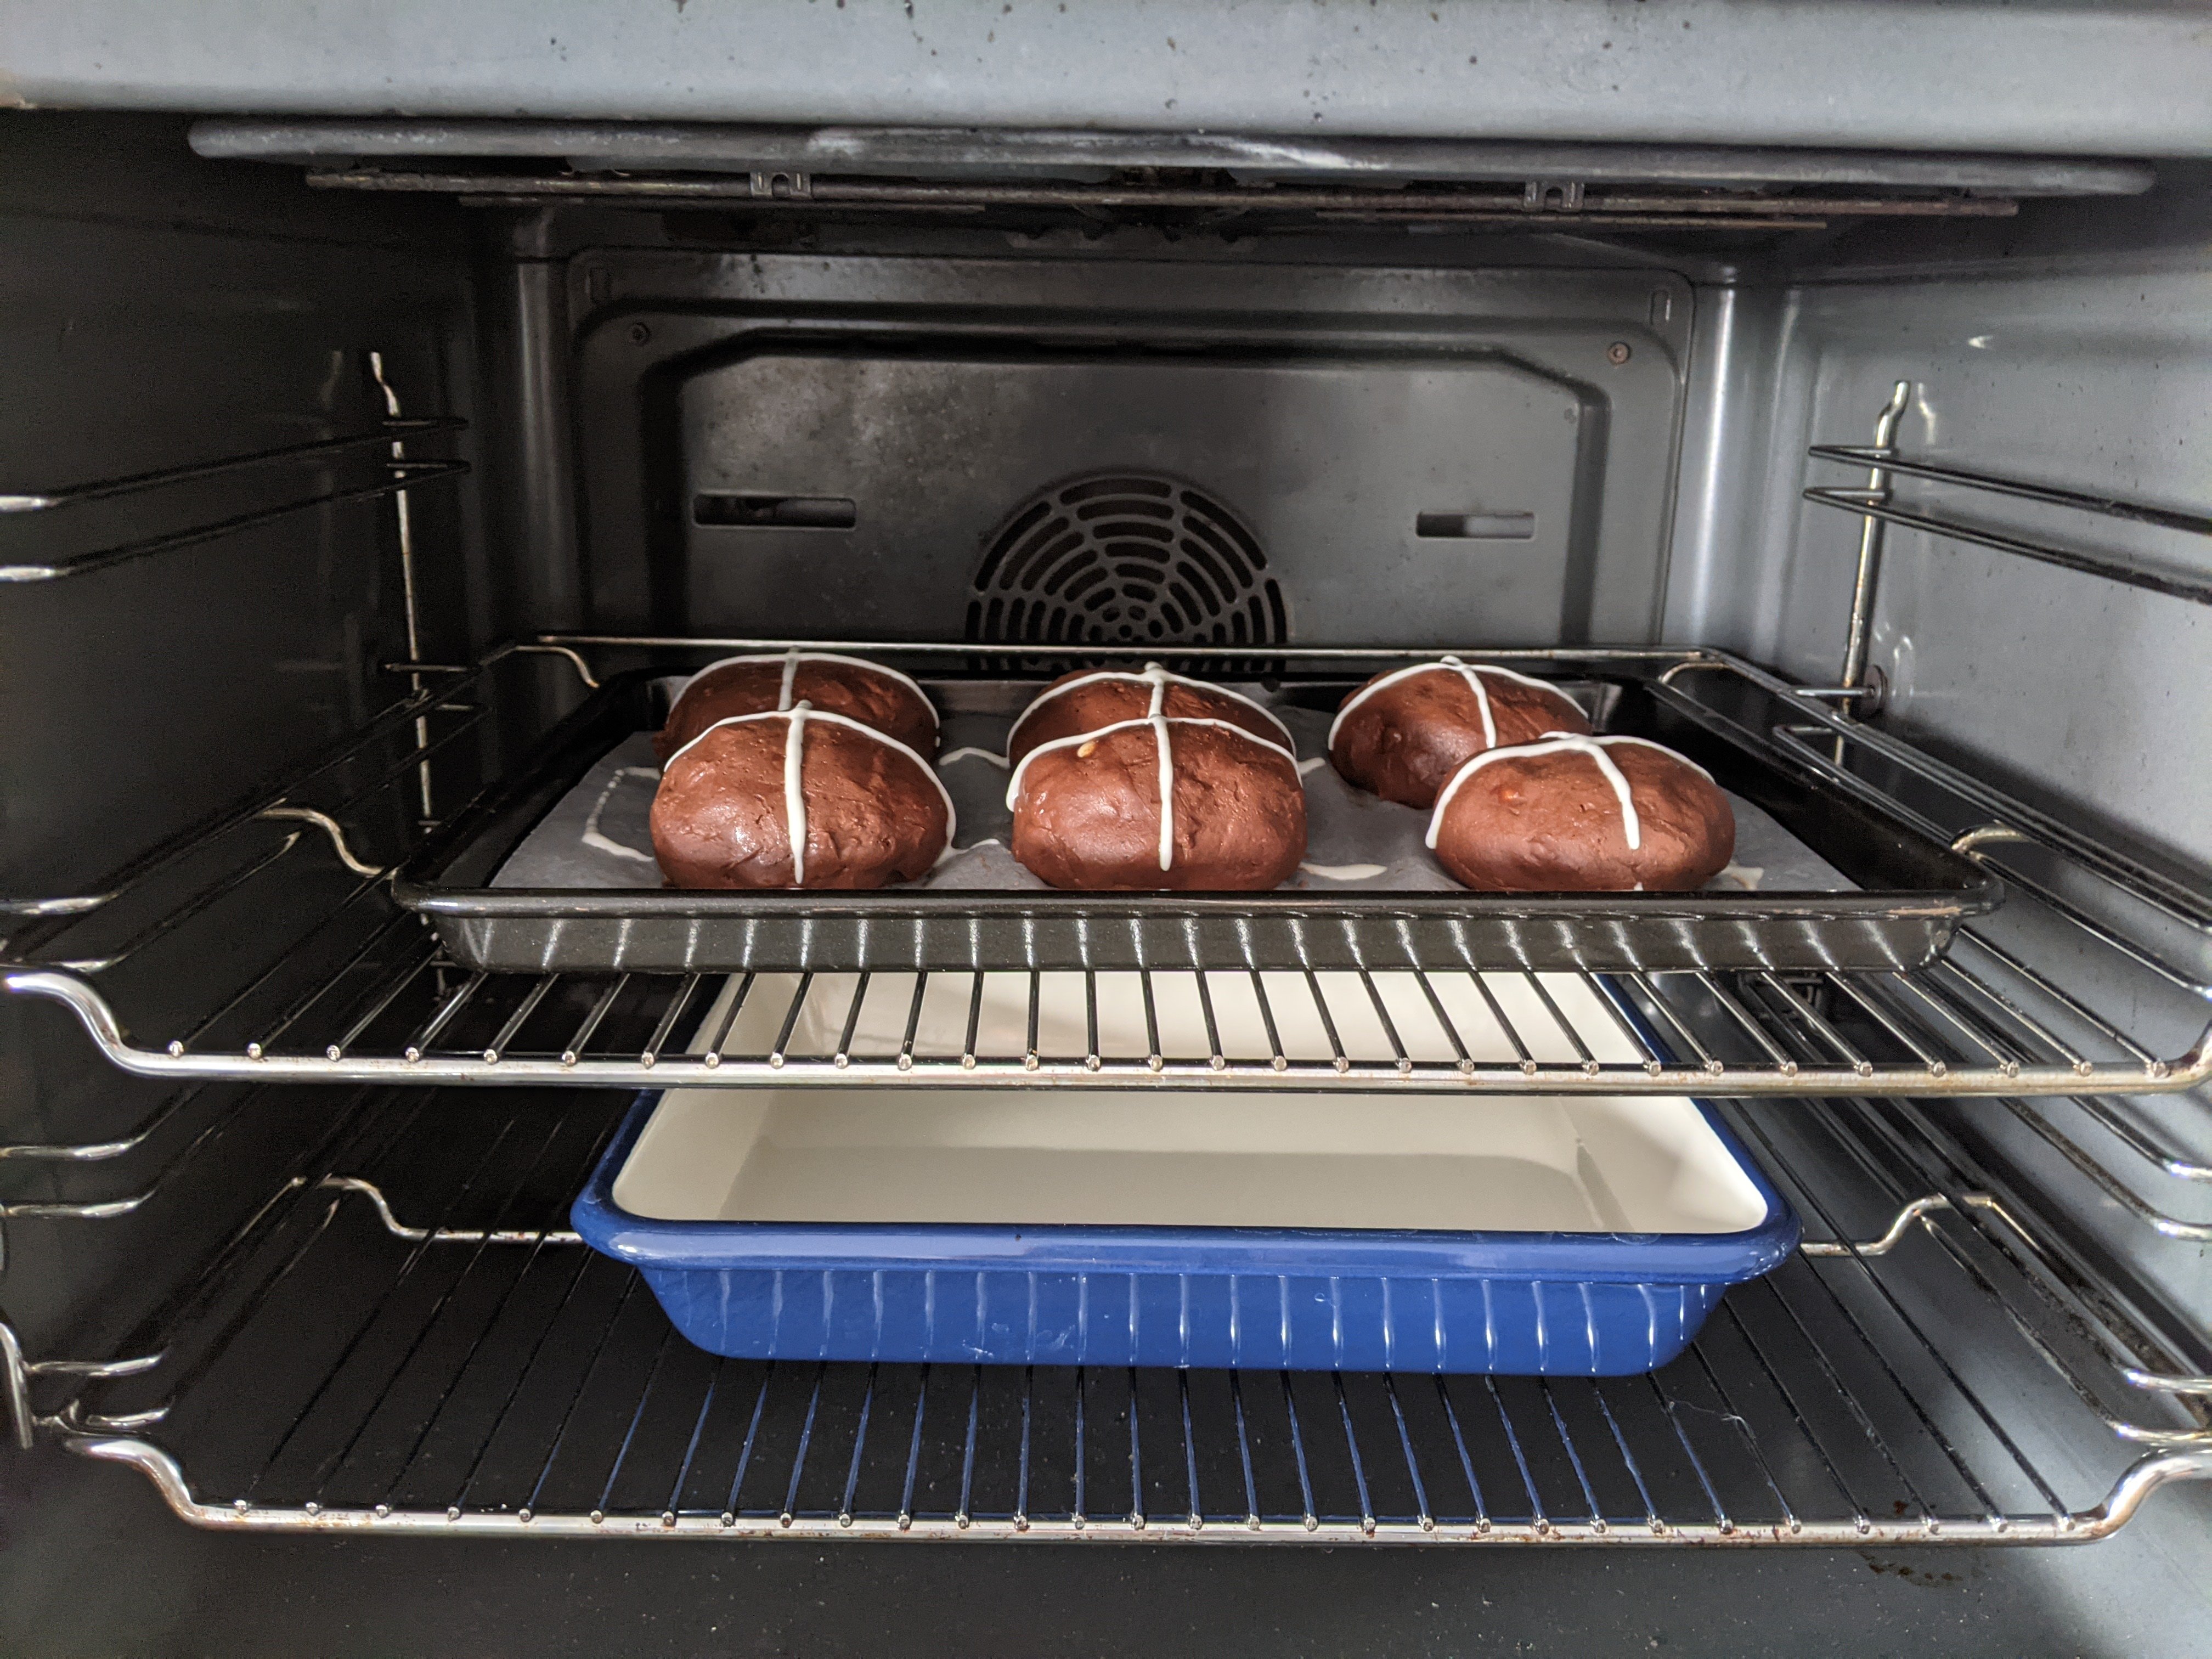
- After the buns have risen, preheat the oven to 200C (fan). Place a pan of water in the oven on the lower shelf, as this steam will help keep the bun crust soft and allow them to bake without cracking too much.
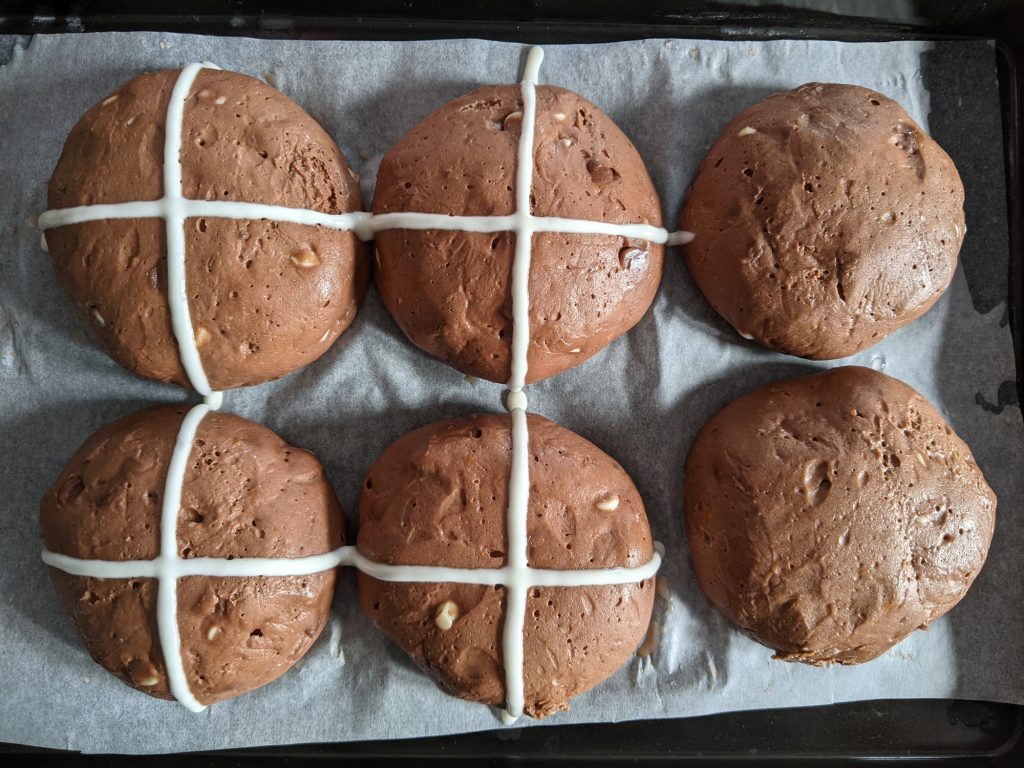
- While the oven is warming up, you can pipe the crosses onto the buns. Simply mix the 20g flour with 20ml water and stir to form a paste. Snip the end off a disposable piping bag to create a very small hole and scoop the paste into the piping bag. Pipe the flour mixture onto the buns in a cross shape per the picture below. Then place the buns into the oven (middle shelf) to bake for 15 minutes.
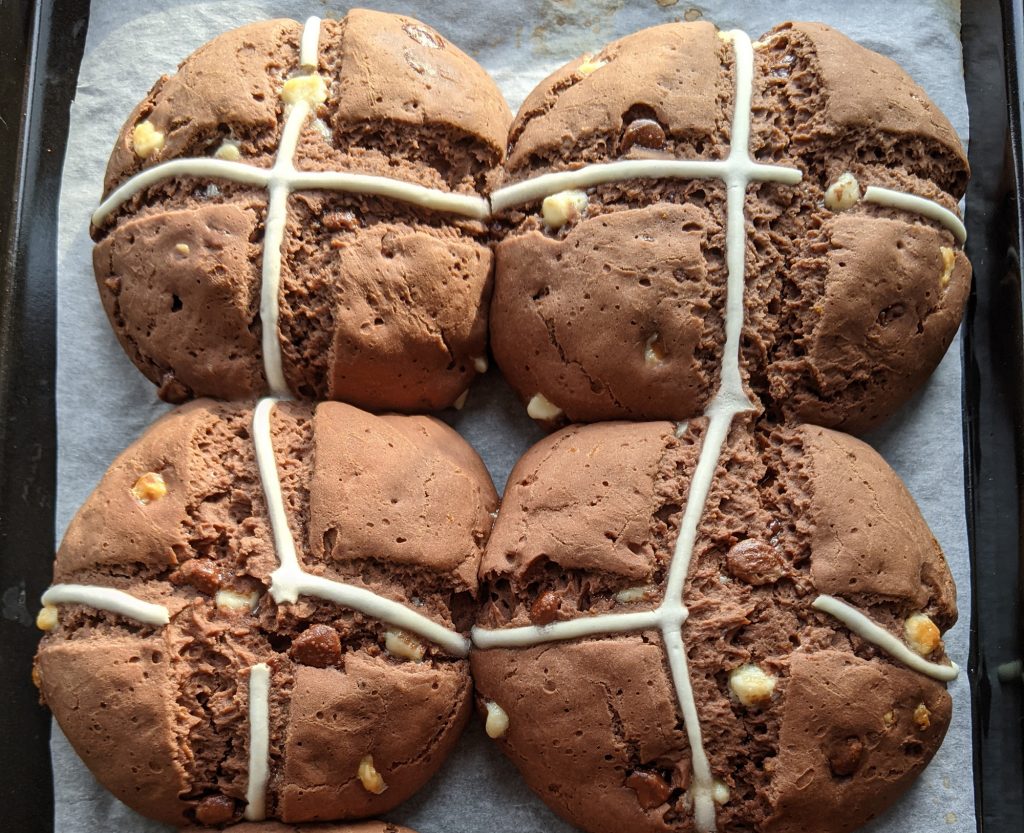
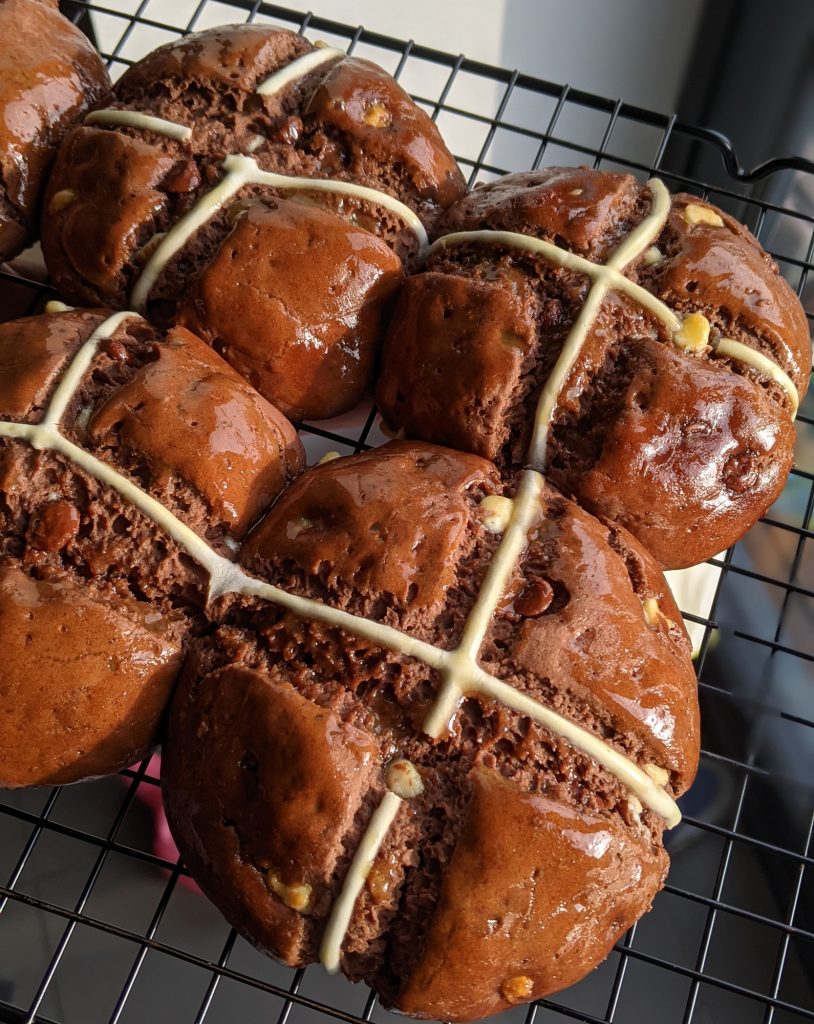
- Mix your glaze while the buns are baking by combining the icing sugar with the orange juice. Then once the buns have baked, glaze them immediately while they are still hot. Transfer the buns to a wire rack to cool OR gobble them up straight away because they are seriously delicious when fresh!
Note: these gluten free chocolate hot cross buns are best enjoyed on the day of baking. However, if you have leftovers simply split the buns and toast them for a minute or two to refresh them and they will regain their lovely softness. Or bunging one in the microwave for 30-45 seconds also works :).

For more baked goodies, why not check out some of my other gluten free recipes while you are here:
Happy baking! Laura xxx