Those of you who follow me on Instagram will know that developing this gluten free pizza base recipe has been a labour of love for me. I wanted to develop a base that isn’t too complicated and is still quick to make, but that is more pizza-like than some of the very basic no yeast recipes. And after some extensive testing, I have hit on what I think is the perfect solution.
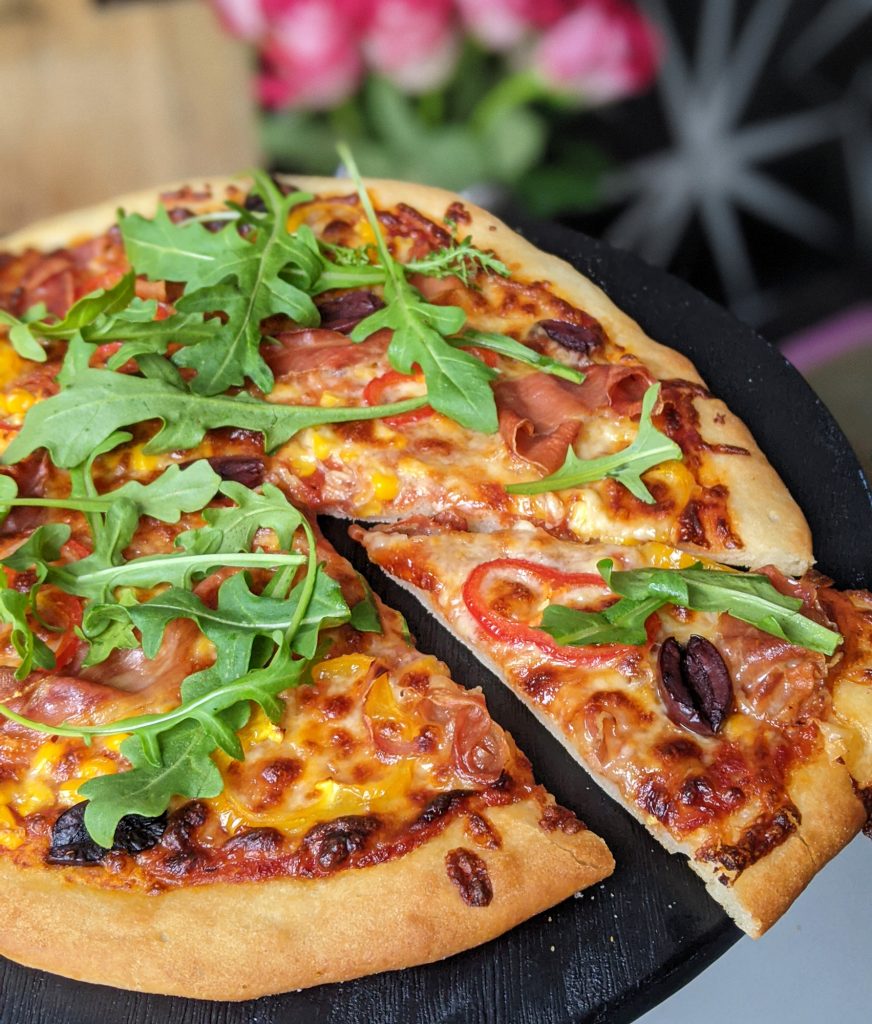
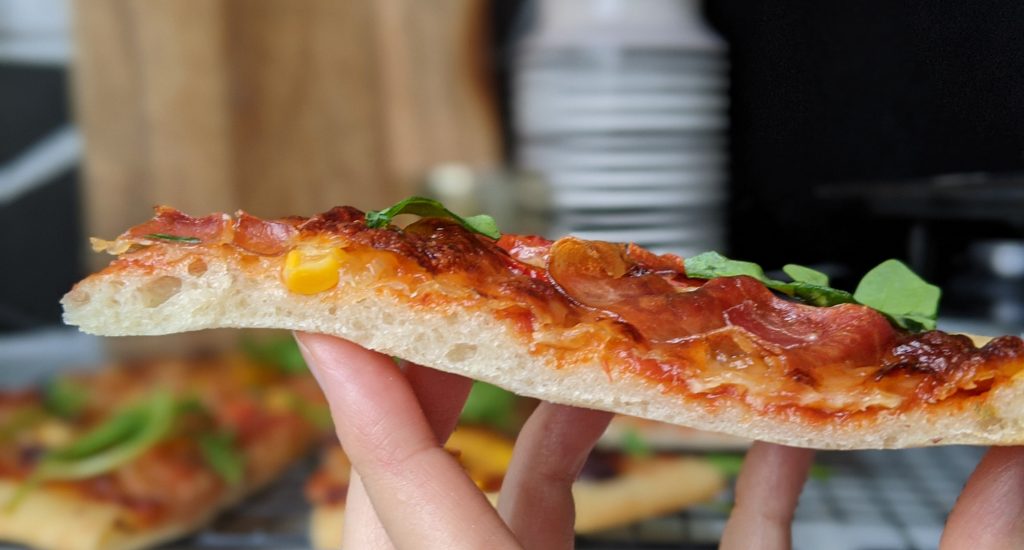
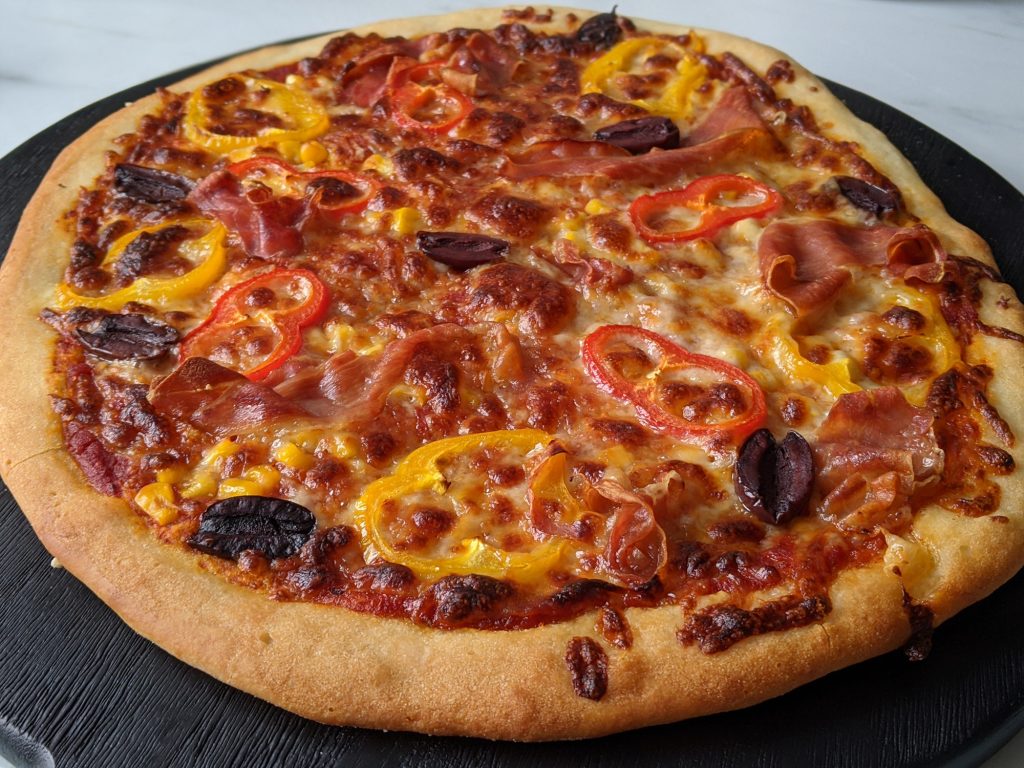
So I am finally ready to share my creation with you and I really hope you enjoy eating it as much as my family does! This recipe should yield a lovely, pliable gluten free pizza base. Crisp on the bottom and at the edges, but with dough full of little teeny bubbles that keep it soft inside.
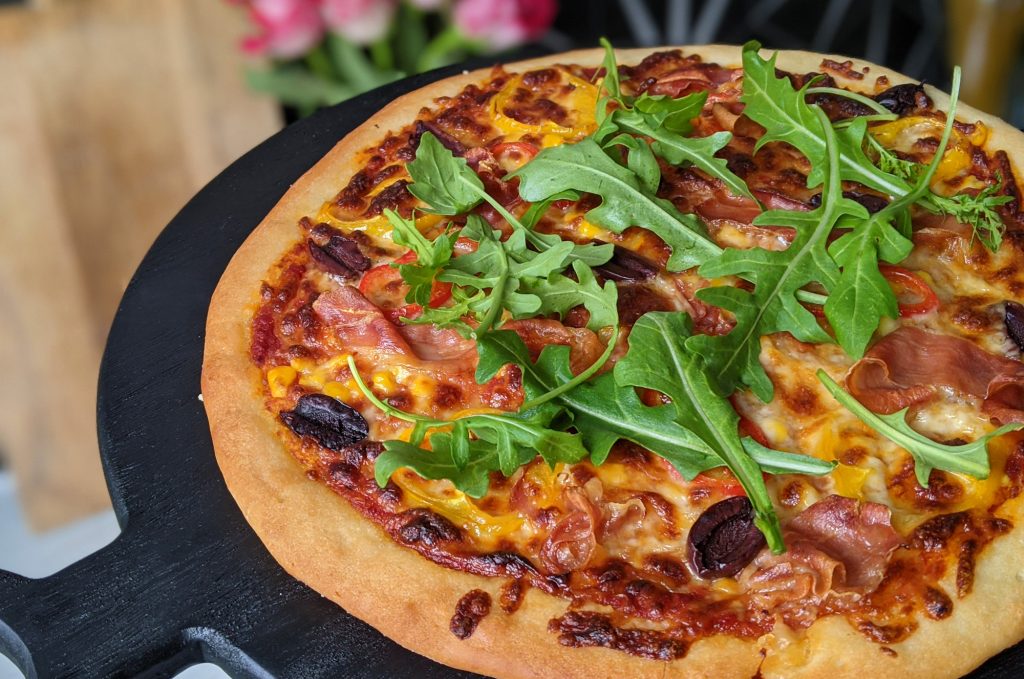
This gluten free pizza is even good eaten cold! It keeps its softness and doesn’t go all dry and hard like some other bases (I’ve eaten some tooth-breaker gluten free pizzas in my time). This makes it a great recipe to use for buffets and picnics too, in addition to pizza night!
Note however, that if you want leftovers you should definitely make double quantities, as this gluten free pizza is so good you’ll find it hard to not guzzle the entire thing in one sitting.
How to Make Gluten Free Pizza
Okay, normally I try to avoid too much spiel before a recipe (because, let’s face it, you guys want to get to the good stuff asap). However, for this one I want to have a bit of a chat about it before you crack on with the making.
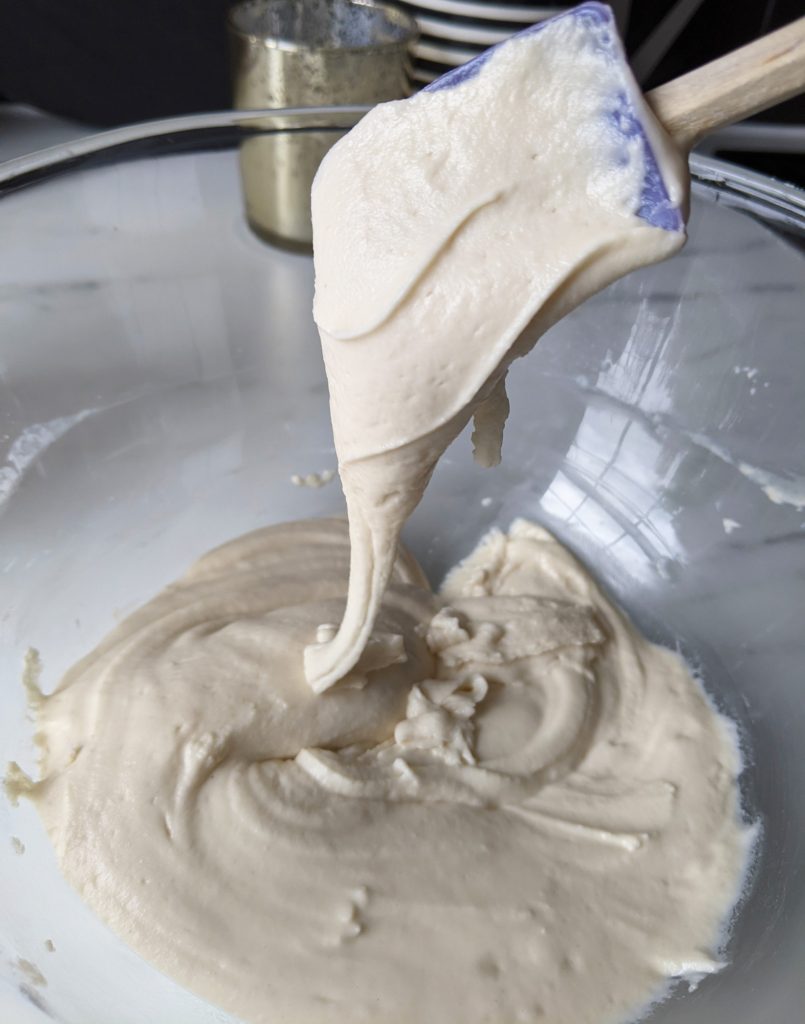
Firstly – gluten free pizza dough does not behave like regular pizza dough. Don’t expect to be spinning this dough round your head pizza chef style (because if you try it you’ll just ended up covered in sticky dough)! It’s a much wetter dough and you’ll need to work with it slightly differently. So if you’ve made gluten free before, forget everything and approach this recipe with a blank mind.
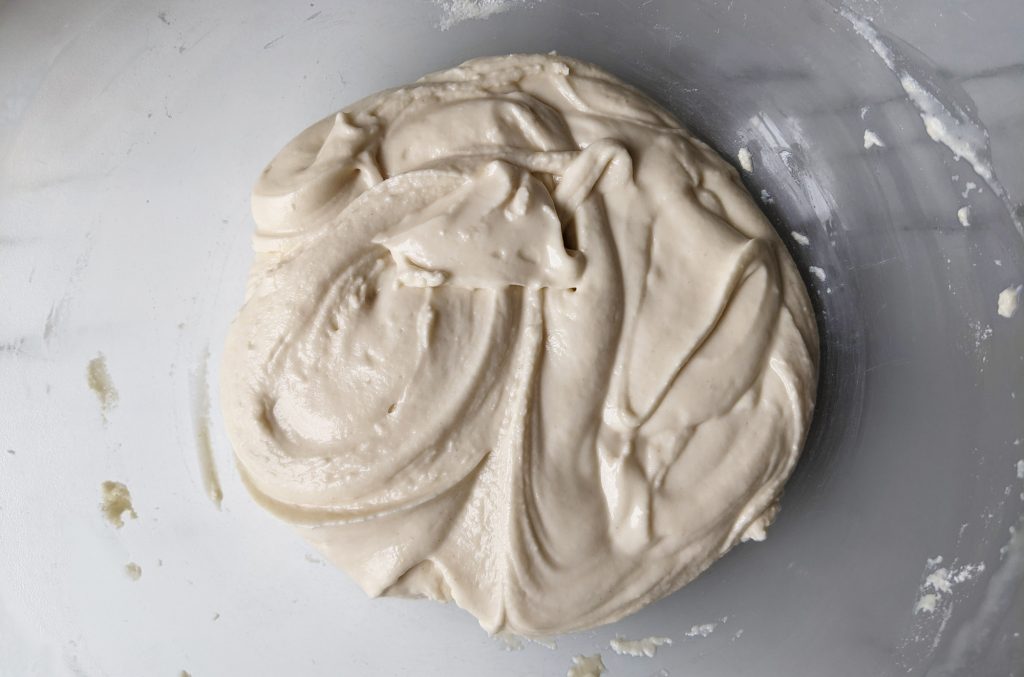
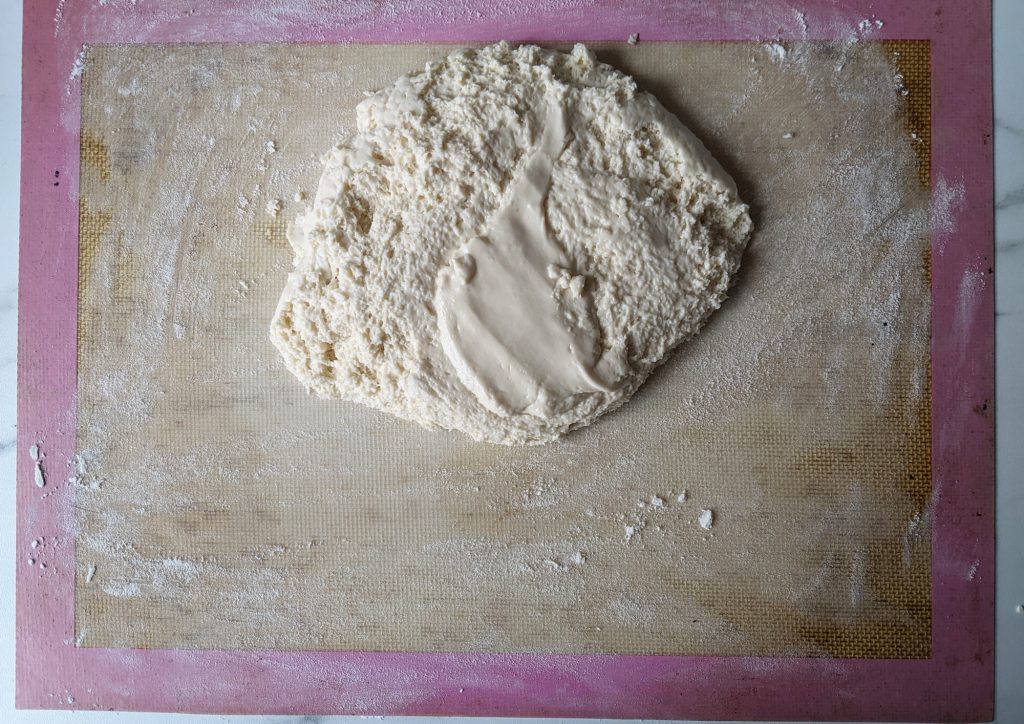
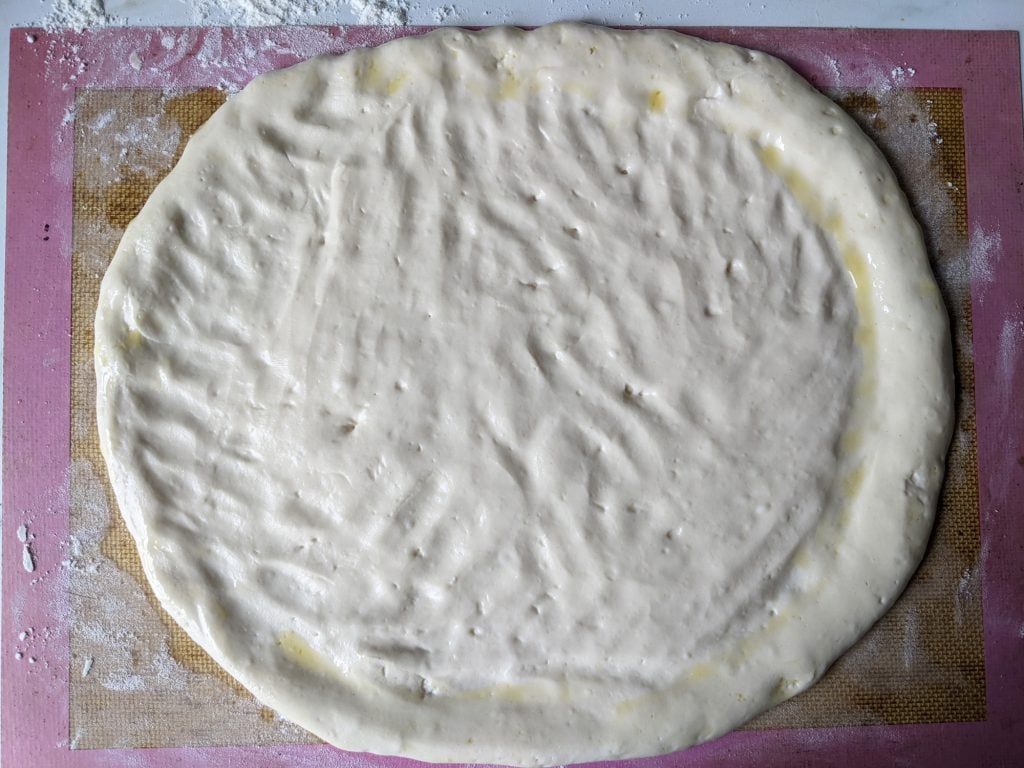
Wet gluten free dough yields a much lighter base and is worth the handling issues. This dough is quite sticky and not the easiest the work with, UNLESS you follow my tips and then it should be quite straightforward :). You’ll see in the recipe that I’ve included a tip about wetting your hands if you need to handle the dough. With wet hands, you’ll find the dough doesn’t stick to you at all and it’s much easier to work with.
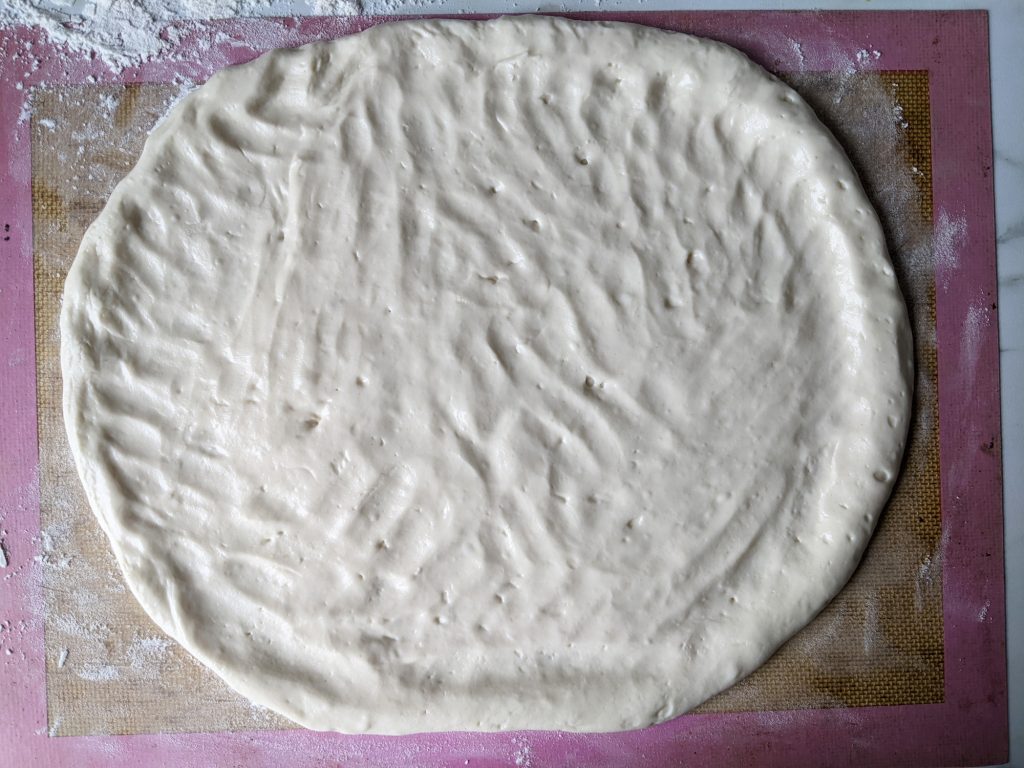
Once you’ve transferred the dough to the baking sheet, a good dusting of flour with absorb the sticky-ness and you can push and spread the dough out with your fingers to form a nice pizza base shape.
Measure Ingredients Carefully
Accuracy is key for gluten free bread and pizza base recipes. Please try to ensure your measurements are as exact as possible, as an extra 10ml water or 10g flour will change the final consistency.
The base will still work, it just will either be harder to handle (if you end up with a very sticky dough with too much water), or not be as nice and pliable (if you use too much flour).
Classic or Thin Crust
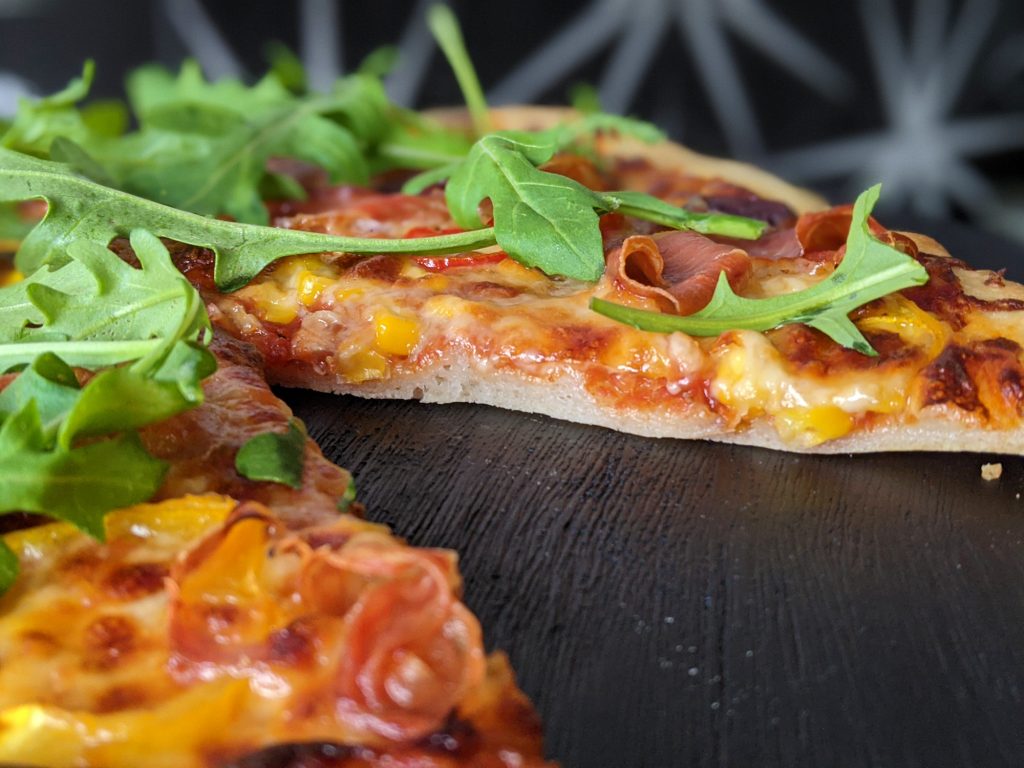
Totally up to you! I’ve tried this pizza dough for both, spreading it out to a classic base thickness or getting it really thin. The pizza holds together well, due to the inclusion of tapioca in this recipe, and is delicious either way.
No Prebaking Needed
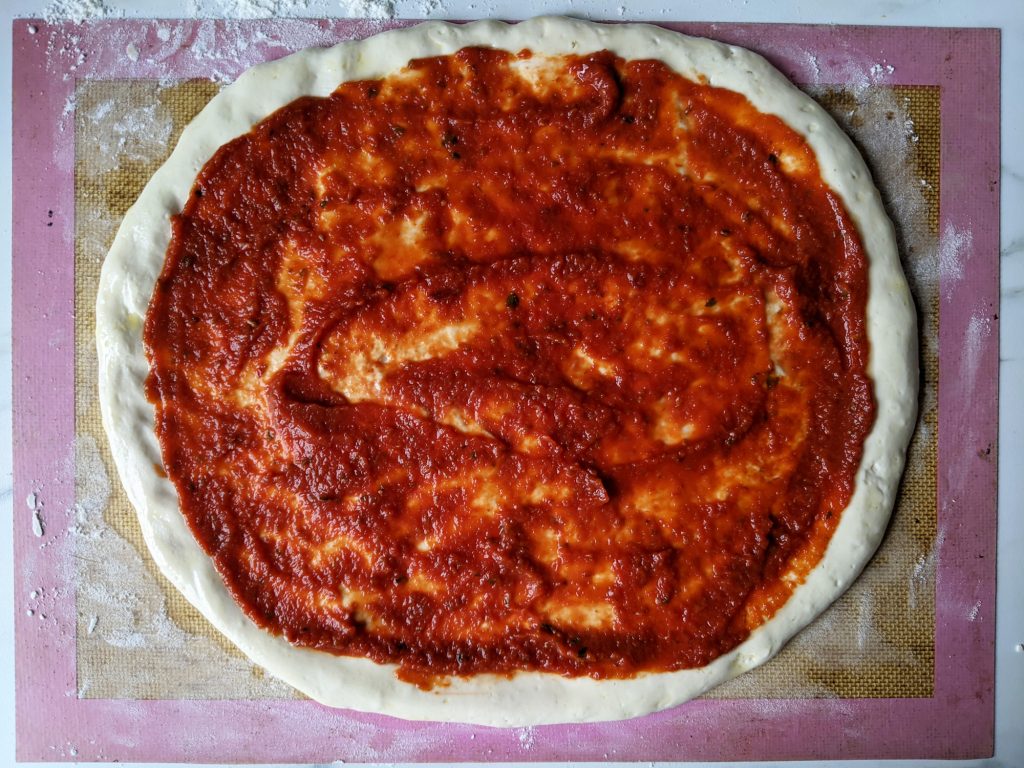
This base is cooked as raw dough with toppings on it – no pre-baking is needed. You simply make the dough, top with sauce, cheese and toppings then bung it in the oven and await the delicious pizza result!
Tapioca Starch is Magic
Tapioca starch is my magic ingredient for this pizza base. It gives the resulting gluten free pizza base its wonderful pliability and some stretch. You can buy tapioca starch in lots of shops (it is sometimes sold as tapioca flour), or even buy online via Amazon and similar retailers.
You’ll notice that, unusually for gluten free recipes, I have not included any xanthan gum in this recipe. I discovered that tapioca starch eliminates the needs for it, as the tapioca helps with the binding. I don’t mind using xanthan in small quantities, but didn’t want to use a massive amount for this pizza base (I’ve seen some recipes using it by the tablespoon) so was happy that tapioca cancels it out.
Aside from the tapioca, you’ll likely have the other ingredients knocking around in your kitchen already. Plain gluten free flour (I use the FREEE by Doves Farm blend), salt, olive oil, dry active yeast and sugar.
How Many Pizza Bases Does this Recipe Make?
This recipe makes one (quite large) gluten free pizza base. Simply double the quantities for two bases, triple them for three and so on. I’ve tested this recipe in higher volumes and it still works perfectly.
You can make the dough for multiple bases just as detailed in the recipe bowl, then rather than tipping all the dough onto the mat simply use wet hands to scoop half/a third/a quarter of the mixture out depending on how many bases you are making.
Do I Need a Pizza Stone?
Nope. If you have one then feel free to use it, but I just preheat my oven tray to get it nice and hot before sliding the pizza (on the mat/baking paper) onto it. This helps to ensure even cooking on the base.
Gluten Free Pizza Recipe Time!
Here’s my homemade gluten free pizza recipe! If you scroll down past the ingredients and method, you’ll also find lots of pictures detailing the step by step process. I’ve included these to help as a visual aid, should you need them.
I hope you all enjoy this gluten free pizza recipe! If you have any feedback or need extra help, please do get in touch via my social media channels or email me at mygfguide@gmail.com.
Laura x

Gluten Free Pizza
Ingredients
For the pizza dough:
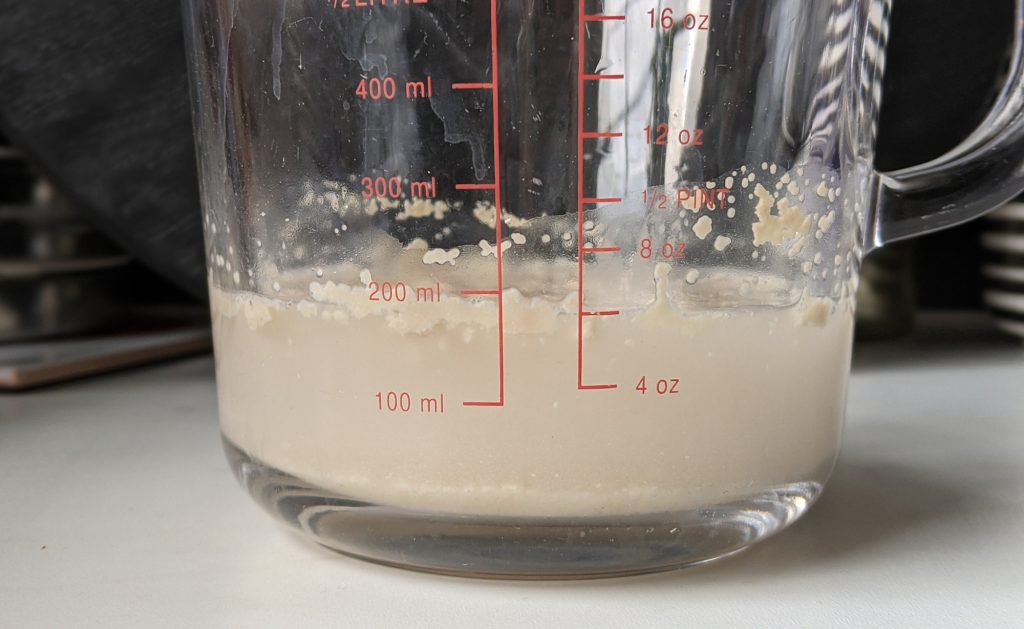
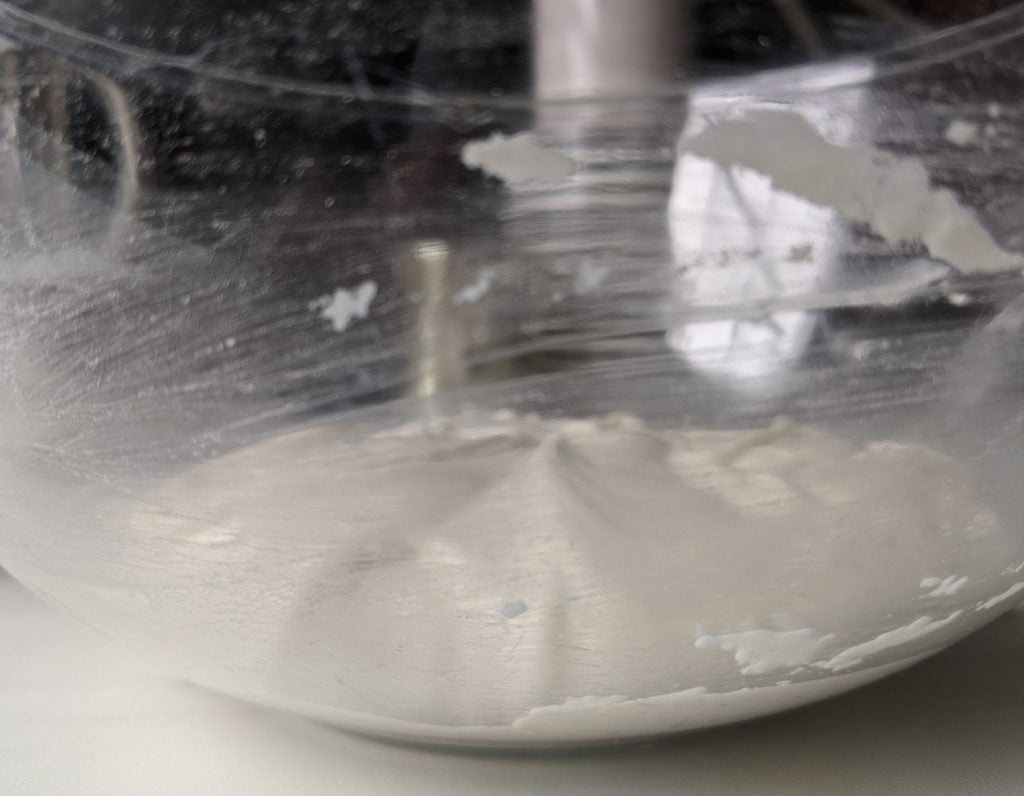
- 1.5 tsp (7.5g) caster sugar
- 160ml warm water
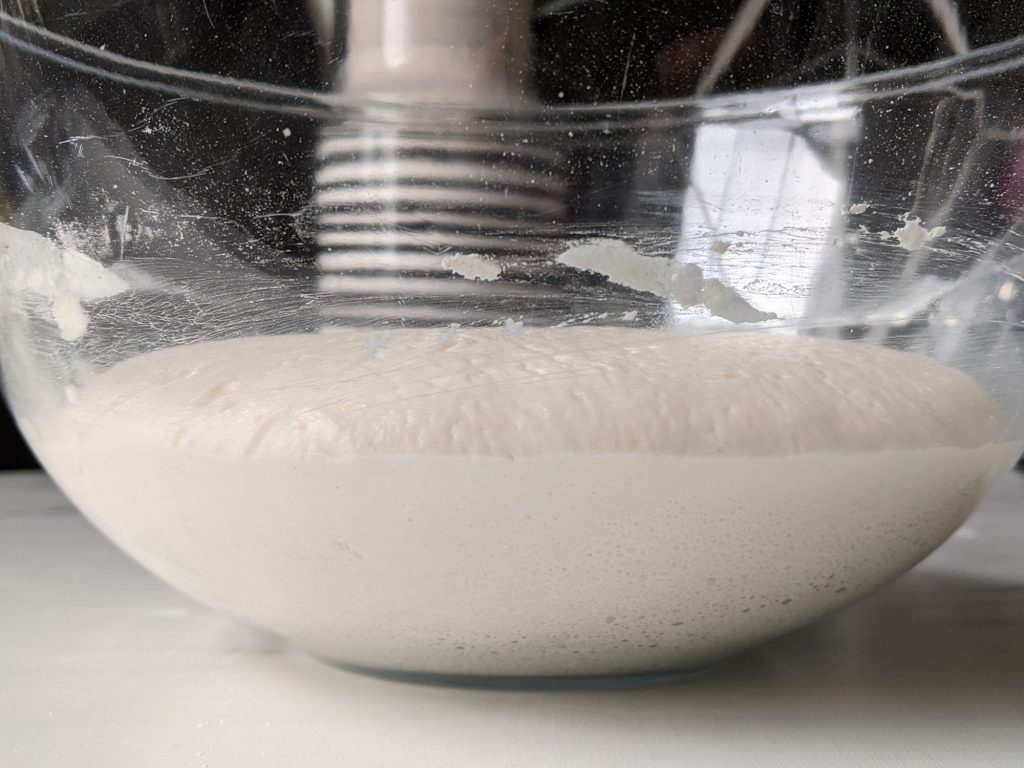
- 7g dried active yeast (gluten free)
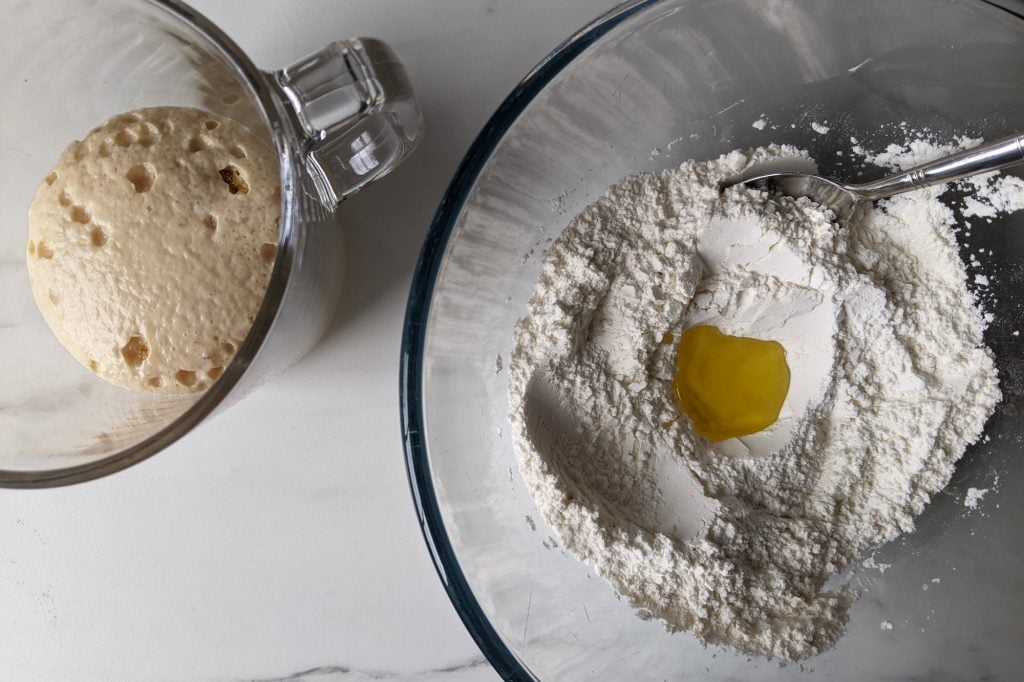
- 195g gluten free plain flour (I use FREEE by Doves Farm) - plus a little extra for dusting
- 55g tapioca starch (sometimes called tapioca flour)
- 1 tsp (5g) fine salt
- 1.5 tbsp (22ml) olive oil
For the tomato sauce:
- 200g tomato passata
- 0.5 tsp dried or fresh oregano
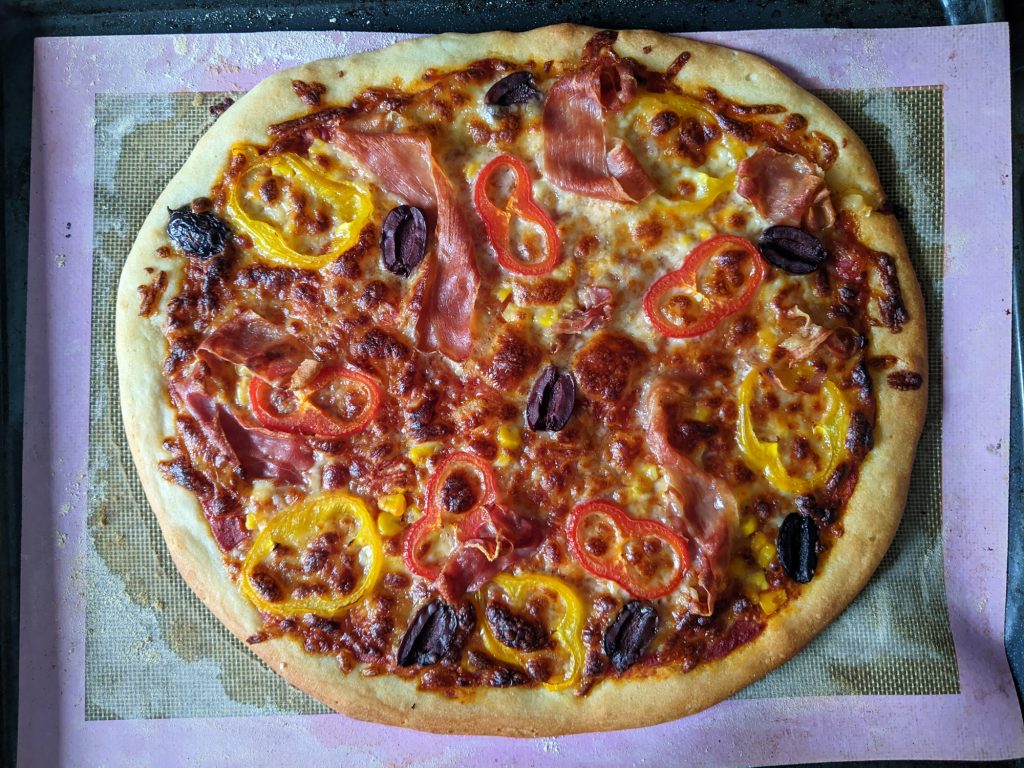
For the topping:
- 125g grated mozzarella cheese
- Anything else you like! Some ideas: sliced peppers, mushrooms, olives, prosciutto, pepperoni, chicken, capers or anchovies.
Instructions
Step By Step Recipe Pictures


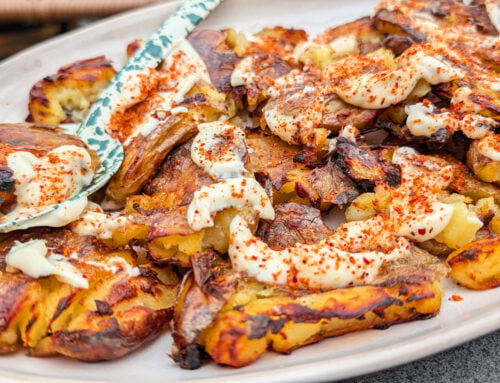
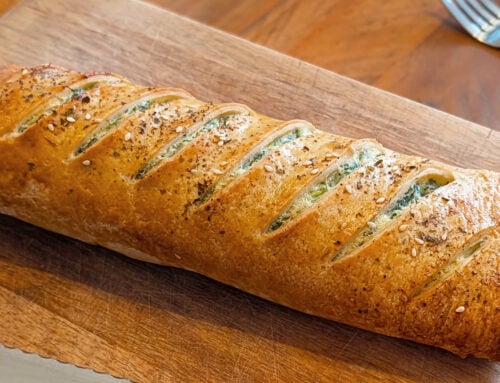
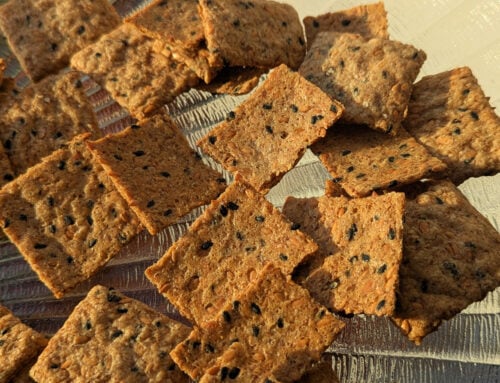
For more tasty gluten free meal ideas, why not try some of my other recipes too:
Enjoy! Laura x