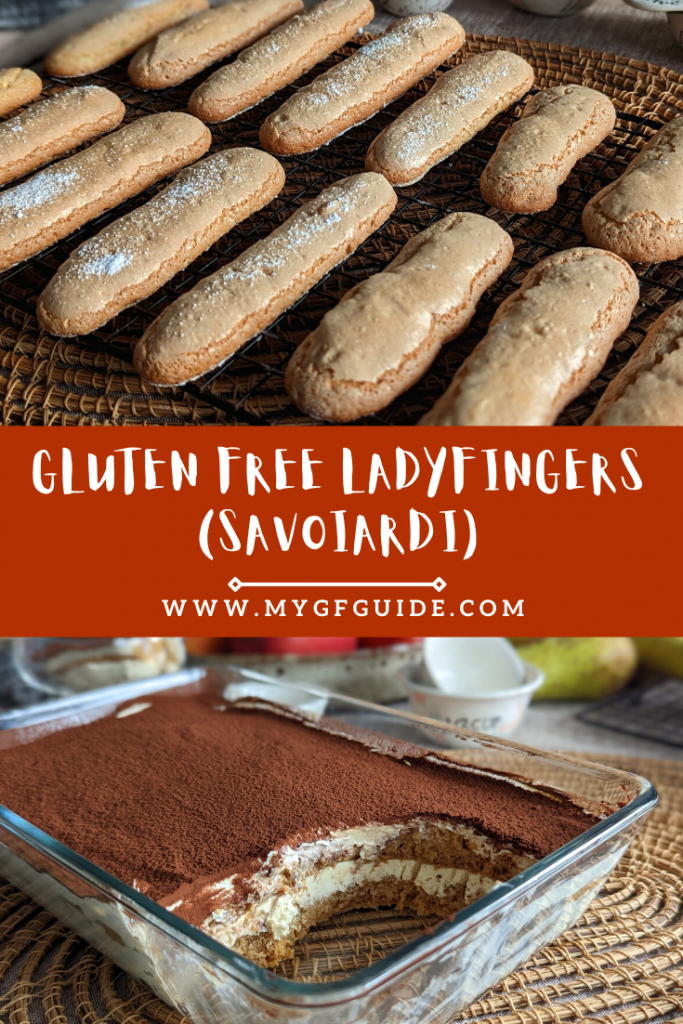
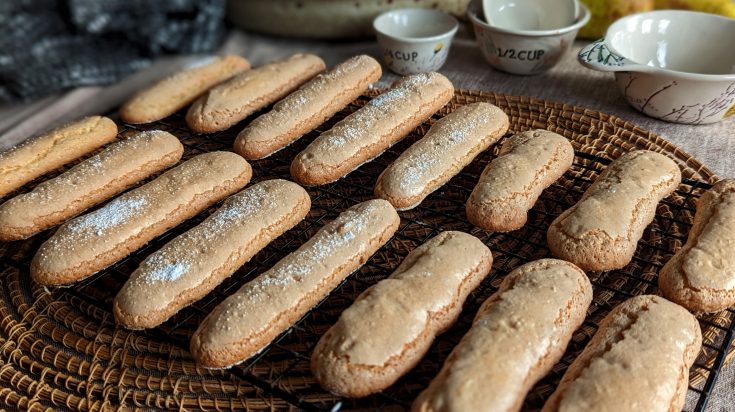
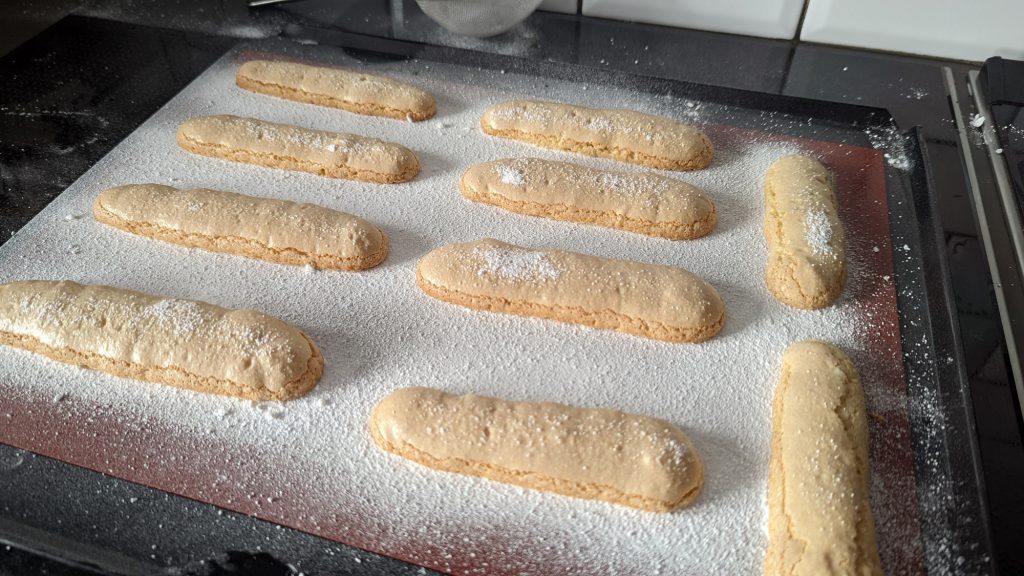
These gluten free ladyfingers (also known as savoiardi or boudoir biscuits) are perfect for making tiramisu and trifle. And equally delicious as a standalone snack, dunked in a cup of tea or coffee.
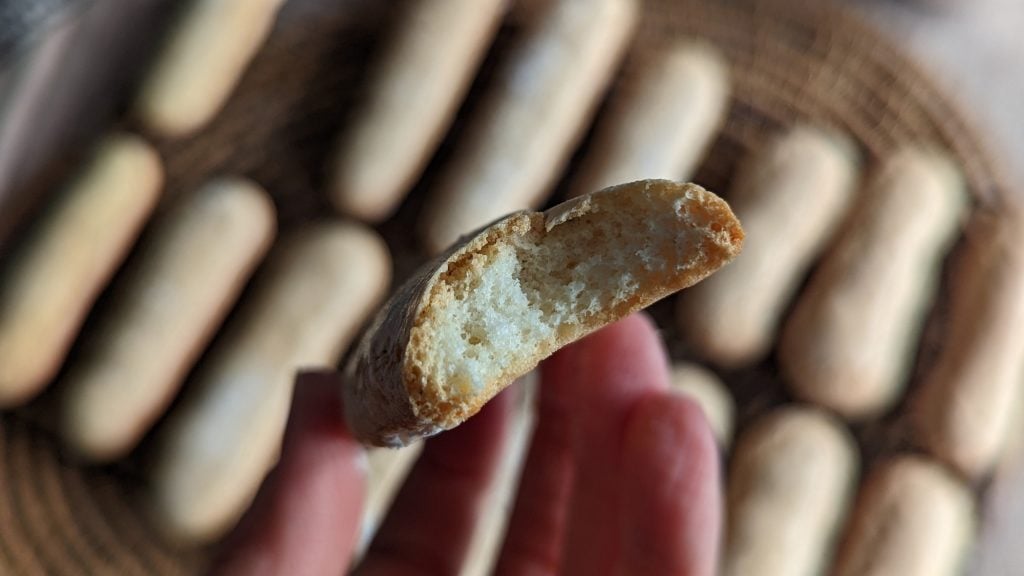
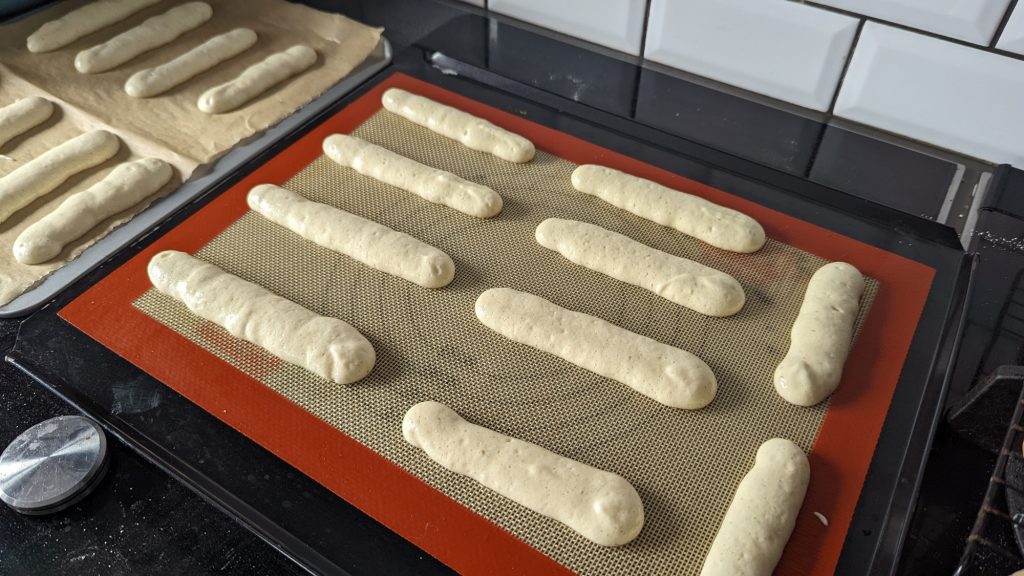
A sponge-biscuit hybrid, crisp on the outside and soft in the middle. They are very easy to make at home, using simple ingredients. The only special equipment you need is a piping bag with round tip (this Wilton 1A tip, or similar 1/2 inch tip is ideal).
I found they work really nicely with gluten free flour, and keep well if you want to make them the day before needed. Or if you want to make a batch to enjoy as a treat for the next couple of days.

What Makes Then Suitable for Tiramisu & Trifle?
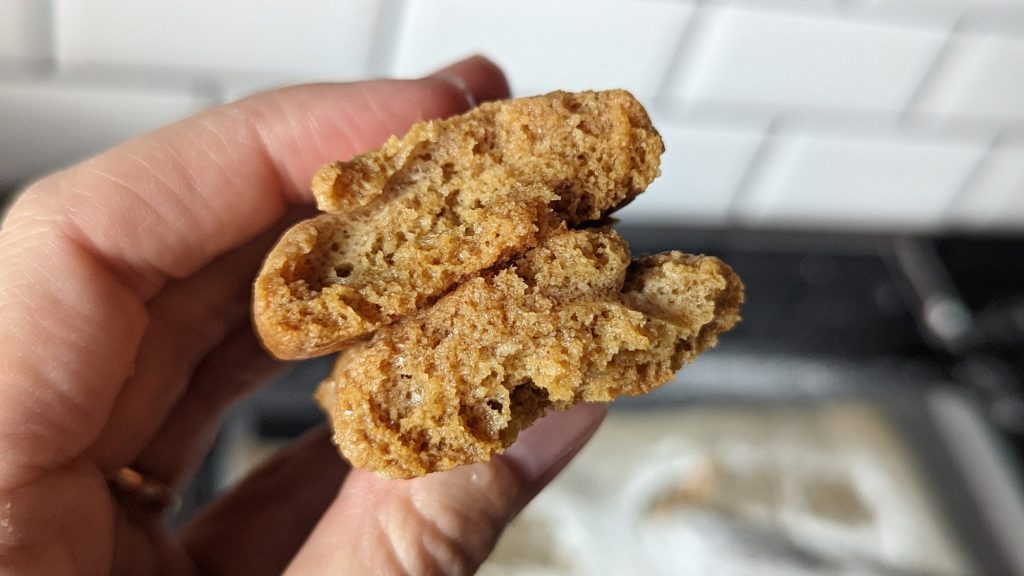
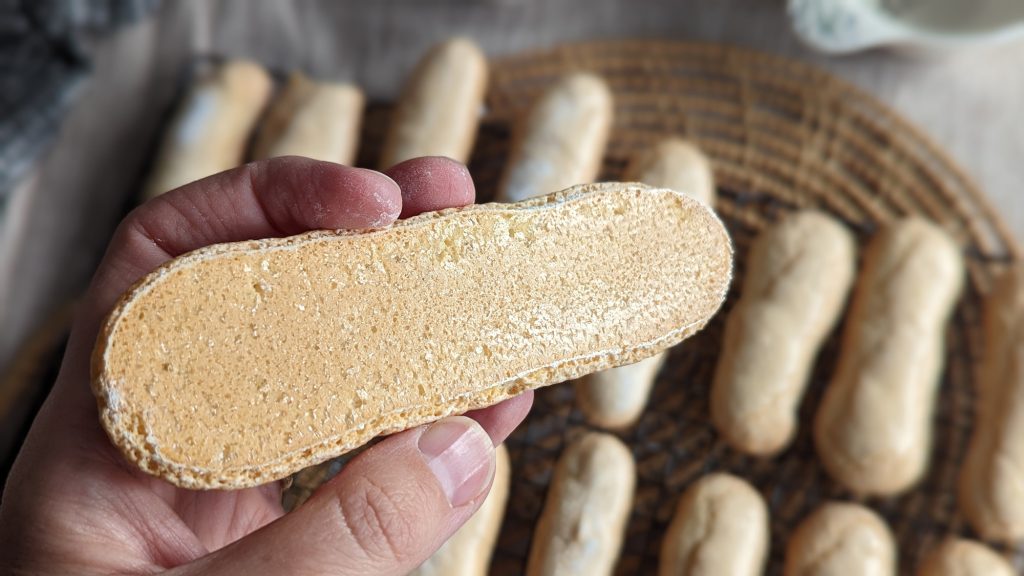
They are quite a sturdy sponge biscuit, designed to be able to soak up a quick dunk in liquid while holding their form. No-one wants a disintegrating biscuit floating around in their cuppa (or a totally smooshed tiramisu or trifle!).
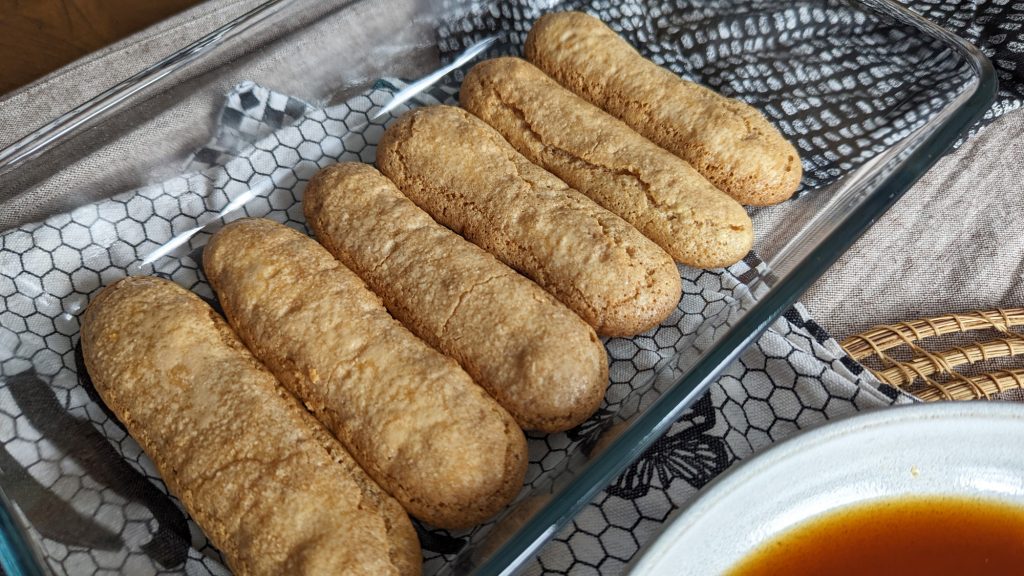
As you can see from these two pictures below, they work really well. Keeping their shape even when totally soaked with coffee (this is the base of my tiramisu).
How to Store These Gluten Free Ladyfingers
If you are baking these in advance, for use in a dessert, you can make them the day before. Simply cool them fully (ensure they are completely cooled), then place in an airtight container. Then when you are ready to make your dessert, they are raring to go.
Equally, store in a similar fashion if you are making them to enjoy as biscuity treats throughout the week. They will stay perfect for a couple of days, before starting to dry out. But even once dry, they still make great dunkers!
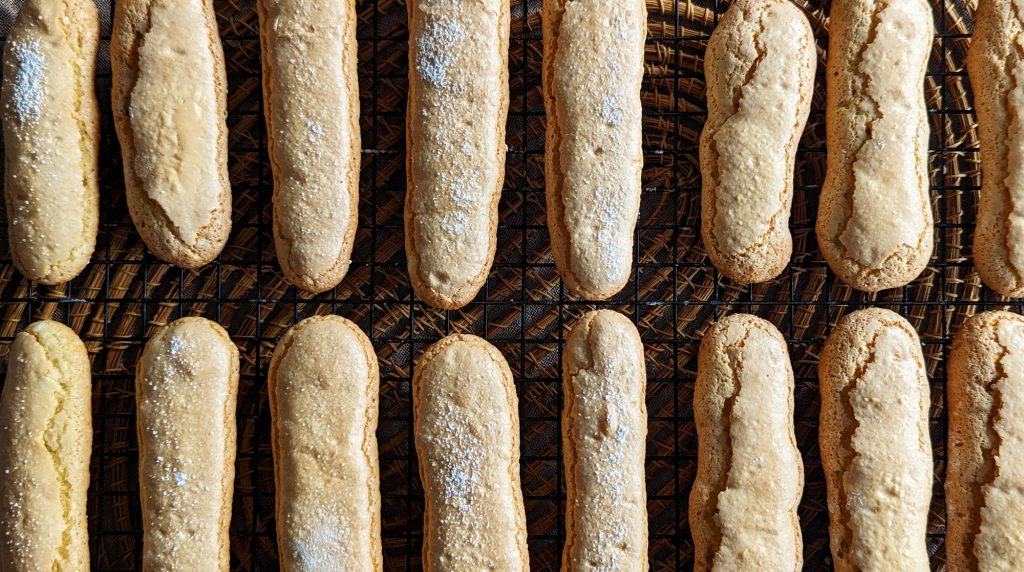
Gluten Free Ladyfingers/Savoiardi Recipe (Makes 18)
This recipe will make about 18 gluten free ladyfingers, plenty for a trifle or tiramisu, or a happy tinful for snacking.
You will find step by step photos underneath this recipe, to give you a visual guide. For any other help along the way or if you have questions, please do message me on social media (@myglutenfreeguide) or email me at laura@mygfguide.com.
If you enjoy these gluten free ladyfingers, please leave a review on the recipe card below. It makes a world of difference to me :). And you can also share photos of your home creations in my Cooking Club on Facebook.
Happy baking! Laura xxx
Gluten Free Ladyfingers/Savoiardi Sponge Fingers
Ladyfingers, aka savoiardi or boudoir sponge fingers, are sponge-biscuit hybrids that are the perfect base for tiramisu and trifle. Also delicious as an afternoon treat with a cuppa!
Ingredients
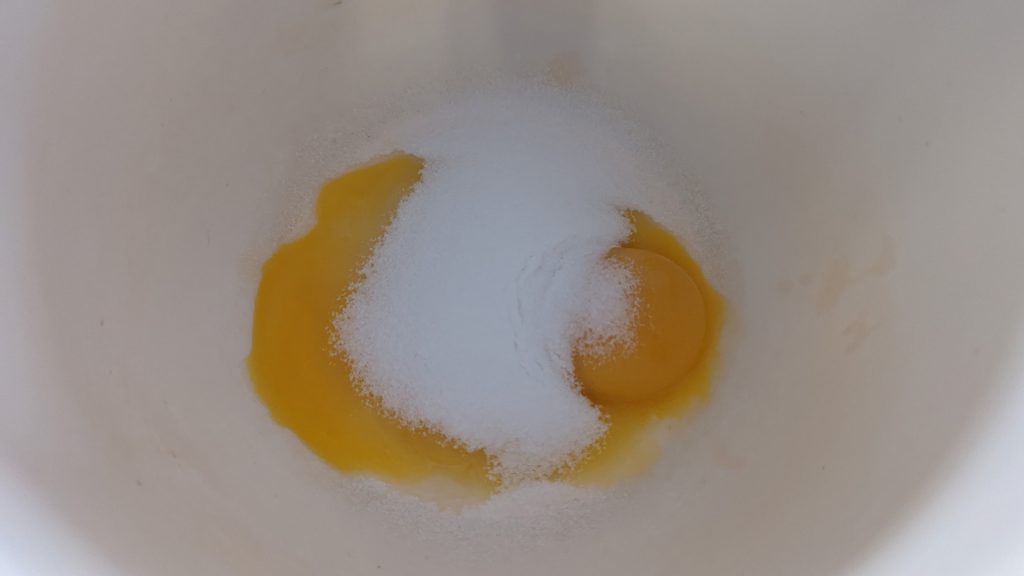
- 3 large egg whites (weight approx 105g)
- 2 large egg yolks
- 80g caster sugar
- 120g gluten free plain flour
- 1 tsp vanilla bean paste (optional for flavour)
- Pinch salt
- 0.5 tsp baking powder
- Icing sugar for dusting
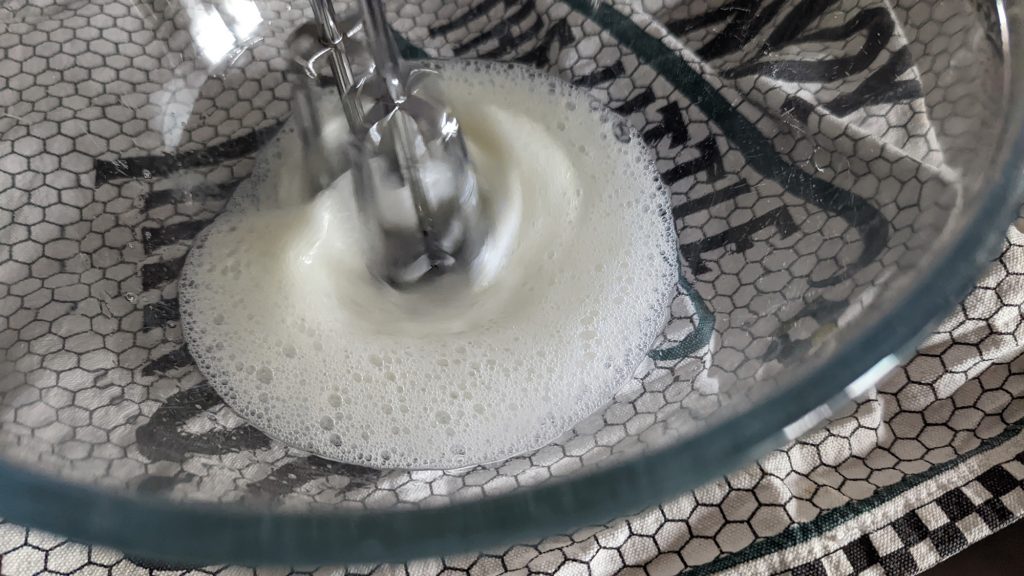
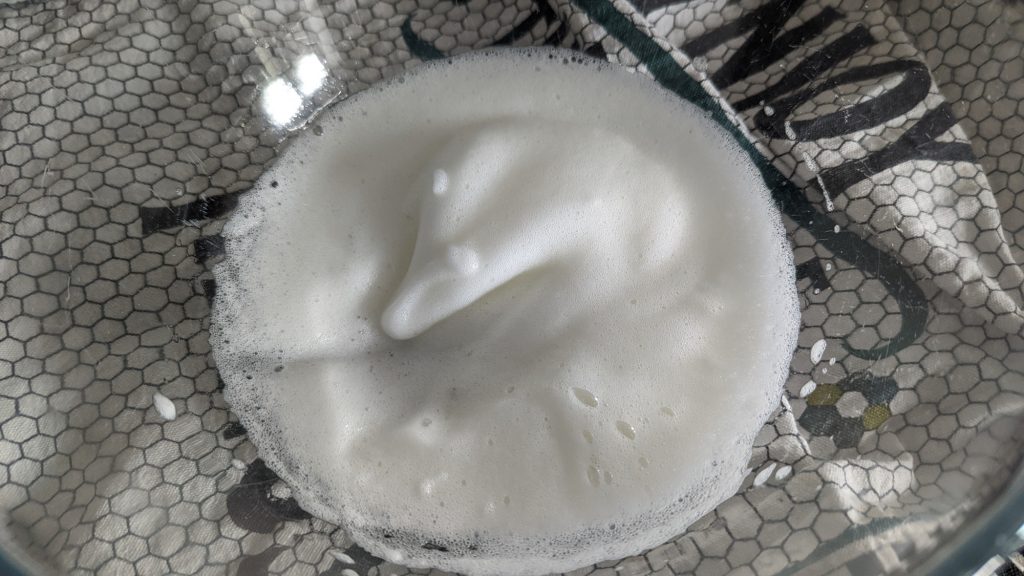
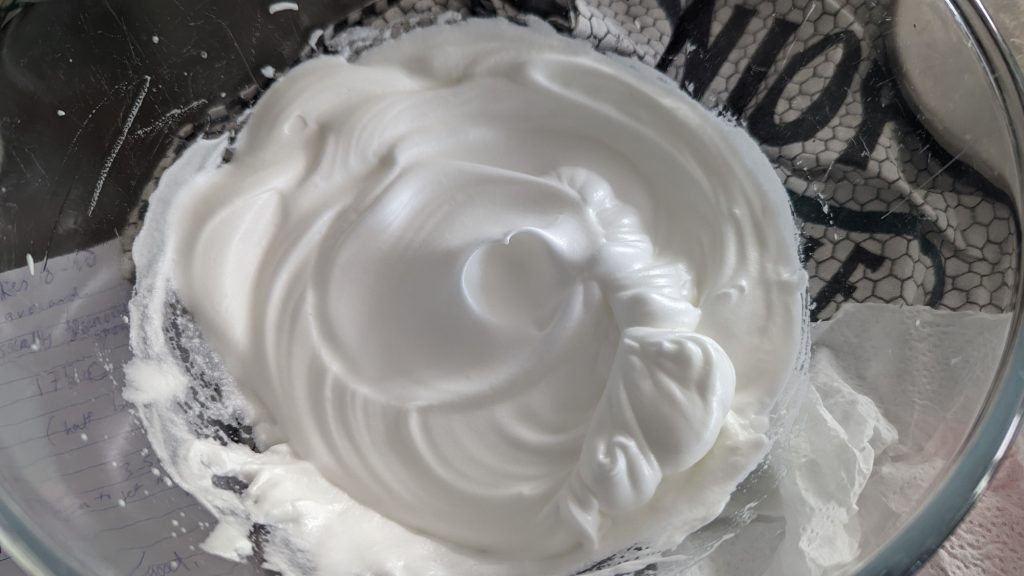
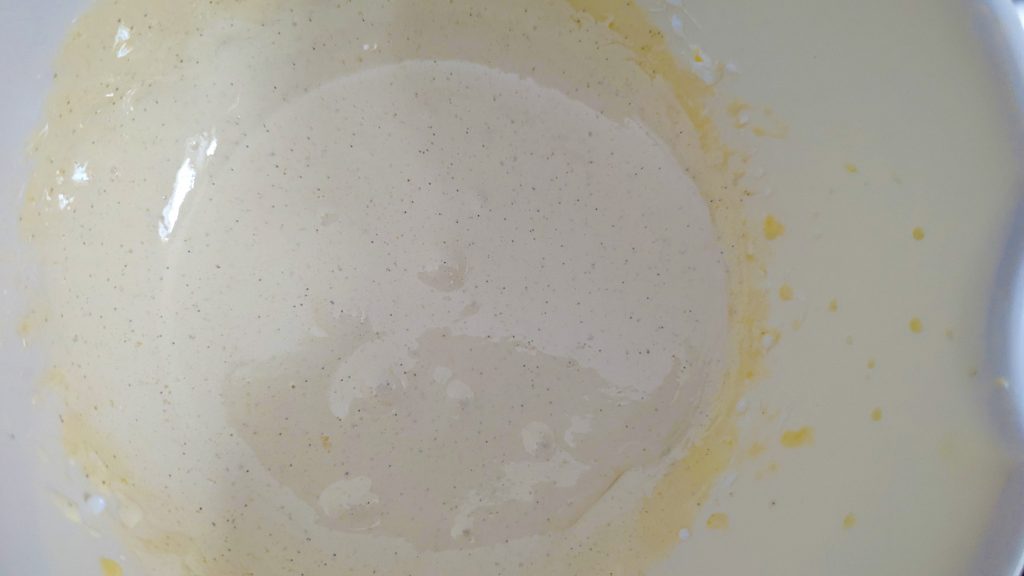
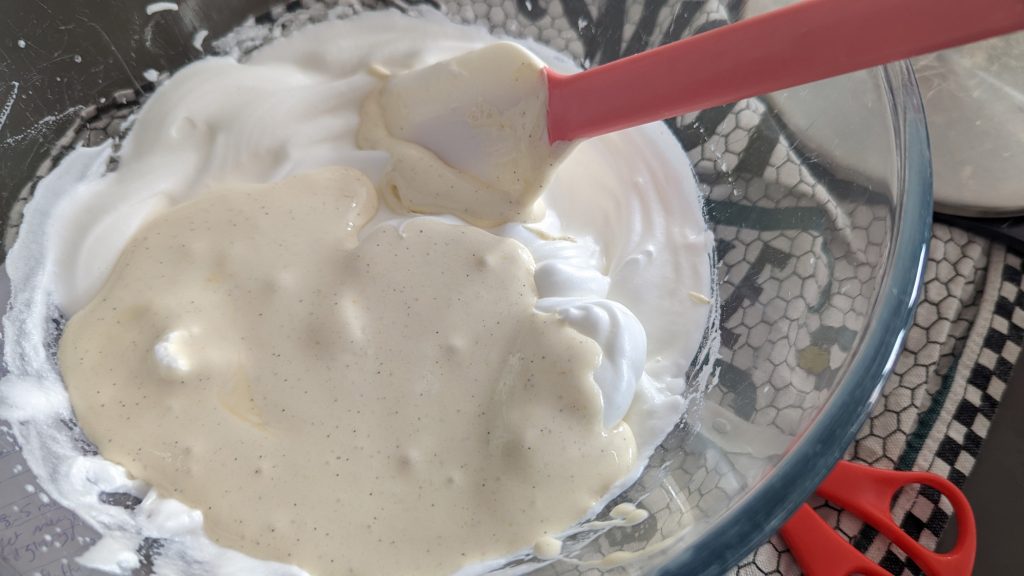
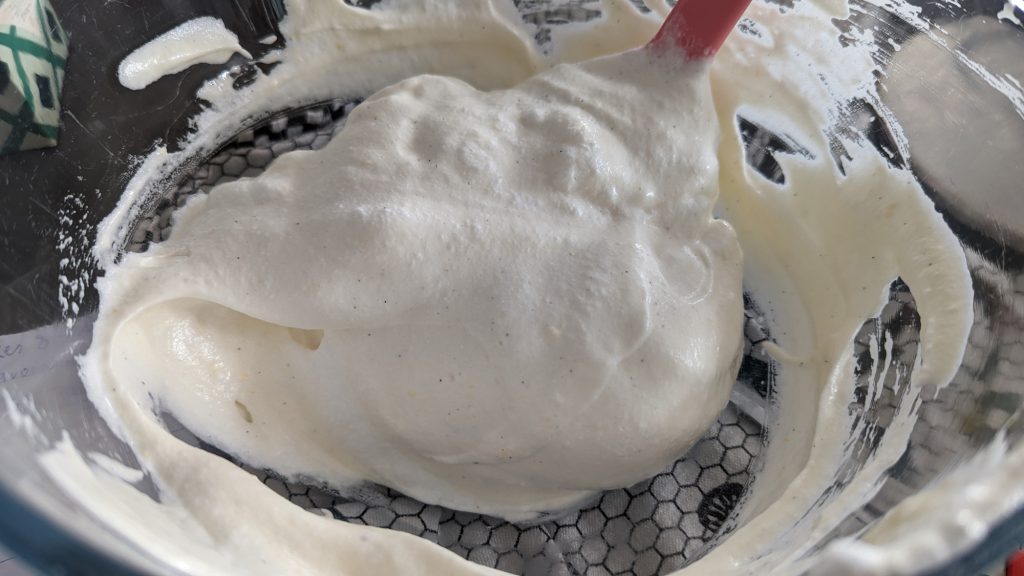
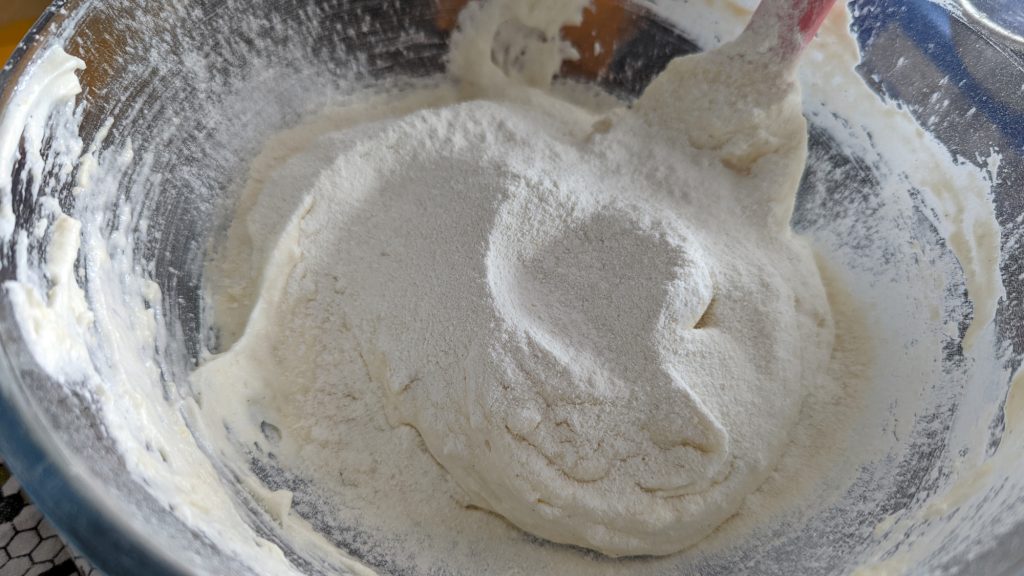
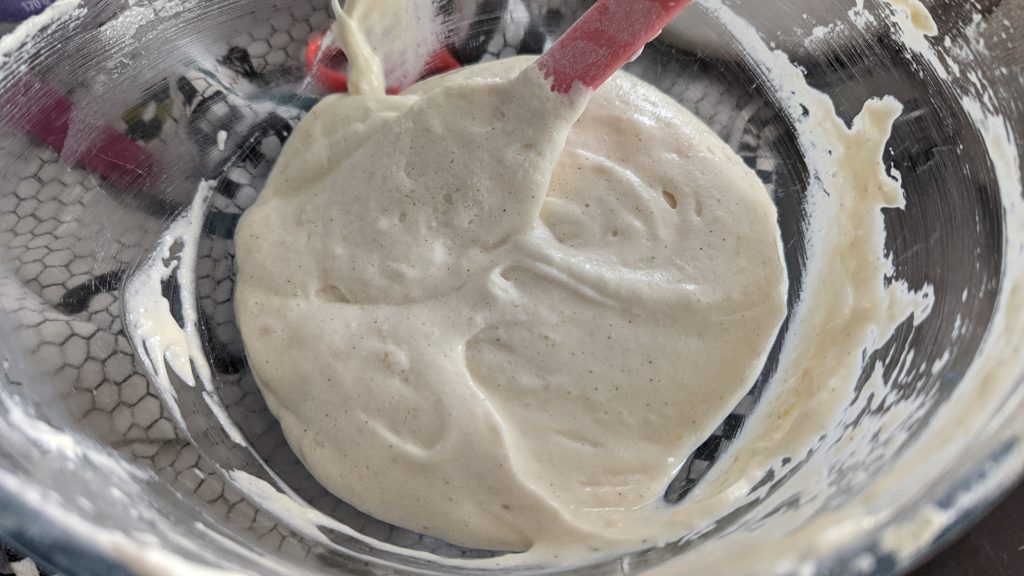
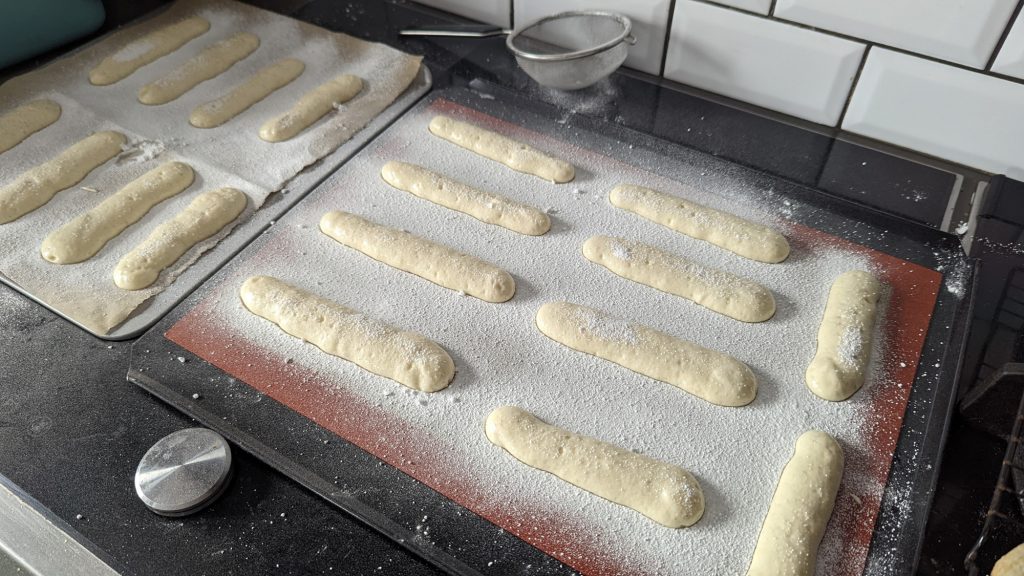
Instructions
For more delicious gluten free dessert and baking ideas, why not check out some of my other recipes while you are here:
Enjoy! Laura xxx