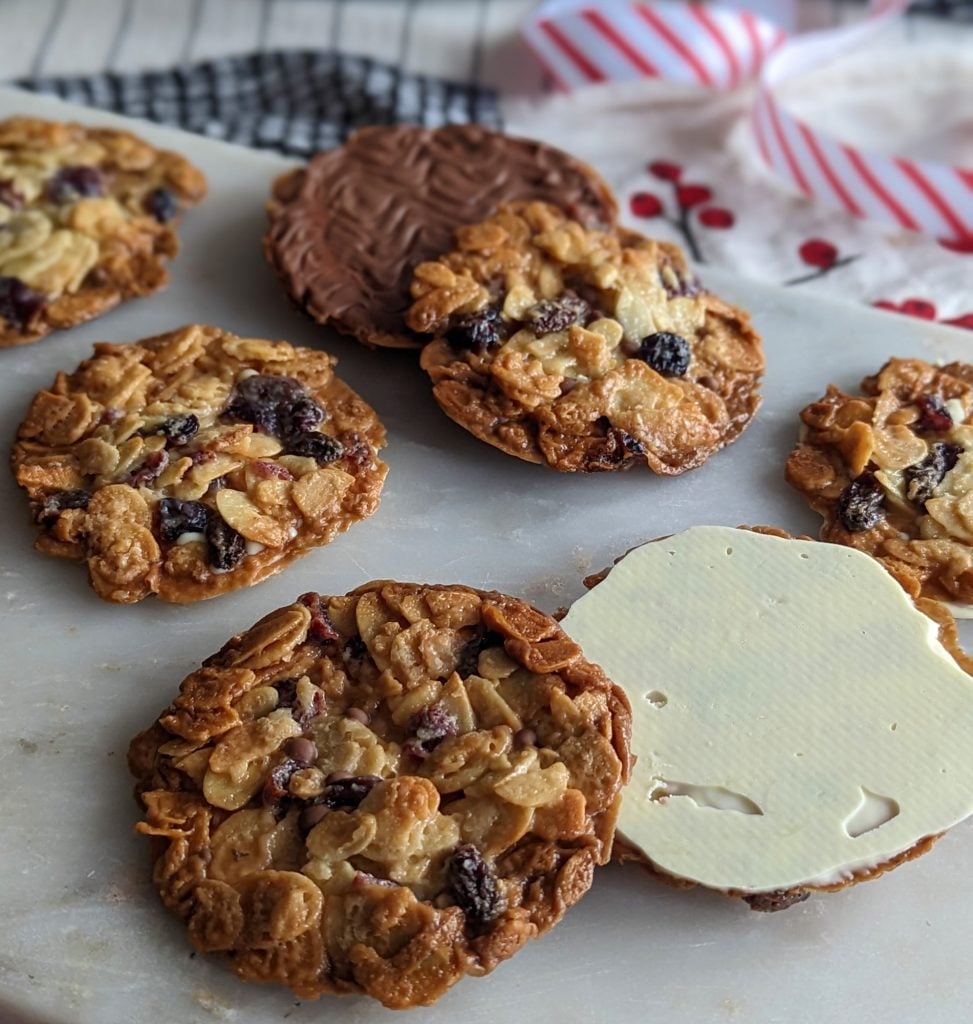
I am a big florentine fan and my new gluten free florentines are some of the best I’ve ever had! Plus they are ever-so-easy to make at home.
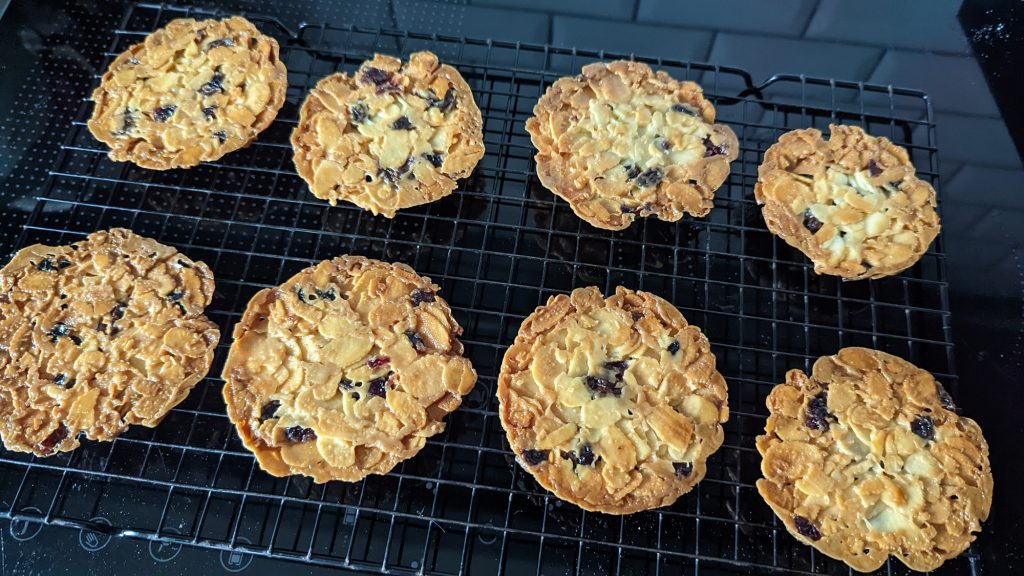
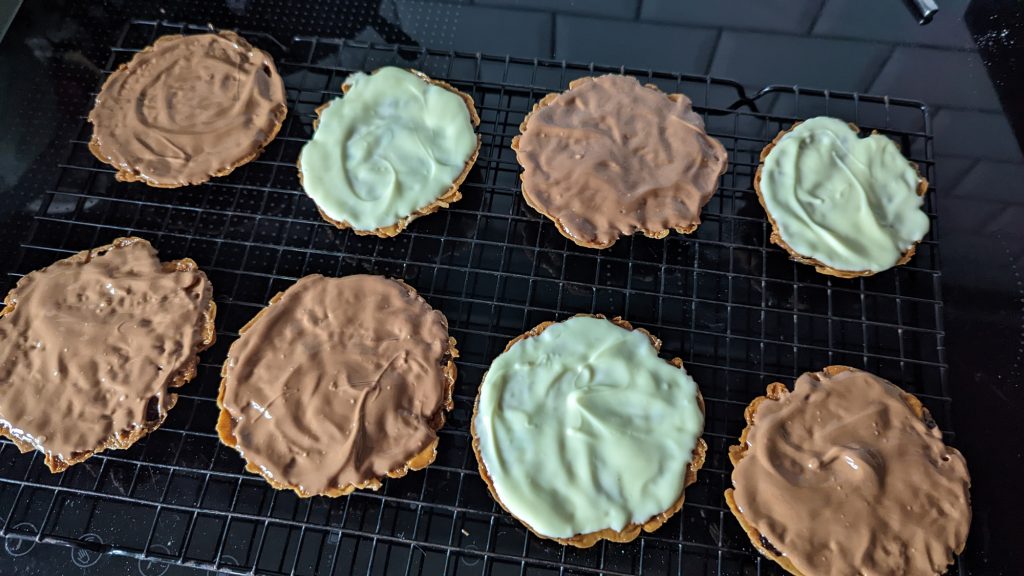
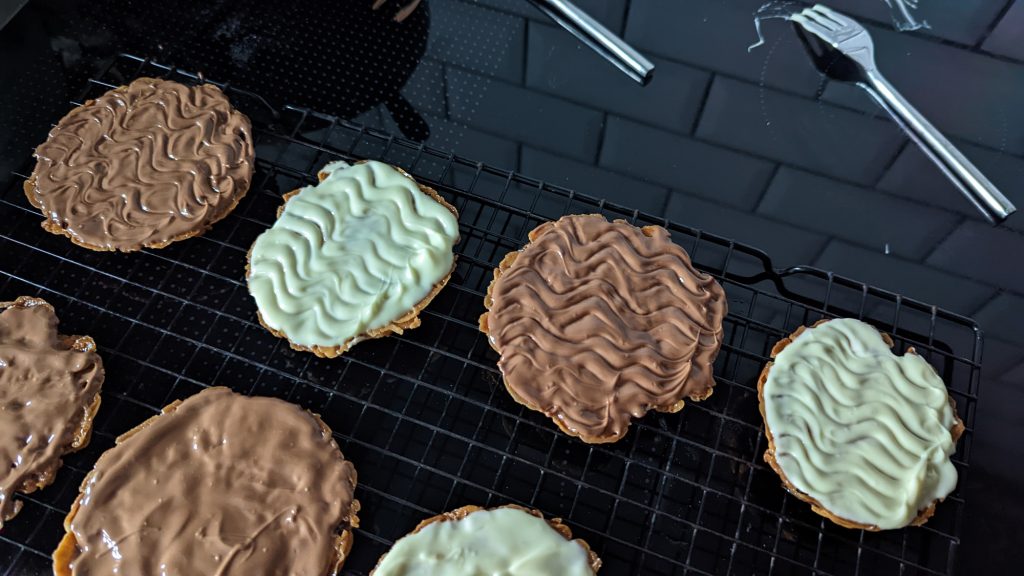
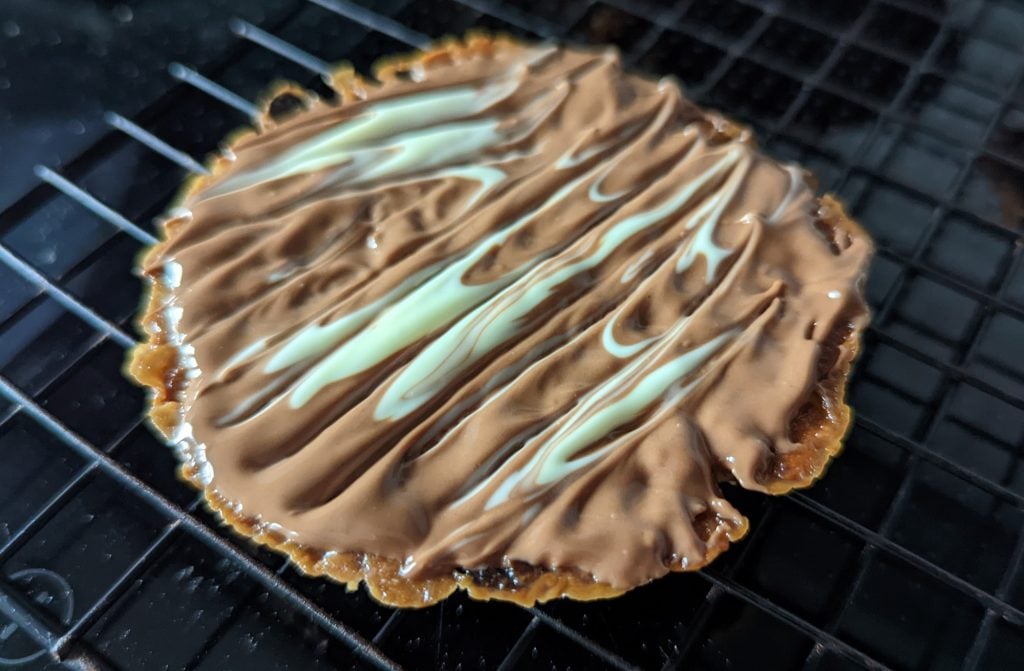
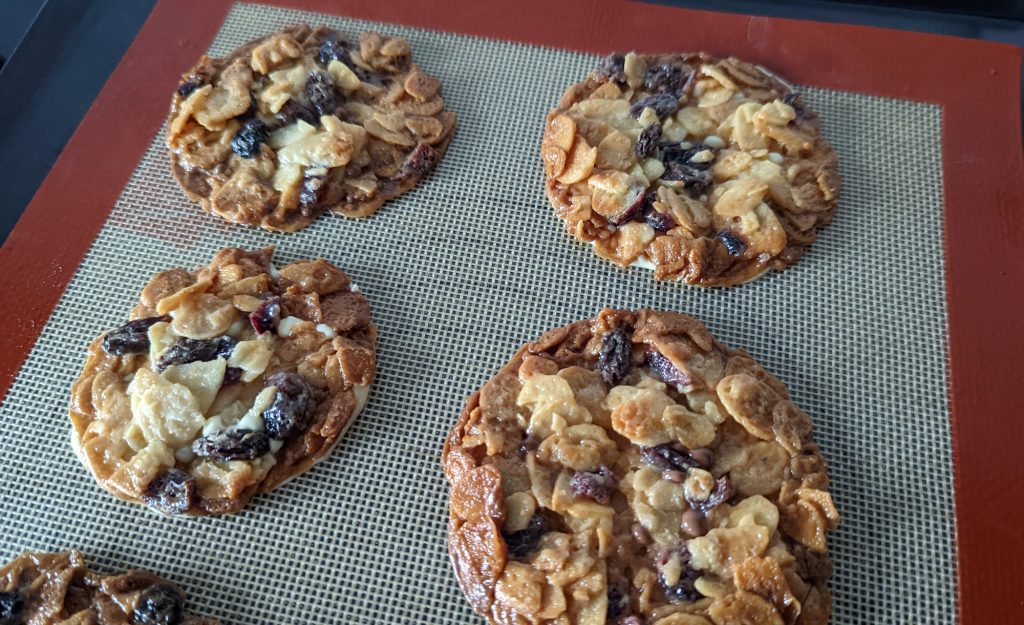
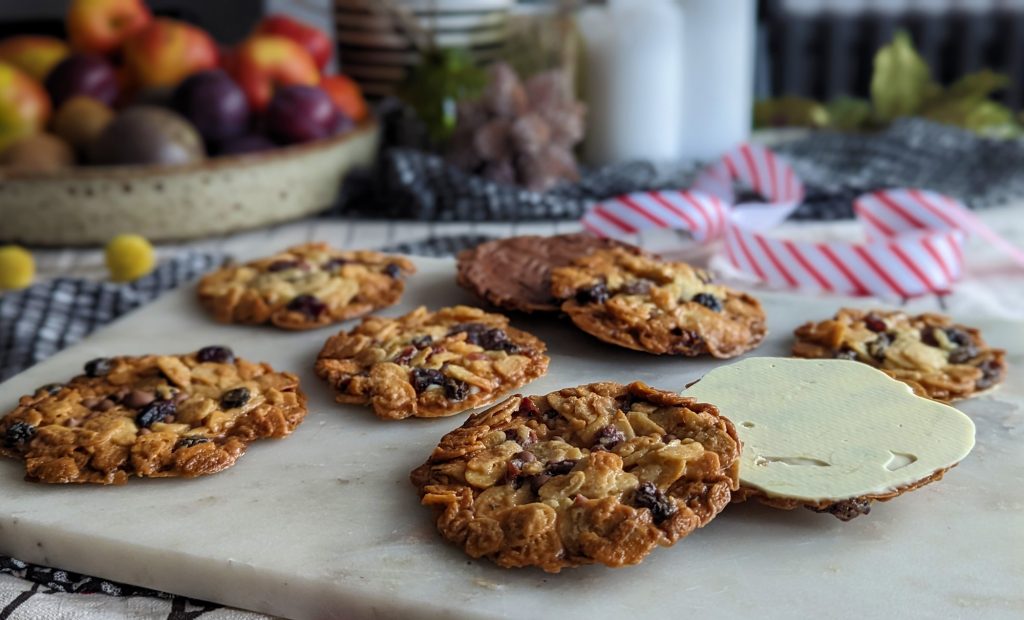
If you’ve not tried florentines before, they have a golden caramel dried fruit and nut topping and smooth chocolately base. A luxurious biscuit with a wonderful snap and crunch.
Florentines are almost naturally gluten free, aside from a small amount of flour used in the caramel. So they work perfectly when made to a gluten free recipe. No one will ever know they are gluten free.
I got frustrated at not being able to find gluten free florentines in the shops here in the UK (all have a may contain warning or contain gluten grrrr), so decided to make my own at home. The final bake turned out beautifully and I’m excited to share this recipe with you all.

Can I Use Different Dried Fruit and Nuts?
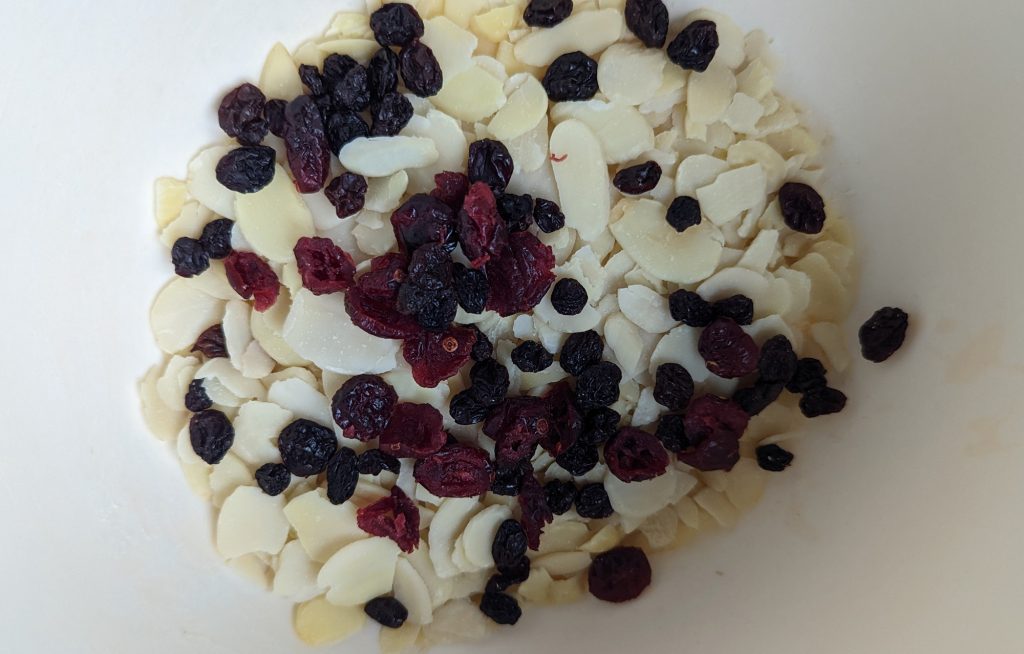
Yes, you can use any dried fruit you like – from glace cherries and apricots to figs and sultanas.
As for nuts, you can add chopped pistachios, hazelnuts and more into the blend. I recommend keeping a base of 60g flaked almonds + 20g other nuts.
How Should I Store These Florentines?
Store them in an airtight container and they should keep well for a couple of days. They will gradually soften up, the longer you keep them.

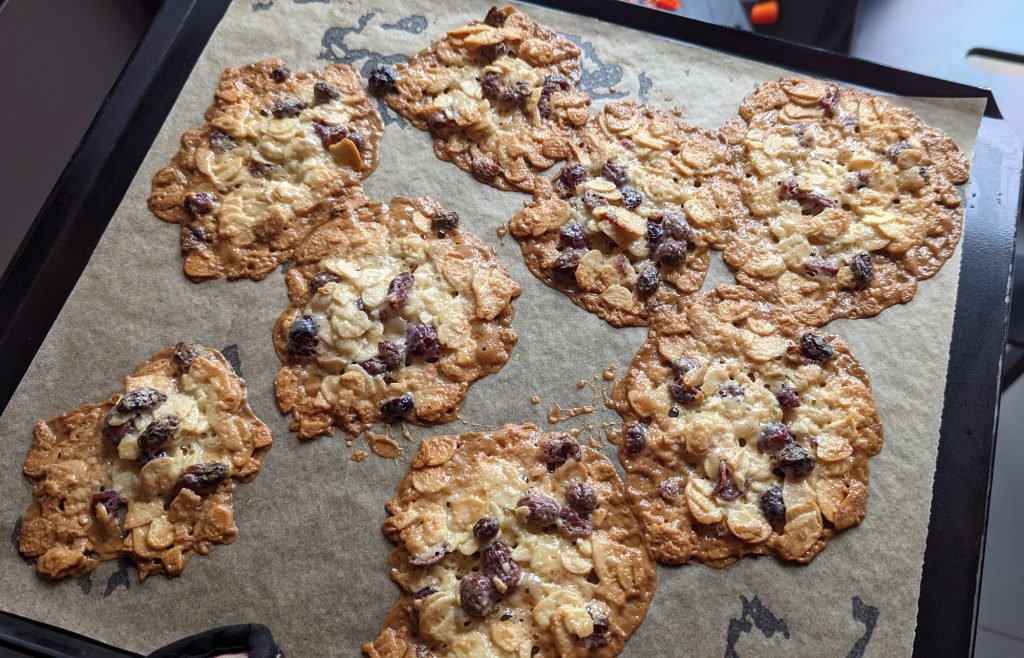
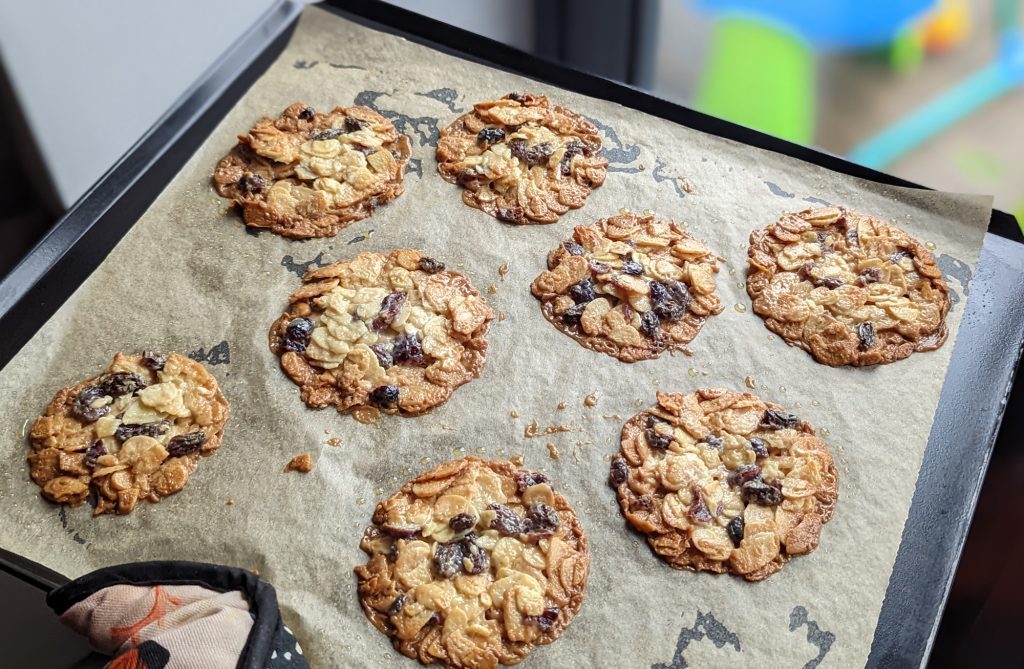
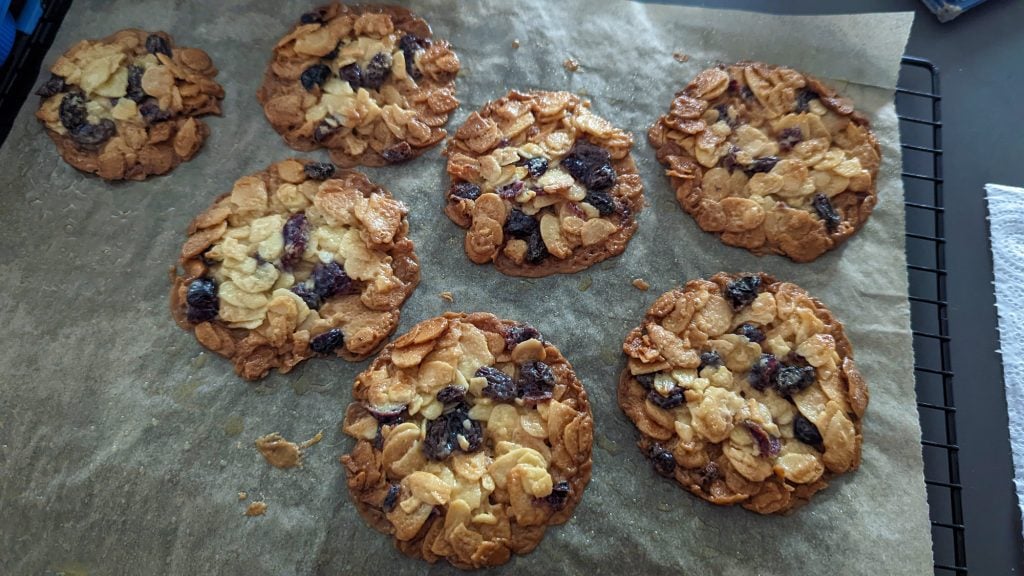
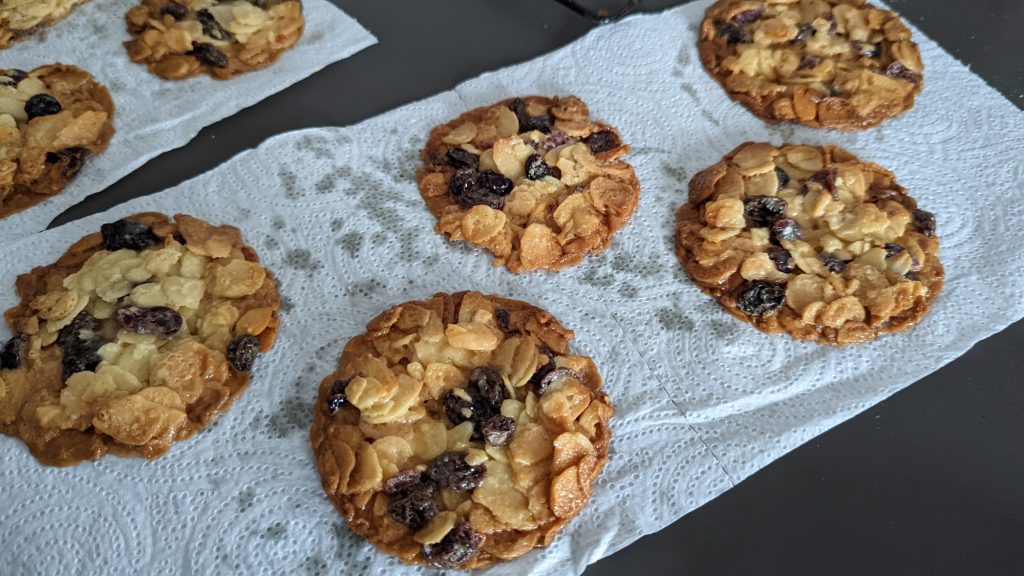
Gluten Free Florentines Recipe
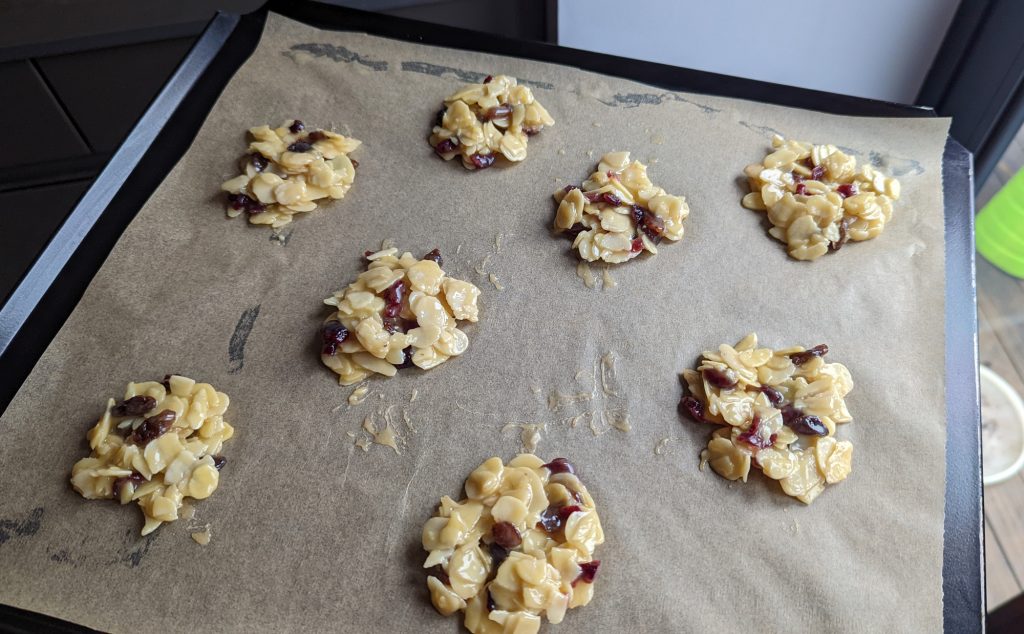
This recipe will make 8 gluten free florentines. You can simple double or halve the ingredient quantities if you want to make more or less. The method remains the same.
You will find a few photos underneath this recipe, to give you a visual guide as you work through the recipe. For any other help along the way or if you have questions, please do message me on social media (@myglutenfreeguide) or email me at laura@mygfguide.com.
If you enjoy these gluten free florentines, please leave a review on the recipe card below. It makes a world of difference to me :). And you can also share photos of your home creations in my Cooking Club on Facebook.
Enjoy! Laura xxx

Gluten Free Florentines
Classic florentines with a gluten free twist. A golden caramel fruit and nut biscuit smothered with chocolate. Utterly delicious and surprisingly easy to make.
Ingredients
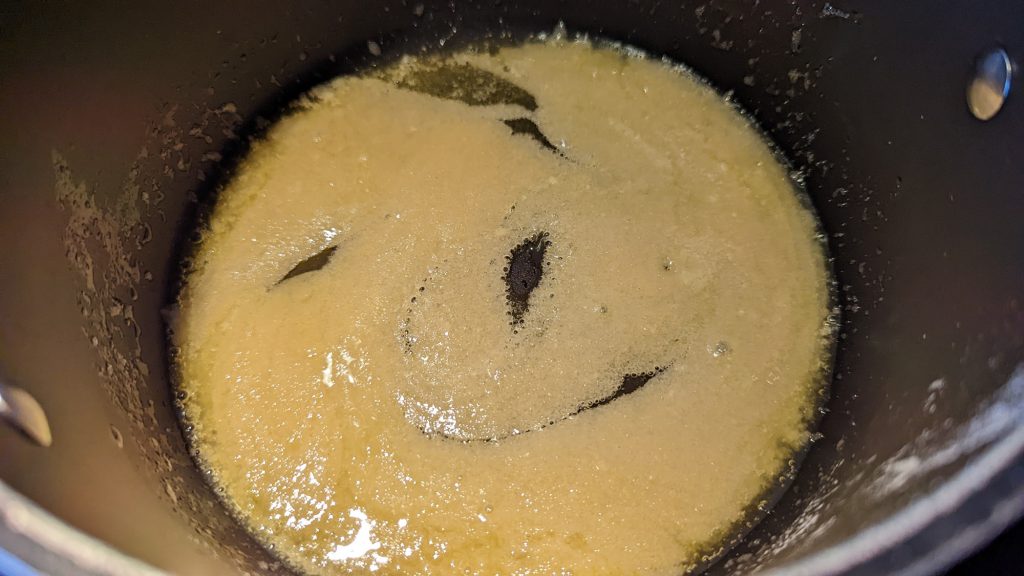
- 50g (1.7oz) caster sugar (superfine sugar)
- 25g (0.9oz) unsalted butter
- 2 tsp plain gluten free flour (2.5 US tsp)
- 40ml (1.4 floz) double cream (heavy cream)
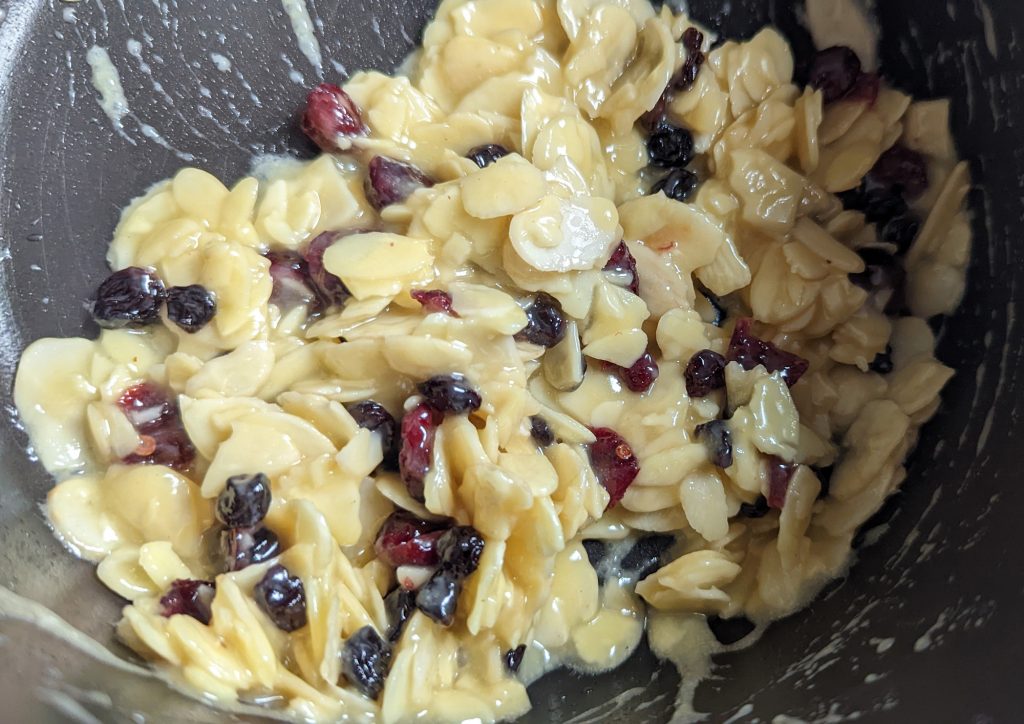
- 80g (2.8oz) flaked almonds
- 30g (1oz) dried fruit (I used raisins and cranberries)
- Pinch salt
- 150g (5.3oz) chocolate (milk, dark, white, your choice)
Instructions
For more gluten free baking recipes, why not check out some of my other creations while you are here:
Happy Baking! Laura xxx