On my recent visit to Boston I was on a quest to try the gluten free versions of local specialities, but I failed in my mission to find coeliac-friendly gluten free Boston Cream Pie. So, naturally, as soon as I got home I started researching the traditional recipe and created this very delicious gluten free take on this beloved classic.

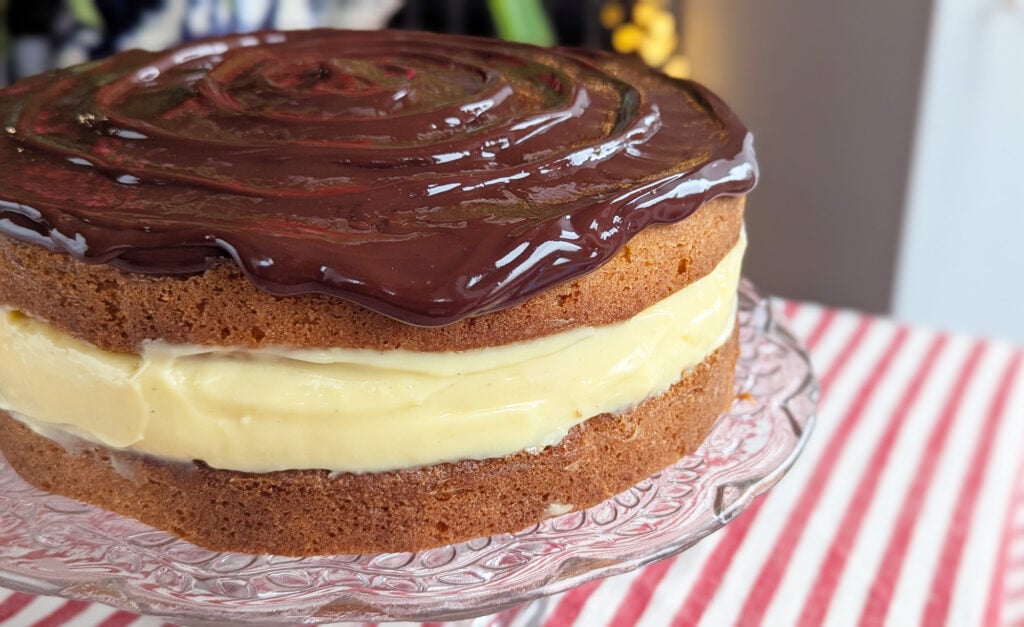
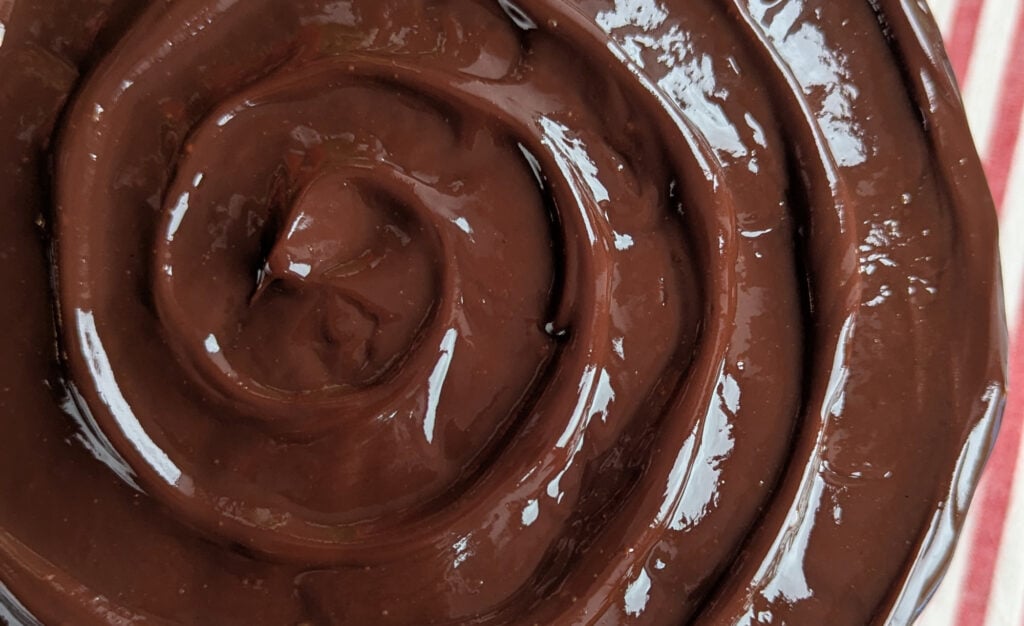
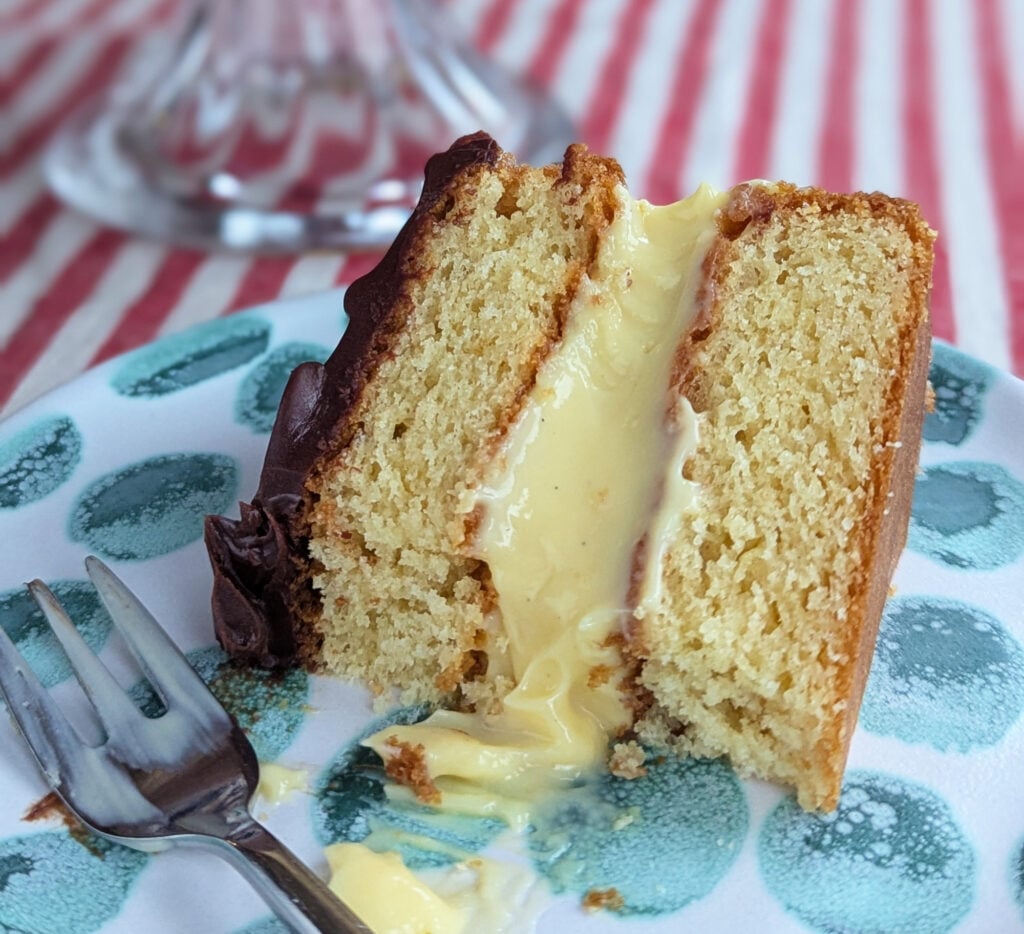
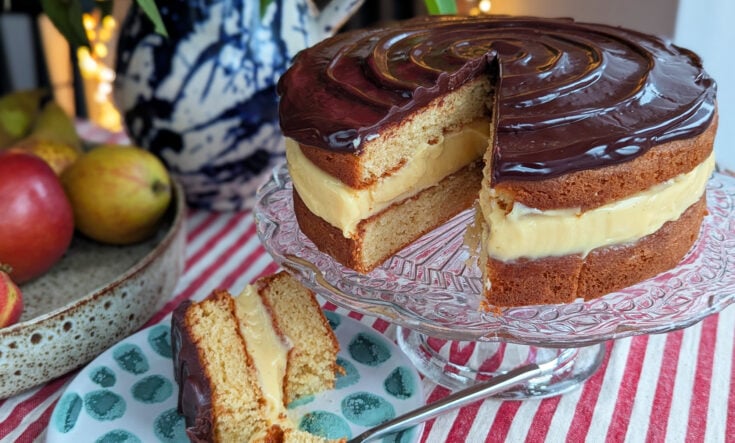
Despite it’s name, Boston cream pie is not a traditional pie with a pastry pie crust, it’s a cake! In this recipe we have two layers of gluten free vanilla sponge sandwich set vanille custard and topped with dark chocolate ganache – absolute heaven.
I loved developing this recipe and being able to try a treat that would usually be off limits to me as a coeliac. And now I am delighted that I can share my gluten free Boston cream pie recipe with you all, to spread a little gluten free joy.
What Flour Blend To Use
I used a gluten free self raising flour called FREEE by Doves Farm, which is widely available in UK supermarkets. Other blends should work nicely for this cake too.
If you only have plain flour, add an extra 1.5 tsp baking powder to the mixture. And you may also need to add an extra 0.5 tsp xanthan gum if your base blend does not contain it.
Can I Skip The Ground Almonds
Yes if you have a nut allergy or need to avoid almonds, simply replace them with 40g gluten free self raising flour and reduce the quantity of baking powder to 1 tsp.
The cake stays a little softer for longer when using the ground almonds, but the sponge will still be delicious without them.
Trouble Shooting
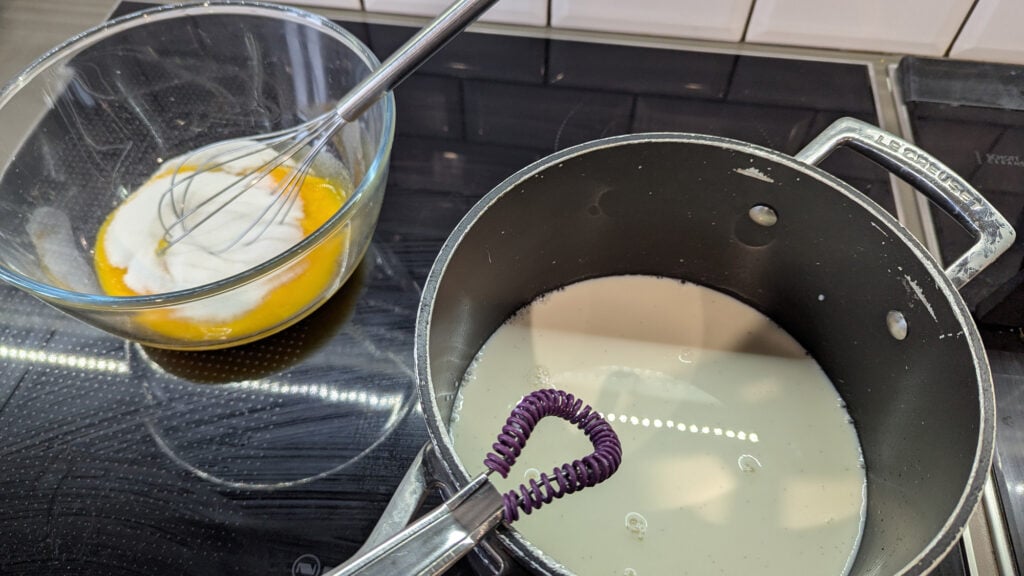
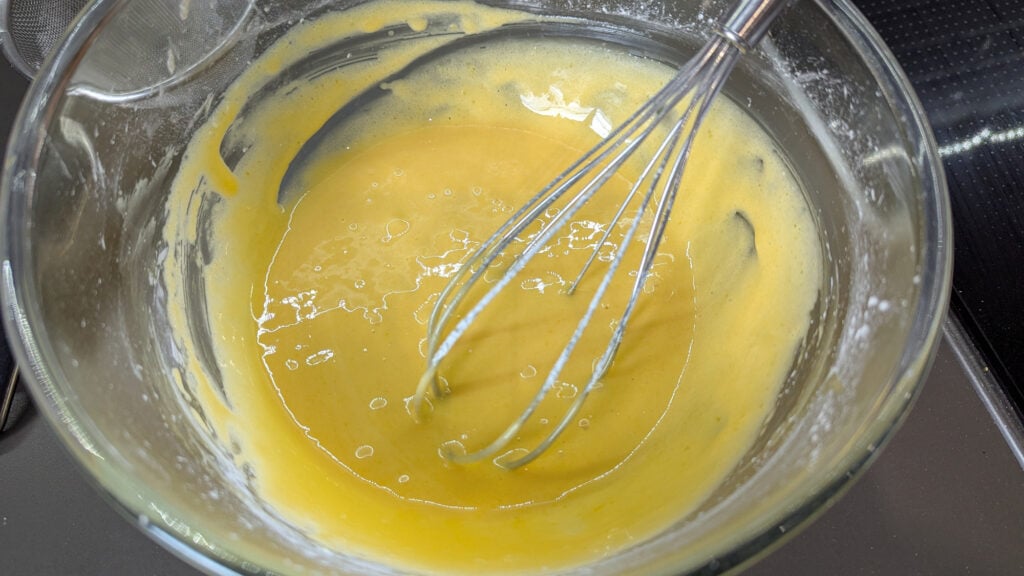
“My custard was too runny” – you need to cook the custard for longer next time, until it is quite thick, before putting it in the fridge to set. You also must make sure it is fully chilled before adding to the cake.
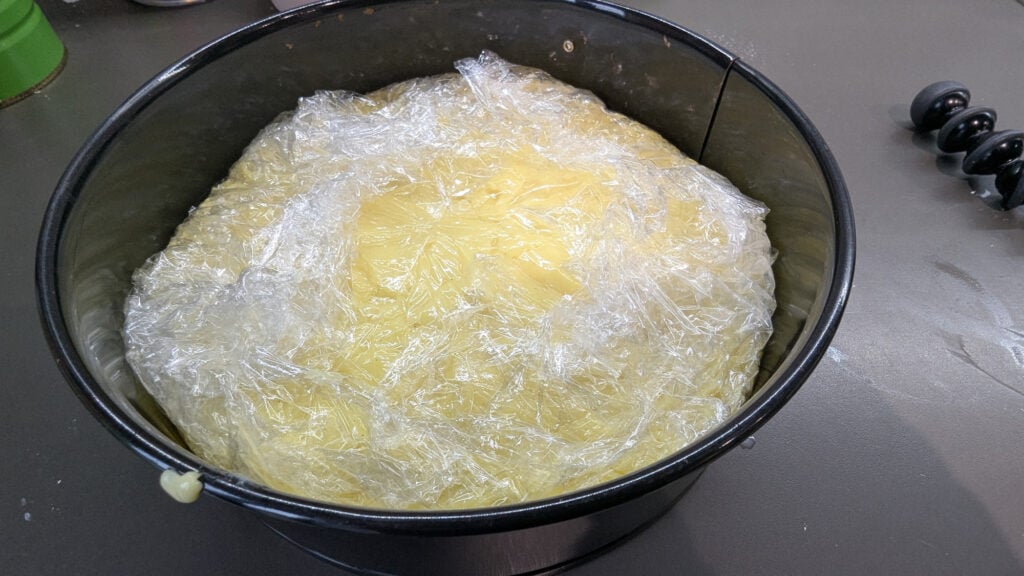
“I Don’t Have Enough Cake Tins” – if you don’t have an extra cake tin or small springform tin to set your custard in, you can pipe it instead. This was a brilliant tip from Preppy Kitchen‘s BCP recipe, which I found worked really well, but I appreciate not everyone has as many cake tins as me. To pipe, chill fully in the fridge, wrapped in cling film, then transfer to a piping bag and pipe onto your cake.
Storage
Once assembled, you should store any leftovers in the fridge (or the whole cake if not eating right away), as it contains fresh custard. Cover with cling film to avoid it drying out in the fridge.
Gluten Free Boston Cream Pie
This gluten free Boston Cream Pie will serve about 8 people, allowing for generous slices. You could stretch it to serve 10 if you want to serve slightly smaller portions.
You’ll find a full method below, with some photos under the recipe to help give you a visual guide. If you need any help along the way or if you have questions, please do message me on social media (@myglutenfreeguide) or email me at laura@mygfguide.com. I’ll get back to you as soon as I can.
If you enjoy this gluten free Boston cream pie, please leave a review on the recipe card below. It makes a world of difference to me and it’s helpful for other readers.
Thank you! Laura xxx
Gluten Free Boston Cream Pie
A gorgeous gluten free Boston cream pie - two layers of vanilla gluten free sponge sandwiching a vanilla set custard filling, topped with dark chocolate ganache. A beloved classic made gluten free!
Ingredients
For the custard:
- 500ml (17fl oz) whole milk
- 6 large egg yolks
- 1 tsp vanilla bean paste or 1 vanilla pod, split in half
- 100g (3.5oz) caster sugar (superfine sugar)
- 50g (1.75oz) cornflour (cornstarch)
For the cake:
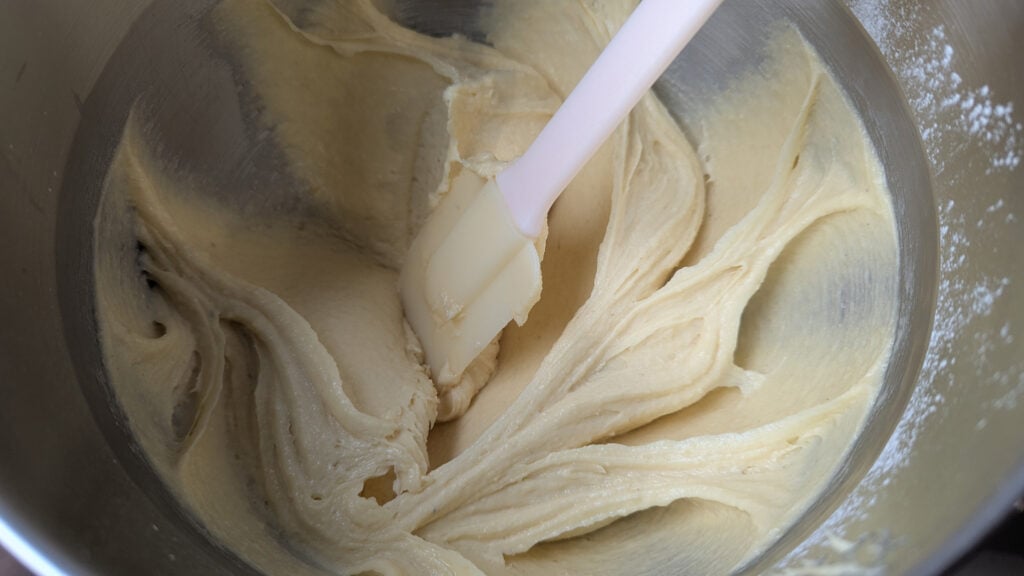
- 200g (7oz) unsalted butter, at room temperature
- 3 large eggs
- 160g (5.5oz) gluten free self raising flour (I used FREEE by Doves Farm)
- 50g (1.75oz) ground almonds
- 200g (7oz) caster sugar (superfine sugar)
- 1.5 tsp baking powder
- 0.5 tsp xanthan gum (increase to 1 tsp if your flour blend does not contain xanthan)
- 1 tsp vanilla extract
- 3 tbsp milk
For the chocolate ganache:
- 100g (3.5oz) dark chocolate
- 100g (3.5oz) double cream (heavy cream)
Instructions
Notes
If you have any custard distasters (from insufficient cooking or chilling) do not stress - simply scrap it all into a piping bag, chill for a little longer, then pipe into your sponge. Total worst case scenario you can go for a deconstructed Boston cream pie and serve on the side in bowls with chocolate ganache-topped sponge.
If you do not have self raising flour, use plain and add an extra 1.5 tsp baking powder.
Store any leftover in the refrigerator, wrapped in cling film or in a tupperware.


For more brilliant gluten free bakes, why not try some of my other recipes while you are here:

Happy baking! Laura xxx