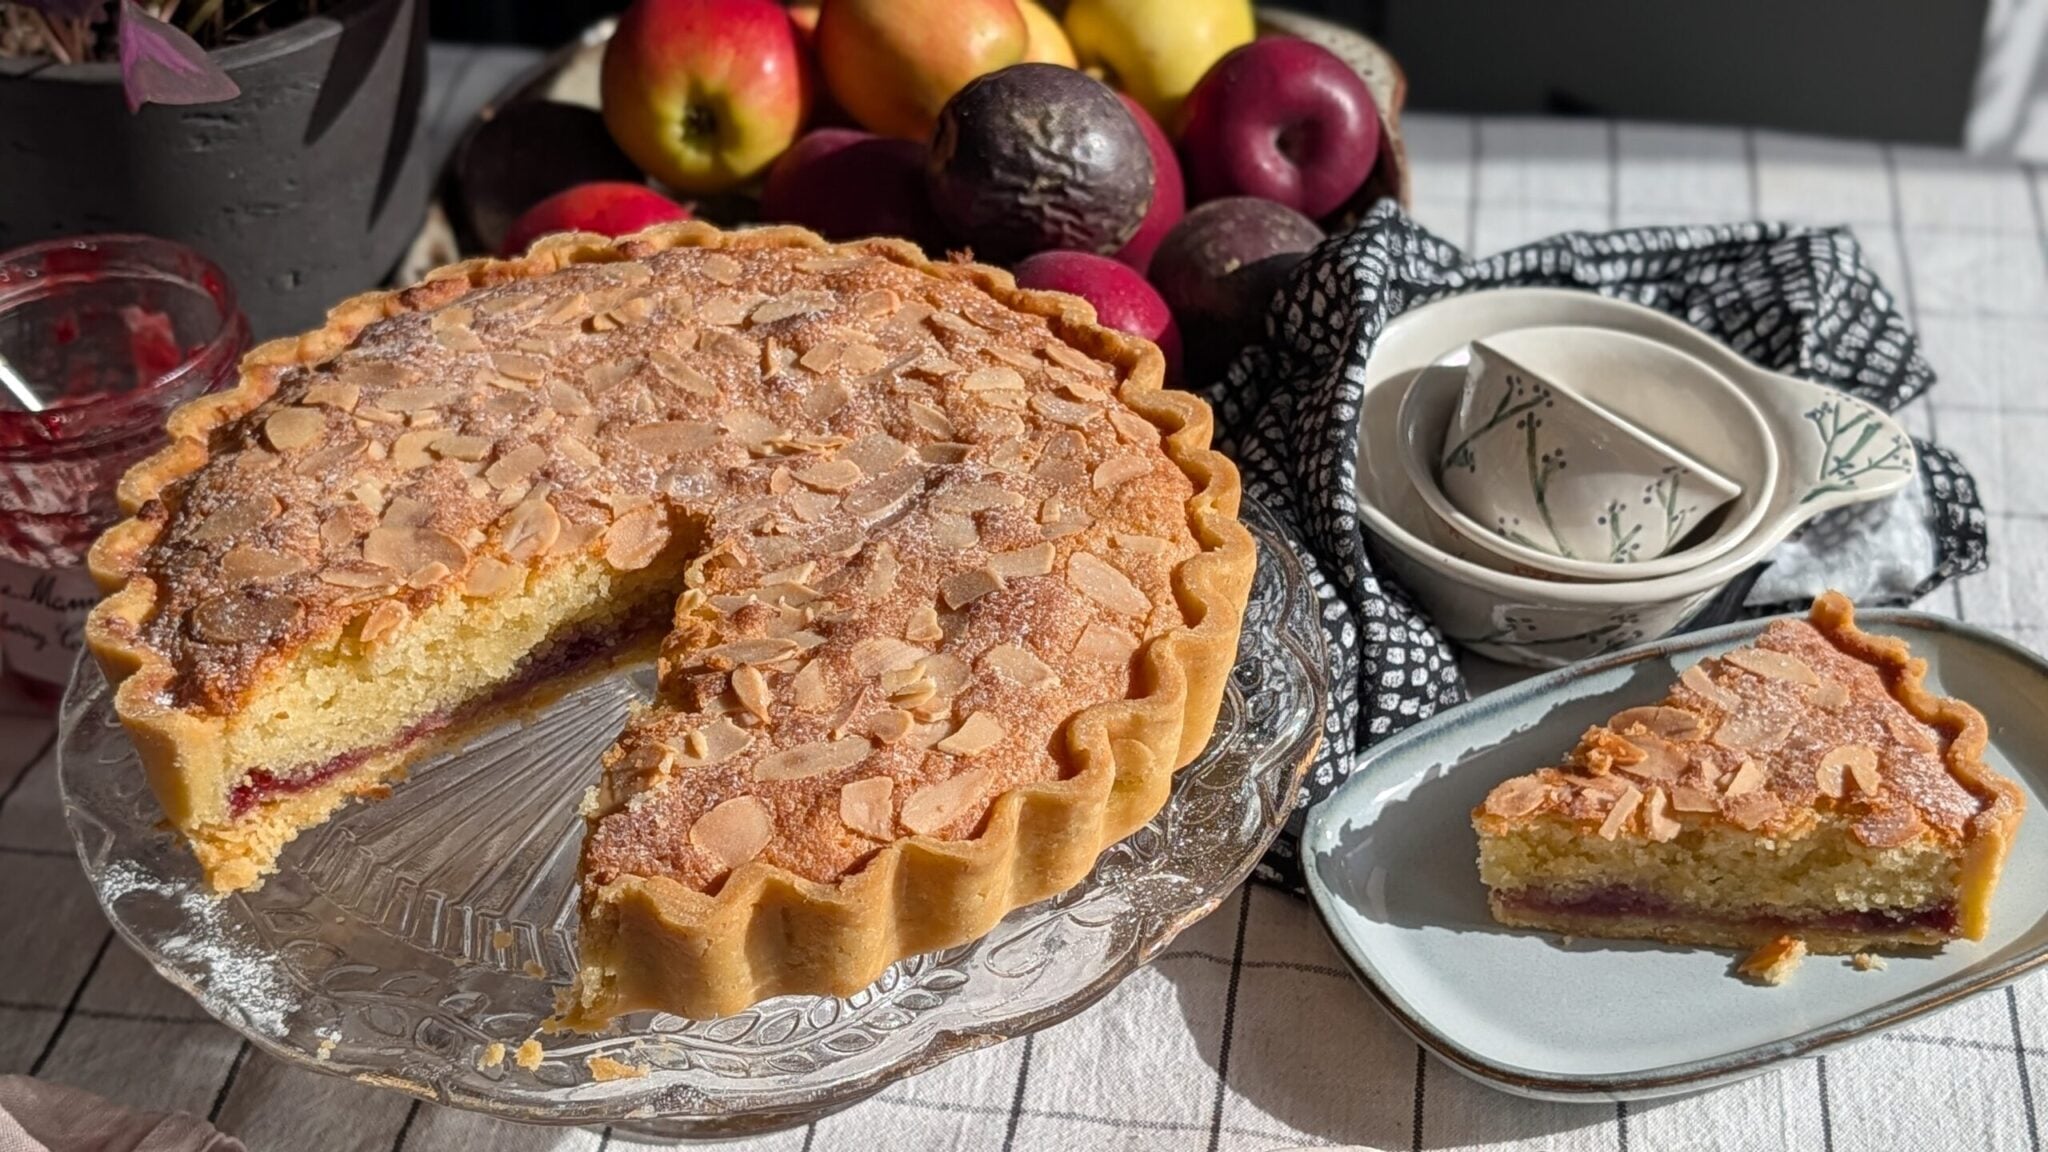
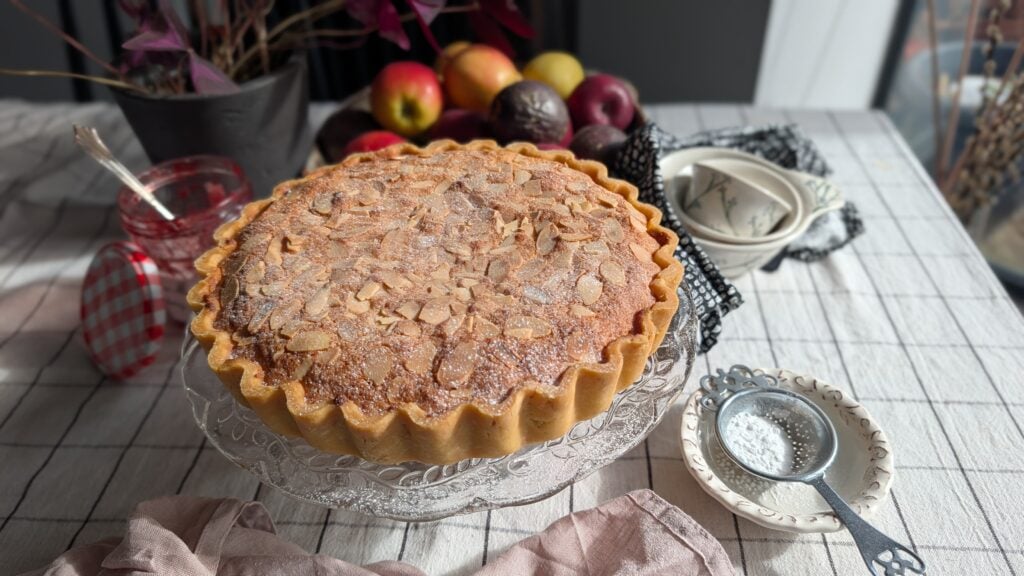
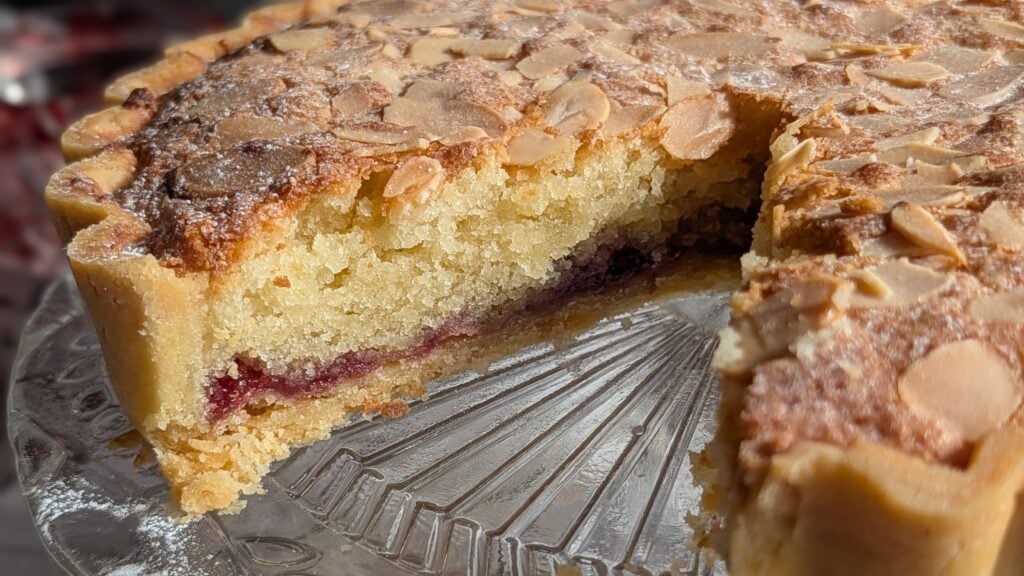
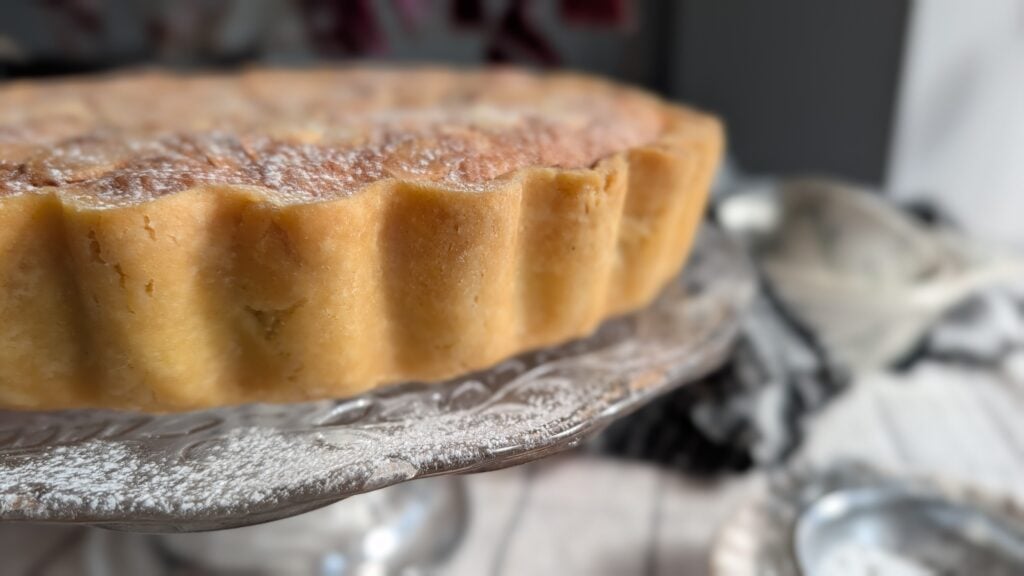
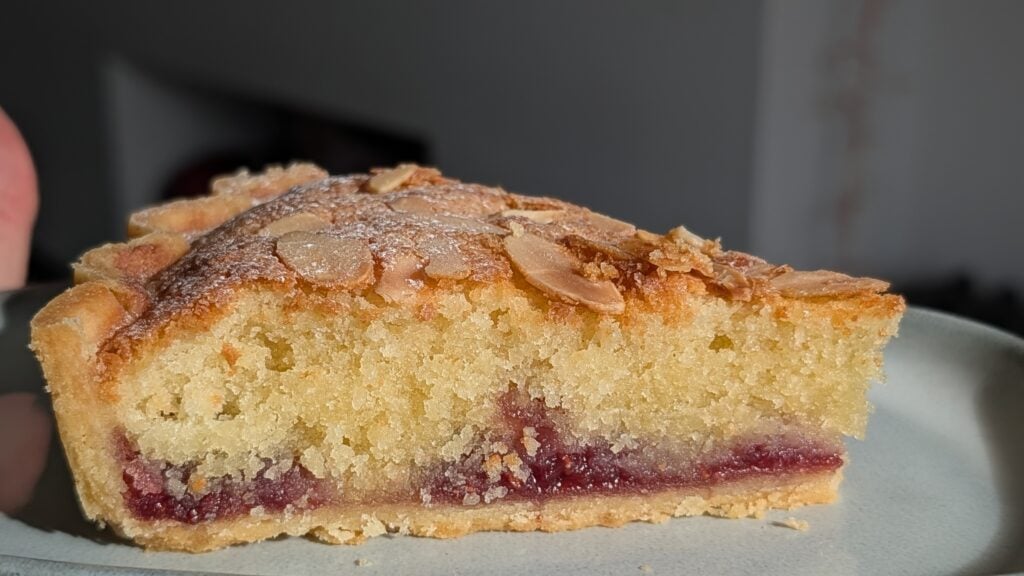
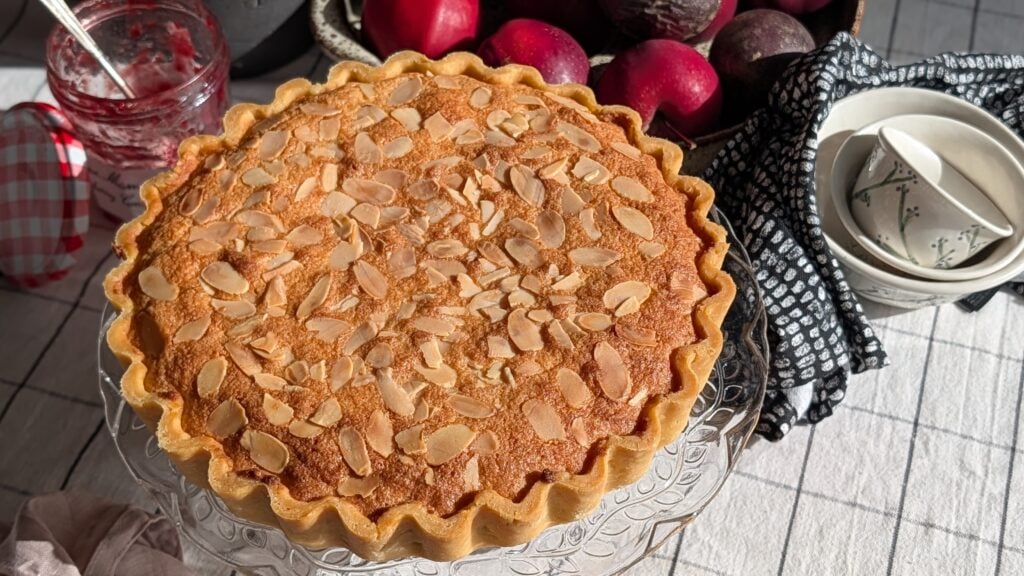
This gluten free bakewell tart is a truly fabulous treat and one that can be enjoyed by everyone, whether they follow a gluten free diet or not. Buttery, crumbly pastry with a jammy centre and soft almond sponge filling. What’s not to love!
The crowd at my cookery demo yesterday (thanks for having me Powderham Food Festival) who tried samples of this bake all gave me glowing feedback about this new recipe, so I am happy to be able to share it with you all.
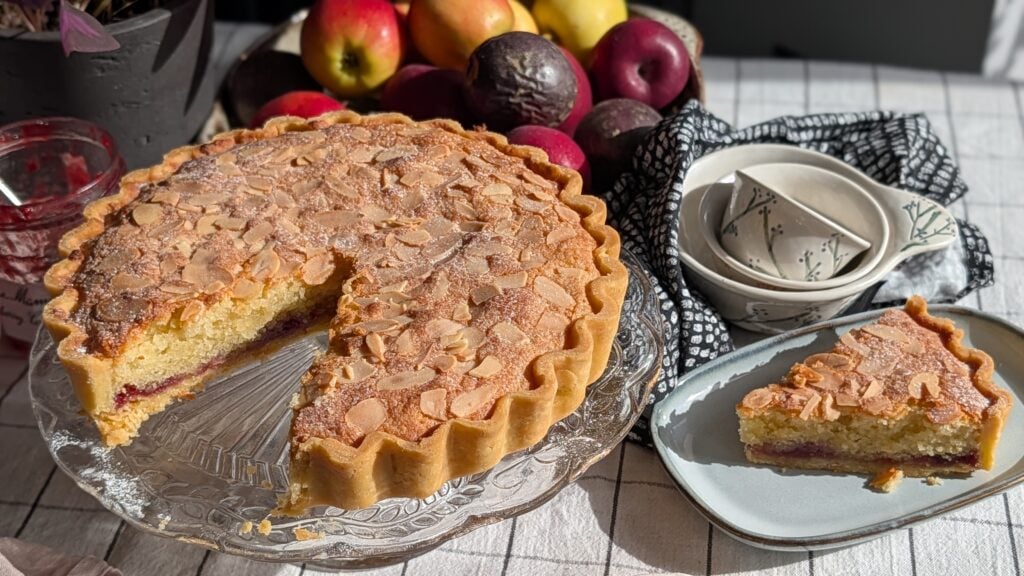
It is a great one to make if you need to bake it advance, as it’s still delicious the day after baking and can be enjoyed over the course of a couple of days. Serve simply sliced with a cup of tea or enjoy it with custard, ice cream, clotted cream or pouring cream.
And you can enjoy it either hot or cold. I tend to go for a fully cooled slice, but feel free to tuck in while it’s still warm from the oven if you can’t resist those delicious aromas!
Can I Use Shop Bought Pastry for This Bakewell Tart?
Yes you absolutely can BUT please do try my homemade gluten free shortcrust, as it’s really quick and easy. Plus it yields such a gorgeous buttery pastry, which is really simple to work with. It is absolutely worth a try!
Can I Make This Recipe Dairy Free?
Yes many of my readers regularly make a dairy free version of my gluten free shortcrust pastry and all report it works beautifully, so I can’t see why the same wouldn’t apply to this gluten free bakewell tart.
Simply use a dairy free butter and milk to replace the dairy. You may find it easier to freeze the dairy free butter/spread before grating, or simply break into small pieces to rub into the flour.
Which Flour Should I Use?
I use the Doves Farm gluten free plain flour blend, which is widely available in supermarkets in the UK. Other gluten free plain flour or cup for cup varieties should work nicely too, however I have not tried and tested them.
If you aren’t having good results with your locally available blends and would like to make your own from scratch, do try my gluten free plain flour recipe. It has been designed as a Doves Farm dupe and works with all my recipes that call for that flour.
Do not use the gluten free caputo flour for this bake (save that for bread making!), as it is quite a different blend and won’t work as a substitute.
Can I Freeze This Bakewell Tart?
Yes it freezes well. You can then defrost at room temperature or freeze in slices to be rewarmed in the oven, when you want a little evening treat.
Gluten Free Bakewell Tart
This recipe will make a tart that serves 8-10 portions, depending on how big you like to slice them (I am quite generous with my slices). If you enjoy making and eating this gluten free bakewell tart, I would be very grateful if you could leave a review on the recipe card below.
You’ll find a full method below along with lots of pictures to help you as you work through the recipe. Feel free to email me any questions or comments you might have – laura@mygfguide.com – or DM me on social media @myglutenfreeguide. Ooh, also send photos of your creations please!
Enjoy! Laura xxx
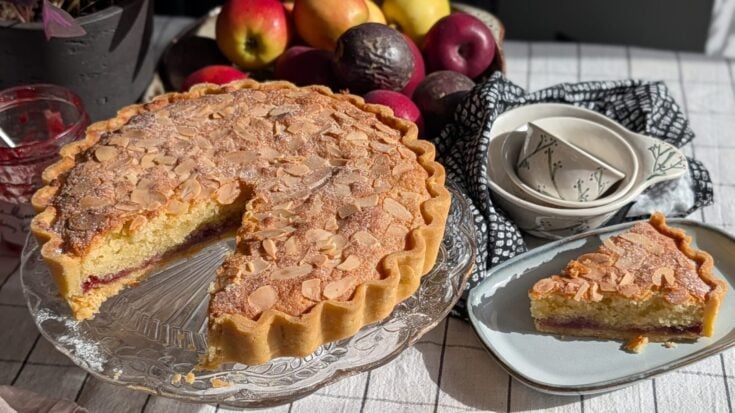
Gluten Free Bakewell Tart
Buttery gluten free shortcrust pastry with a jam and soft almond sponge filling. Delicious as a teatime treat or comforting dessert. And a great one to bake ahead, as it keeps well for a couple of days.
Ingredients
For the pastry:
- 280g (10oz) plain gluten free flour
- 1 tsp xanthan gum
- 1 tbsp caster sugar
- 140g (5oz) unsalted butter, chilled
- 1 large egg
- 2-3 tbsp water
For the filling:
- 150g (5.5 oz) unsalted butter, at room temperature
- 150g (5.5 oz) caster sugar
- 70g (2.5 oz) plain gluten free flour
- 150g (5.5 oz) ground almonds
- 2 large eggs
- 2 tbsp milk
- 1 tsp almond extract
- 150g jam (raspberry/cherry/strawberry)
- 20g flaked almonds
To finish:
- Icing sugar (optional)
Instructions
- To make the pastry, sift the flour, xanthan gum and sugar into a large mixing bowl. Stir to combine.
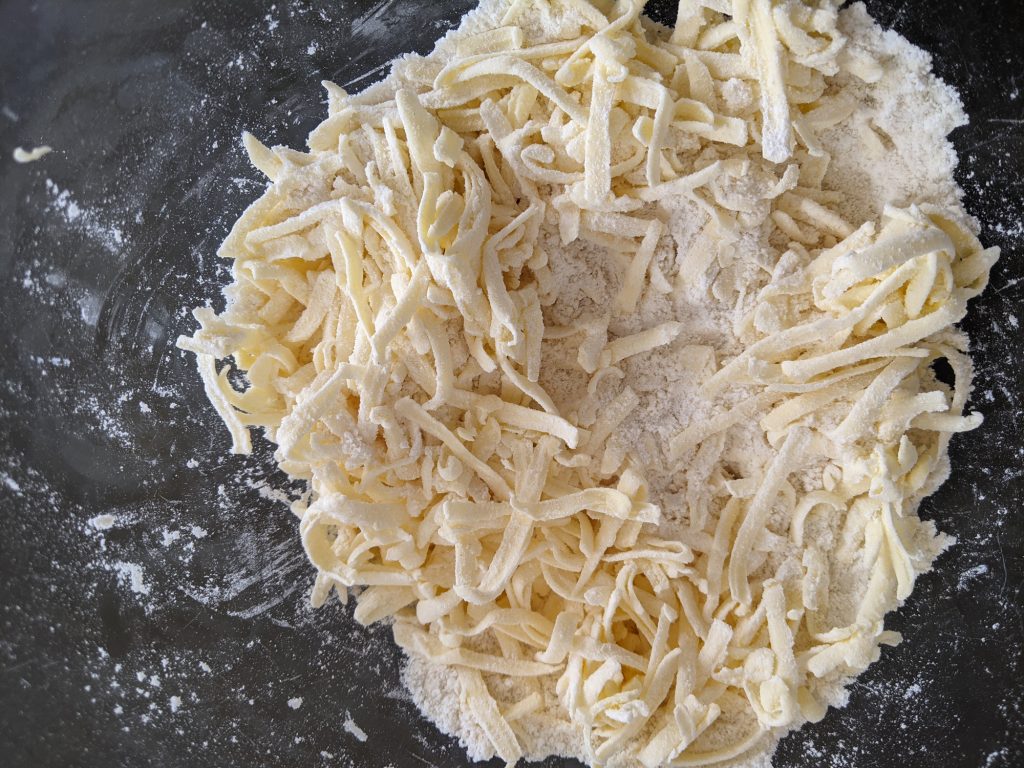
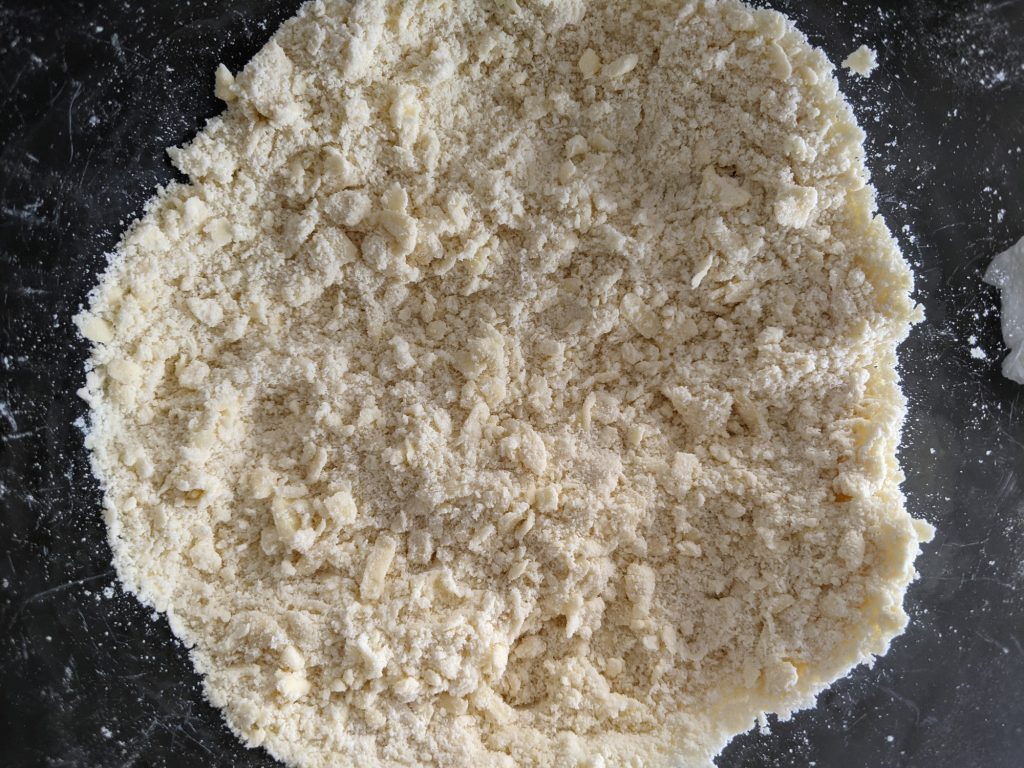
- Grate the chilled butter into the bowl (use the large grater setting on a cheese grater) and toss the butter strands through the flour with a spoon. Once the butter is coated with flour, use your finger tips to rub the butter into the flour until you have a coarse breadcrumb-like texture.
- Beat the egg and add to the bowl. Stir through with the spoon.
- Add 2 tbsp water and use your hands to bring the ingredients together to form a nice ball of dough. It should come away from the sides of the bowl and the dough will be smooth and pliable. If it is still a bit crumbly, add the third tbsp water and work to combine.
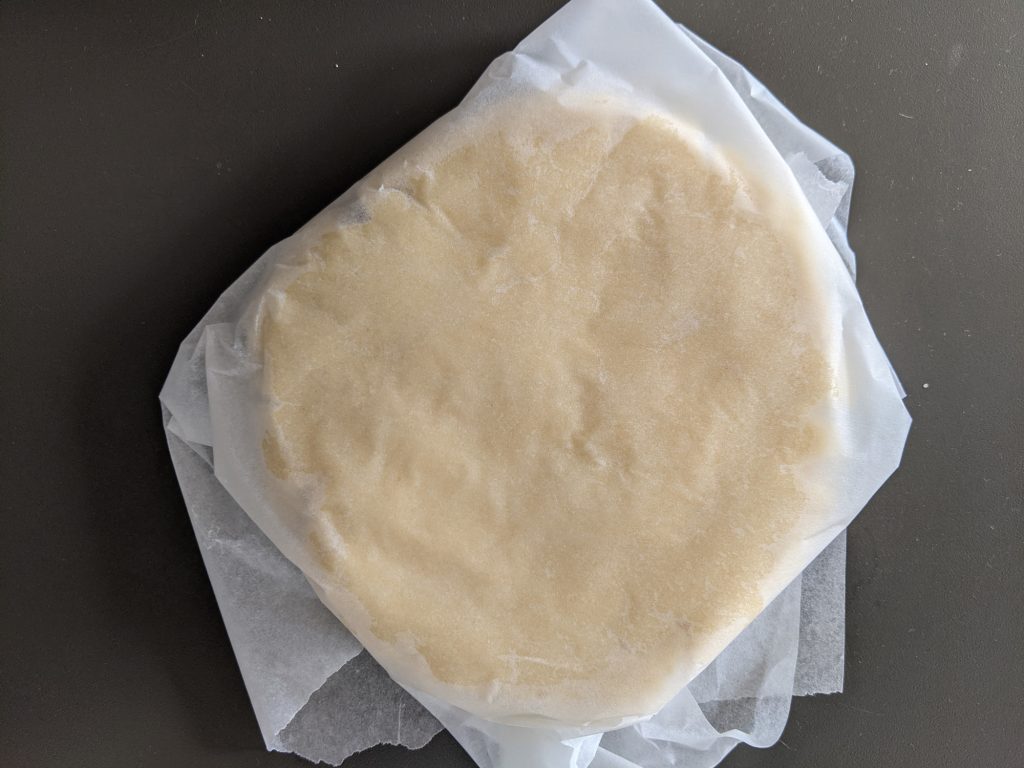
- Take a large piece of greaseproof paper (approx. 40cm long) and place the ball of dough on the waxed, non-stick side. Press it down gently with your hands to form an oval shape a couple of cm thick. Now fold the paper over to cover the other side of the dough and then fold the edges over so that you have a nice little dough parcel. Place into the fridge to chill for 30 minutes.
- Heat the oven to 180C (fan) and lightly grease a 24-26cm (10 inch) loose-bottomed tart tin with butter.
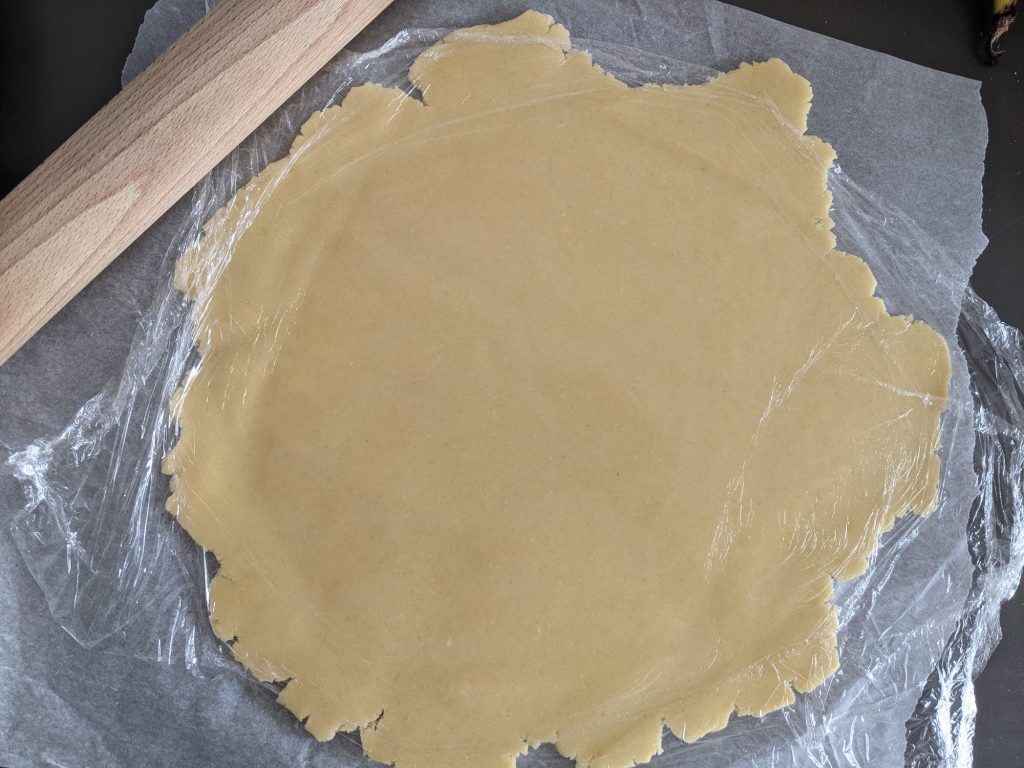
- Unwrap the chilled pastry and place it on the piece of greaseproof paper. Do not flour the pastry or paper. If you get any sticking while rolling, lay a large sheet of cling film on top of the pastry. Flouring risks drying out the pastry too much.
- Use a rolling pin to roll the pastry out to 0.5cm thick in a large circular shape - wide enough to completely cover the tart tin and sides. If there's any breaking or uneven edges you can just patch them up easily with other pieces of pastry.
- Carefully flip over the greaseproof paper and place the pastry onto the tart tin.
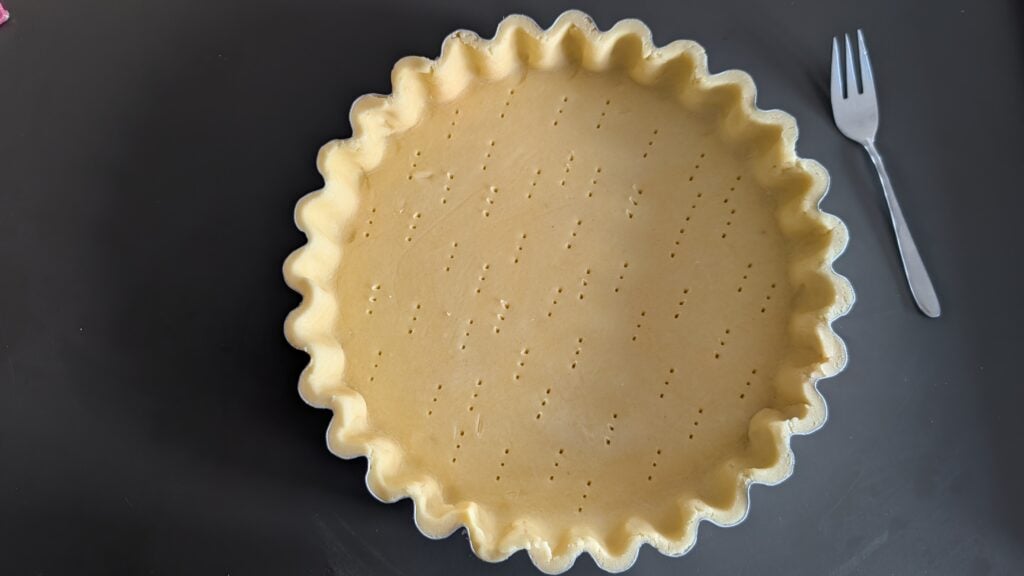
- Gently tuck the pastry into the tin, pressing down to completely cover the base and around the sides. Now use a sharp knife to slice off any excess pastry if there is any (you can save these offcuts in the fridge for later use).
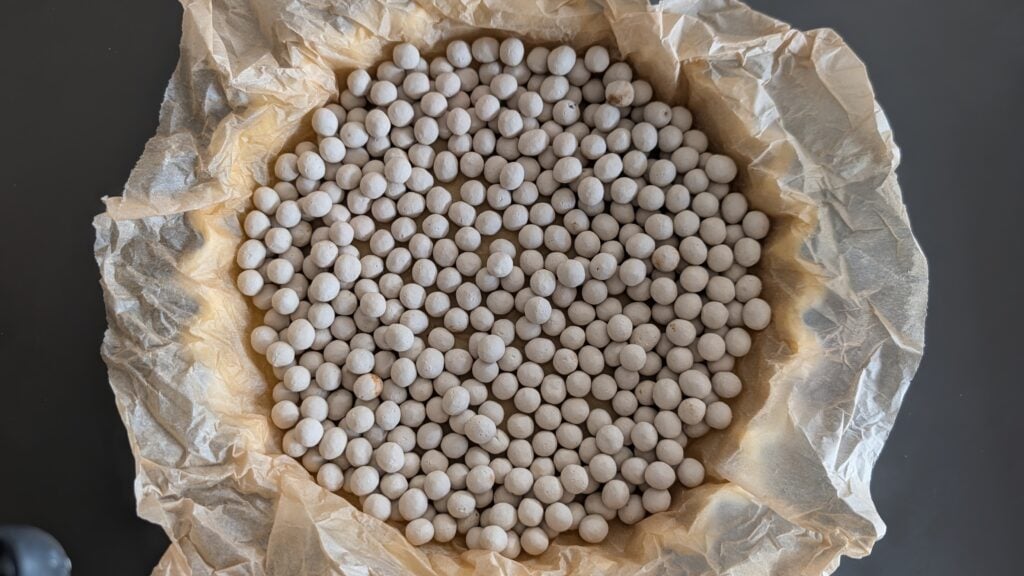
- Use a fork to gently prick holes in the base of the pastry case. Scrunch up the used greaseproof paper, unscrunch, flatten and place on top of the pastry and tin, adding baking beads to fill (see image below) so that you can "blind bake" the tart. Place it into the oven to blind bake for 10 minutes at 180C.
- After this, remove from the oven, lift out the baking beads and greaseproof paper and return to the oven to bake for 10 minutes.
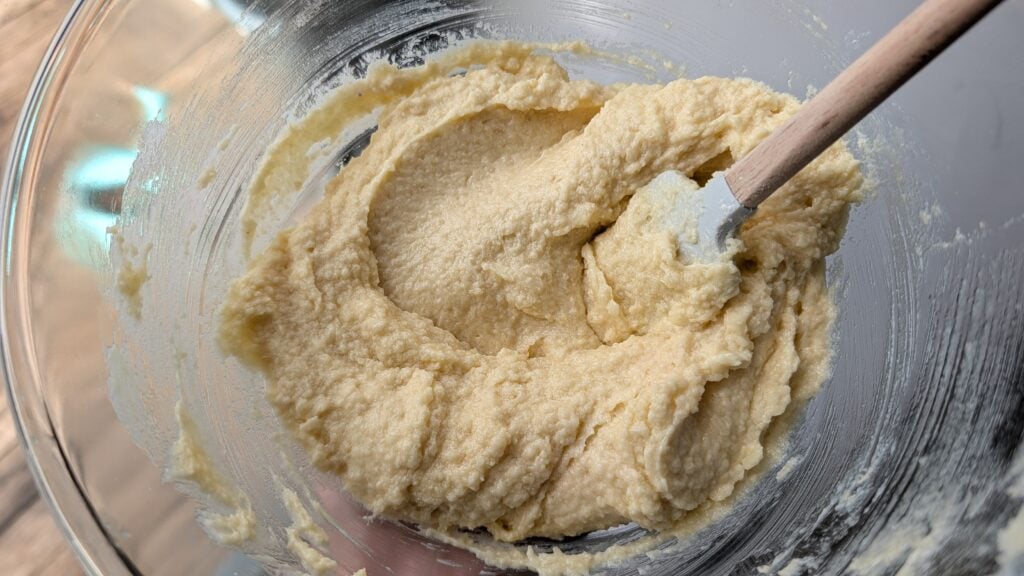
- While the pastry is baking, you can make the filling. Add the butter (which should be nice and soft) and sugar to a mixing bowl, then stir until smooth and fully mixed.
- Add one egg and mix to combine, then the second. Then add the plain gluten free flour, ground almonds, milk and almond extract and mix well for a minute or two until everything is incorporated.
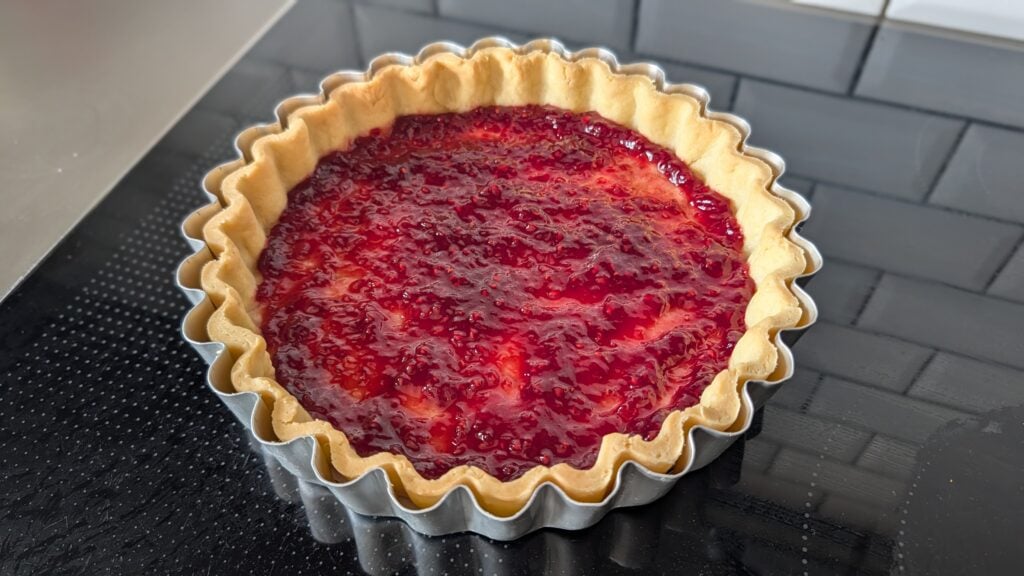
- Spoon the jam into the baked pastry case (still in its tin, do not take it out) and spread into an even layer.
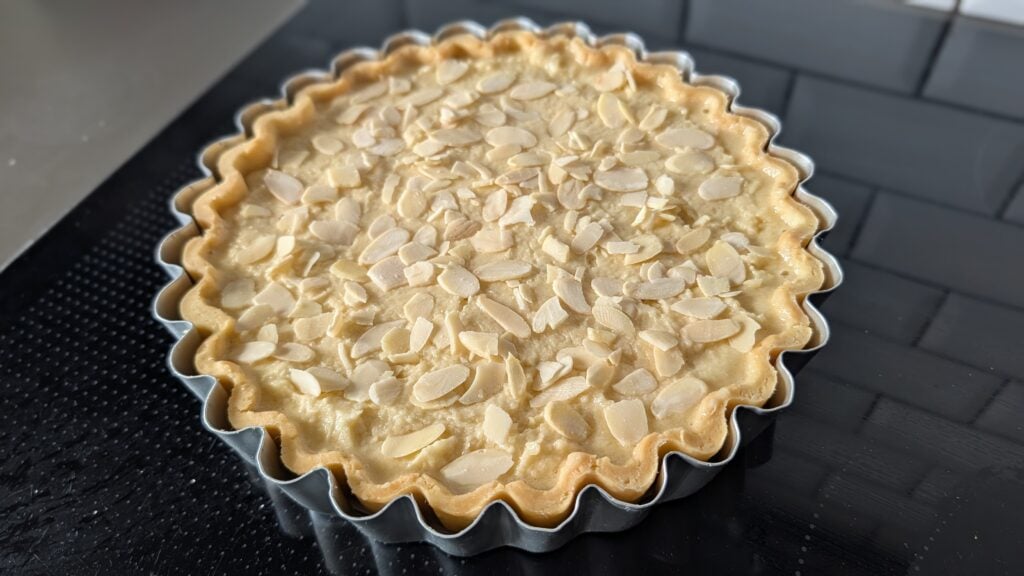
- Then spoon the almond filling on top of the jam, carefully spreading it and anchoring to the sides of the pastry, to create and even layer that completely encases the jam.
- Sprinkle the flaked almonds on top then bake in the oven for 30 minutes, until risen and golden. Ease the bakewell tart out of the tin and slide carefully onto a wire rack to cool. Leave to cool fully or serve slightly warm, finished with a dusting of icing sugar. Or as a dessert with custard, clotted cream, pouring cream or ice cream.
For more gluten free baking ideas, why not try some of my other recipes or bookmark them for later:
- Victoria Sponge Cupcakes
- Raspberry & Lemon Drizzle Tray Bake
- Spiced Orange Loaf Cake with Mascarpone Frosting
Happy baking! Laura xxx